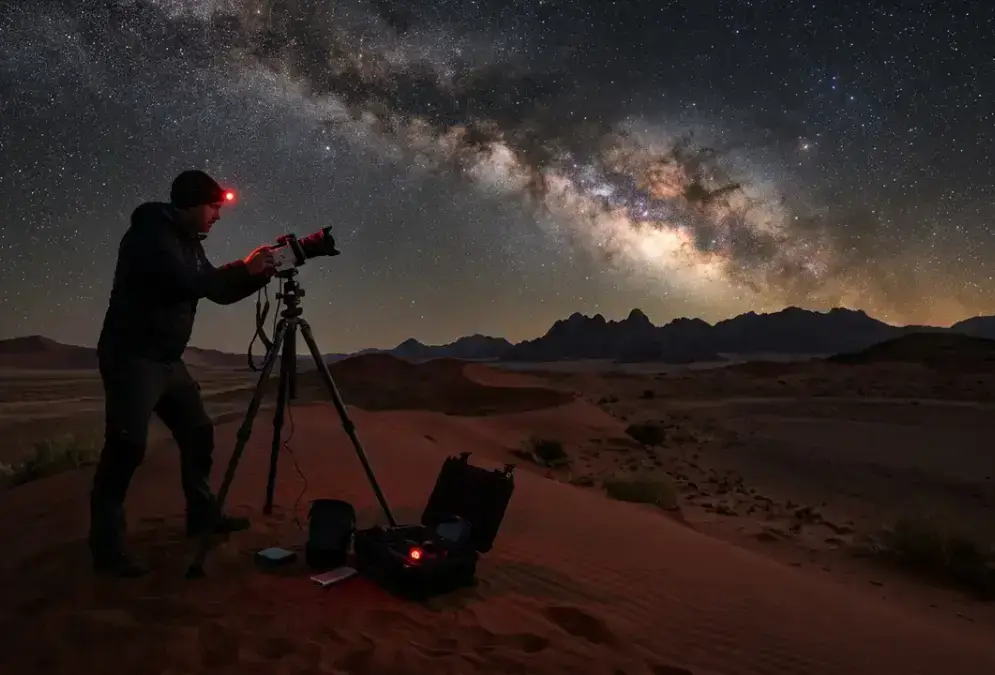

Camera body: shooting under Africa's only Gold Tier sky
NamibRand became Africa's first International Dark Sky Reserve in 2012, and it did so at Gold Tier, the strictest rating DarkSky International awards[1]. That designation is why photographers who have never shot a desert sky before still come home with a usable Milky Way frame here: guides covering astrophotography in Namibia routinely call the reserve a genuine mecca for astro enthusiasts[2], and a Gold Tier sky is the reason a modest camera body already has enough signal to work with before you touch a single setting. For the reserve's full seasonal breakdown and lodging options, see NamibRand Stargazing.
You do not need a five-figure astro rig to start. Any interchangeable-lens camera with full manual control over aperture, shutter speed, and ISO gets a real result under this sky, crop sensor or full frame. Where a full-frame sensor earns its keep is in shadow detail once you start pushing exposure time toward the edge of what a static tripod allows: the difference between a Milky Way band with visible dust lanes and one that looks flat and noisy at full zoom.
Manual focus is non-negotiable either way. Autofocus hunts uselessly once the sun is down, and NamibRand's total darkness away from any lodge lighting means there is no ambient glow to give it something to lock onto. Focus once, on a bright star, before full dark sets in, and tape the focus ring if your lens tends to drift.
Card and battery management matter more here than technique does. A long NamibRand session easily runs past 200 frames if you are shooting a foreground blend or a star-trail sequence, so bring more storage than you think you need; there is no camera shop within a day's drive once you are inside the reserve.
Lens: framing an overhead core over an open dune horizon
A wide-angle lens at f/2.8 or faster is the standard recommendation for desert astrophotography, and NamibRand does not change that baseline[2]. What changes is the horizon you are pointing it at. There is no tree line, no mountain ridge, no lakeside chapel to break up the frame here, just open dune country running to the edge of vision in every direction, so the lens choice is really a composition choice.
14 to 24mm on a full-frame body is the range most Milky Way photographers reach for, wide enough to hold a big sky while keeping exposure times manageable. Inside that range, the sweet spot for a dune shoot sits closer to 20mm than the wider end: at 14mm the core can look small against so much open horizon, and without a strong foreground the frame reads as empty.
Aperture matters as much as focal length. Look for f/2.8 or lower, ideally f/1.8 or f/1.4, though f/2.8 is enough for a strong result with modern sensors and good technique[3].
at 14mm the core can look small against so much open horizon, and without a strong foreground the frame reads as empty
A single frame is not the only option either. Where a lodge's dune ridge runs wide and low against the horizon, stitching two or three vertical frames into a panorama holds far more of that ridge line than any single wide-angle lens can, at the cost of a slower workflow in the field and a stacking step back at the lodge. It is worth the extra ten minutes on a still, clear night when the ridge itself is the whole point of the shot.
Tripod: holding a frame steady on loose sand
A solid tripod is essential everywhere on this site's map, but sand adds a wrinkle a paved observatory car park does not have: even light winds can blur a long exposure, and NamibRand's open dune country rarely goes still for long[2]. Legs that sink unevenly into loose sand tilt a frame mid-exposure just as easily as a gust does, so test your footing before committing to a 20 or 25-second shot.
Push each leg down until it meets firmer sand underneath rather than resting on the loose surface layer, and spread the legs wider than you would on solid ground for a lower, more stable base. A carbon-fibre tripod damps vibration faster than aluminium, which matters more out here than the price tag suggests: a gust catching the legs mid-exposure ruins the frame regardless of what is mounted above it.
Featured · Destination
NamibRand Nature Reserve
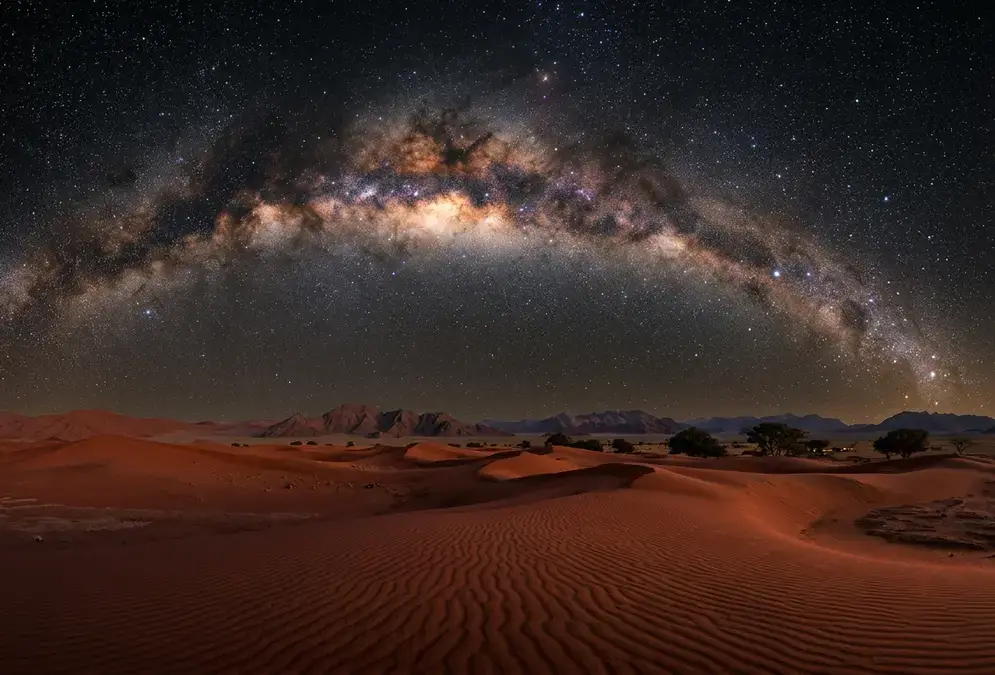
NamibRand is Africa's only Gold Tier Dark Sky Reserve: extreme Namib Desert isolation, the Southern Cross, Magellanic Clouds, and luxury safari lodges.
Keep the centre column fully retracted. Raised for extra height, it turns a stable three-legged base into a wobbly monopod exactly when the frame needs to hold steadiest, and a dune's open exposure gives wind nothing to break against on the way to your tripod.
A weighted bag hung from the centre column hook, filled with sand scooped from right where you are standing, adds ballast without carrying extra kit out to the dune. It is the one accessory NamibRand hands you for free.
Dust-proofing: keeping sand out of a camera built for anywhere else
Sand is the real gear risk at NamibRand, more than cold or altitude ever is elsewhere on this site's map. A simple ziplock bag or rain cover works as an improvised dust seal: camera body inside, lens pushed through a small opening, and a rain cover or waterproof case cuts down the debris that actually reaches the body during a desert shoot. Fit a UV filter to the front of every lens before you leave for the reserve too, since a filter is far cheaper to replace than a lens element scratched by grinding sand.
Resist the urge to wipe sand off a lens the moment you notice it. Wiping grinds the particles into the glass and leaves exactly the scratches a filter is meant to prevent. Use a rocket blower first, always, and reach for a cloth only once the loose grit is gone. Avoid changing lenses in the open for the same reason: if a shot genuinely needs a different lens, find a sheltered spot out of the wind first, a vehicle, a lodge veranda, anywhere the sensor is not exposed to a gust mid-swap[4].
Rubber port covers over unused memory card and connection slots are worth the two minutes it takes to check them before leaving the vehicle; a gap that size is exactly what fine, wind-blown sand finds first.
Composing a dune-foreground Milky Way shot
NamibRand's compositions solve a problem the reserve's own guidance is explicit about: without something to give the frame scale, an open dune horizon under the Milky Way can look like an empty gradient rather than a photograph. The standard fix is to include dunes, trees, or rocks for scale, and either use subtle light painting or wait for moonlight to do the illumination work instead[2].
Recommended tours
Tours are selected for quality, not commission. I earn a small fee if you book — at no extra cost to you.




A dune ridge lit from a low angle by a red-filtered torch reads as a clean silhouette against the core. Overdo the light and it flattens the shot, so a few seconds at low power beats one long blast. On a night close to full moon, skip the torch altogether: moonlight does the same job more evenly, though it costs some of the fainter Milky Way detail in exchange.
Lodges here build their own foreground options in. Wolwedans' dune camps and Kwessi Dunes' private concession both put a real dune ridge or a lone camelthorn tree within a short walk of camp, rather than requiring a drive out to a viewpoint after dark. That matters more here than at most stops on this site's map: NamibRand has no public access outside a lodge stay, so the composition you get is largely whatever the lodge's own grounds offer.
Namib-Naukluft National Park's Sossusvlei dunes sit next door, not inside NamibRand itself, and are typically visited as a sunrise excursion rather than an overnight stay, so the towering red dunes in daytime photographs are not the ones in a NamibRand night shot. The foreground here is whatever dune, tree, or rock formation sits on the lodge's own concession, generally lower and less dramatically red than Sossusvlei's dunes, but close enough to reach on foot after dinner rather than requiring a pre-dawn drive. Getting the exposure right for a silhouette this dark against a bright core follows the same fundamentals covered in How to Photograph the Milky Way; this piece stays specific to what a dune horizon adds to that base technique.
Settings and timing: the 500 Rule, white balance, and when to go
Once the lens and tripod are sorted, exposure settings for NamibRand follow the same math as anywhere else, just with less margin for error given how dark the base sky already is. The 500 Rule, divide 500 by your focal length to estimate the longest shutter speed before stars start to trail, is still the fastest gut-check in the field: a 20mm lens gives roughly 25 seconds before trailing sets in, a 24mm lens closer to 20. For colour, set a daylight or custom Kelvin around 3800K; it gives a natural sky tone rather than the blue or orange cast an auto white balance setting tends to pick in near-total darkness, a setting worth dialling in before the trip rather than fumbling with a screen you can barely read once your eyes have adjusted[2].
Time the shoot around the reserve's own calendar, not just any dark-sky trip's default advice. The galactic core rides highest roughly March through September, austral autumn and winter, and a new-moon window matters here as much as anywhere: a bright moon washes out the Magellanic Clouds and flattens the core's dust lanes regardless of how good the lens and tripod setup is.
| Focal length | Field of view | Foreground forgiveness | Best for |
|---|---|---|---|
| 14mm | Widest, full sky arch | Hardest; core can look small and the frame empty | Panoramas with a strong foreground already planned |
| 20mm | Wide, core reads larger | Most forgiving for a single dune or tree foreground | A first NamibRand Milky Way shoot |
| 24-35mm | Narrower, core fills more of the frame | Needs a deliberate foreground, less sky context | Close-in core detail and tighter panoramas |
Bracket a second, longer exposure for the foreground alone at the same white balance and blend the two later, since a dune-foreground frame and a sky exposure rarely balance in a single shot even under a Gold Tier sky: a moonless foreground reads almost black on the same settings that expose the core correctly. It is a five-minute addition to the shoot, and it saves a foreground that would otherwise be pure silhouette or pure noise.
For the beginner-friendly gear that pairs well with a full kit, binoculars, apps, red-light headlamps, see Stargazing Gear for Beginners, and for the non-camera packing list, clothing, dust protection for the rest of your kit, see NamibRand Stargazing Gear.