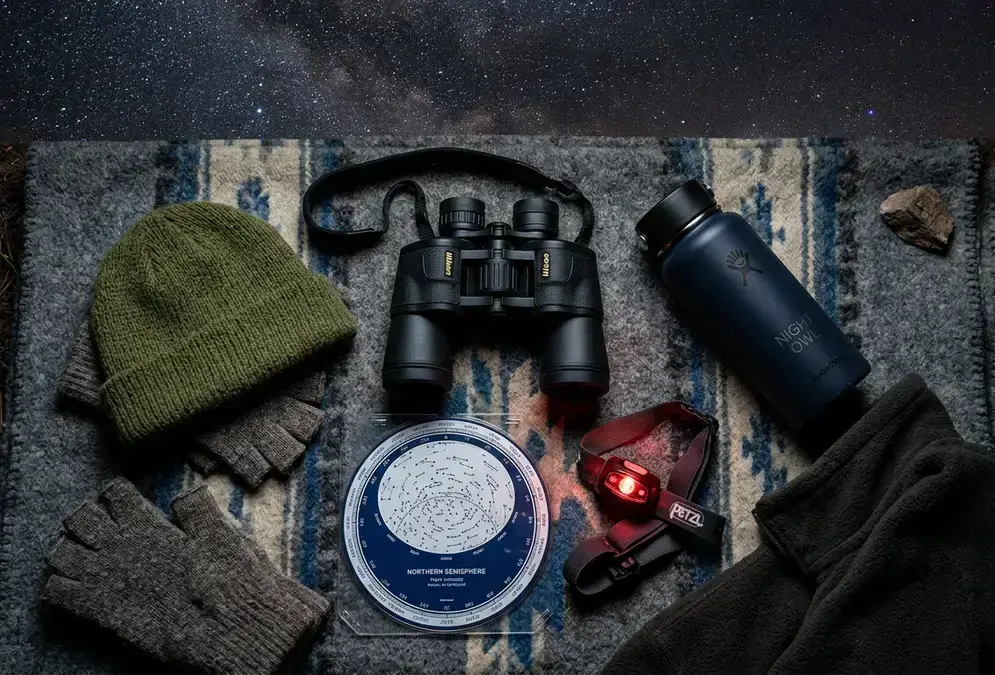

Warm layers: why stargazing nights get cold fast
Pack for the temperature you'll feel at 11 pm, not the one on today's forecast. A clear evening that hits a mild 20°C at sunset can drop into single digits within a couple of hours, and the culprit isn't a wrong forecast. It's radiative cooling: once the sun goes down, the ground keeps radiating the heat it absorbed all day back out as infrared, and with no clouds to trap it, that heat escapes straight into space.[1]
Here's the part that catches people out: the clearest, calmest, driest nights, exactly the conditions that make for the best stargazing, are also the nights that cool fastest.[2] A humid, overcast sky acts like a blanket and holds warmth near the ground. A pristine, cloudless sky has no blanket at all, so the better the sky looks for observing, the harder your body works to stay warm underneath it.
Standing or sitting still makes it worse. Walking generates body heat; watching the sky for two hours doesn't. Plan on feeling roughly ten degrees colder than the thermometer suggests once you've been stationary a while, and dress for that number, not the one in the forecast.
Exposed dark-sky sites make it worse still. The places with the least light pollution are usually the least sheltered too: open fields, ridgelines, desert plains, anywhere with nothing blocking the sky also blocks nothing from the wind. Pack for wind chill, not just the air temperature the forecast gives you.
The layering system that covers most climates:
- A moisture-wicking base layer (skip cotton; it holds sweat against skin and chills you once you stop moving)
- An insulating mid-layer: fleece or a light down jacket
- A windproof, water-resistant outer shell
- A warm hat or beanie (a lot of heat loss happens through the head and extremities once you're sitting still)
- Insulated gloves you can still operate a phone or binocular focus wheel in
- Wool socks, not cotton
- Hand warmers as a lightweight backup for a genuinely cold night
If you're heading somewhere with real elevation or a documented cold-weather extreme, like a desert plateau a couple of thousand metres up, this general list isn't enough on its own. The Atacama packing list covers the layering system for a 25-degree day-to-night swing at altitude, a different problem from a backyard session at sea level. The same layering rules apply doubly to aurora-hunting trips, where sub-zero, high-latitude nights are the norm rather than the exception.
The red-light headlamp: protecting the night vision you just earned
Your eyes need real time to adjust to the dark, and one bad flashlight choice can undo it in an instant. Dark adaptation is the shift from cone-based vision, built for color and daylight, to rod-based vision, built for catching dim light. Cones adjust in about five to seven minutes; rods take much longer, roughly 20 to 30 minutes for useful night vision and up to 45 minutes for full sensitivity.[3]
20-30 min
That slow build makes a bright light dangerous to your session, not just annoying. A single flash of white light can undo 30 to 45 minutes of hard-won adaptation, forcing your eyes to restart the whole process from zero.[3] Glance at a phone at full brightness to check the time, and you've just cost yourself half an hour of faint stars.
Red light is the fix, and it's simple biology, not superstition. Rod cells are far less sensitive to long-wavelength red light than to white or blue light, so a red beam lets you read a star chart or find a dropped lens cap without bleaching the light-sensitive pigment, rhodopsin, that your rods just spent half an hour rebuilding.[3]
Dimming a white flashlight is not a shortcut around this. A white LED at its lowest setting still emits across the full visible spectrum, including the wavelengths that bleach rhodopsin fastest. There's no substitute for a genuinely red source.
What to pack:
- A headlamp with a dedicated red-light mode, so your hands stay free
- A backup: a red-filtered flashlight, or red cellophane taped over a white one
- Your phone switched to its red-screen or night-mode setting before you leave the house, not fumbled with once you're standing in the dark
If dark adaptation is new to you, stargazing for beginners walks through the full field test: how to tell your eyes have actually adapted, and what you should be able to see once they have.
Optics for beginners: binoculars first, a telescope later
Skip the telescope on night one. A pair of 10x50 binoculars is the standard beginner recommendation, and for good reason: 10x magnification is strong enough to resolve craters and star clusters without amplifying your hand shake into a blur, and 50mm objective lenses gather enough light for star fields while staying light enough to hold steady for an hour.[4]
The British amateur astronomer Patrick Moore used to tell beginners that their first 'telescope' shouldn't be a telescope at all. Binoculars need no setup, no alignment, and no collimation: you lift them and look. For big, low-contrast targets like the Triangulum Galaxy or a sprawling star cluster, a wide pair of binoculars often shows more than a telescope's narrow eyepiece view, especially to someone who hasn't learned the sky yet.[5]
Binoculars also solve a problem beginners don't see coming: motivation. A telescope that takes fifteen minutes to set up, align, and cool down loses to the sofa on a chilly night more often than anyone likes to admit. Binoculars live by the door. You grab them on your way outside for five minutes, and five minutes turns into forty once something catches your eye.
One technique is worth packing alongside the gear: averted vision. Look slightly to the side of a faint object instead of straight at it, and your peripheral vision, thick with light-sensitive rod cells, catches dim light your central vision misses. It costs nothing, and it works with binoculars, a telescope, or the naked eye.
The bare-minimum optics kit:
- 10x50 (or similar) binoculars
- A microfiber lens cloth
- A telescope, only once you've spent a season learning the sky by eye and by binoculars first
Read next · Article
How to Photograph the Milky Way: A Device-by-Device Guide
How to photograph the Milky Way with a smartphone, DSLR, or a smart telescope: galactic-core timing, NPF-rule settings, and honest device-by-device advice.
When a telescope does make sense, my guide to the best budget telescopes covers the specs that actually matter and the models worth the money. Buying one before a season of binocular-only observing is the single most common way beginners waste money on this hobby. For a complete rundown of every option from binoculars to smart telescopes, the stargazing gear guide covers what fits each budget and goal.
Comfort: the gear that decides how long you actually stay out
Comfort is what turns a fifteen-minute glance into a two-hour session. Stargazing means tipping your head back and holding still, and a stiff neck ends a session faster than the cold does. A reclining or zero-gravity chair solves this outright: it lets you look straight up without straining a muscle, for as long as you want.
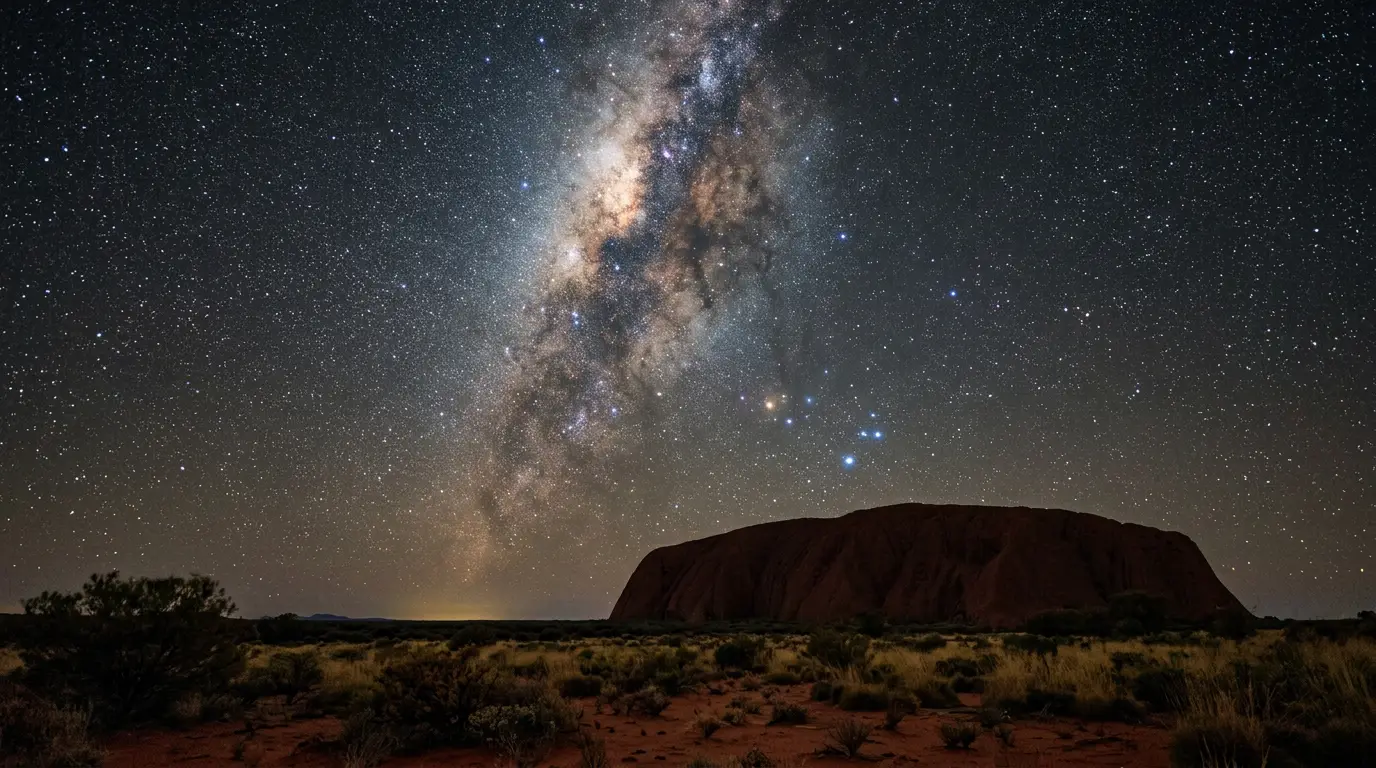
Featured · Destination
Uluru
Stargaze at Uluru on Anangu-owned, jointly managed land: the Milky Way's core, Magellanic Clouds and Southern Cross over Australia's red-centre outback.
If you'd rather lie down, an insulated ground pad or blanket does the same job, and it needs to be insulated specifically because the ground pulls heat out of your body far faster than the air does. A folded towel is not insulation; a foam camping pad or a picnic blanket with a waterproof underside is.
Lying flat has one advantage sitting doesn't: a genuinely panoramic view, horizon to horizon, with no chair frame at the edge of your vision. The trade-off is ground moisture and, depending on season and location, insects; a groundsheet under your pad and light bug protection solve both without adding much weight to the bag.
Recommended tours
Tours are selected for quality, not commission. I earn a small fee if you book — at no extra cost to you.




Bring one more layer than you think you'll need, specifically for sitting still: a blanket for your lap and shoulders, separate from the jacket you're already wearing. Temperatures keep dropping through the night, and a blanket is the easiest thing to add without breaking your view of the sky to dig through a bag.
This same reclining-chair-and-blanket setup is exactly what the meteor showers guide recommends for a full night of watching shooting stars: no optics required, just somewhere comfortable to lie back for an hour or more.
Food, hydration, and the safety basics
Sessions run long once you're comfortable and dark-adapted, and a cold, hungry stargazer packs up early. A thermos of something hot (tea, coffee, cocoa) does more for morale in hour two than any piece of optics gear. Bring a water bottle too; cold nights mask thirst, and you dehydrate just as easily standing still in 5°C air as you do hiking in the heat.
High-energy snacks (nuts, granola bars, dried fruit) keep you comfortable through a long session without a break that means packing everything up and going back inside. None of this needs to be fancy. It needs to be there, in a pocket you can reach without turning on a bright light.
Dark-sky sites are often remote, unlit, and outside cell coverage, which changes the safety calculus. Tell someone where you're going and when you expect to be back, every time, even for a familiar spot. Bring a small first aid kit, a fully charged phone, and a portable battery pack; wear sturdy, closed-toe footwear, since uneven ground is far harder to judge in the dark than it looks in daylight photos.
Lithium batteries lose a meaningful share of their charge in cold air, which is why a phone reading 40% at home can die outright after ninety minutes outside in near-freezing temperatures. A battery pack in an inside jacket pocket, close to body heat, holds its charge far better than one in an outer pocket or bag.
A little awareness of local wildlife and terrain goes a long way too. What that means varies entirely by where you are, so check conditions for your specific site rather than assuming your backyard rules apply somewhere else. If you're still choosing where to go, the best dark sky parks in the world is a good place to start, since site selection affects both what you'll see and how prepared you need to be.