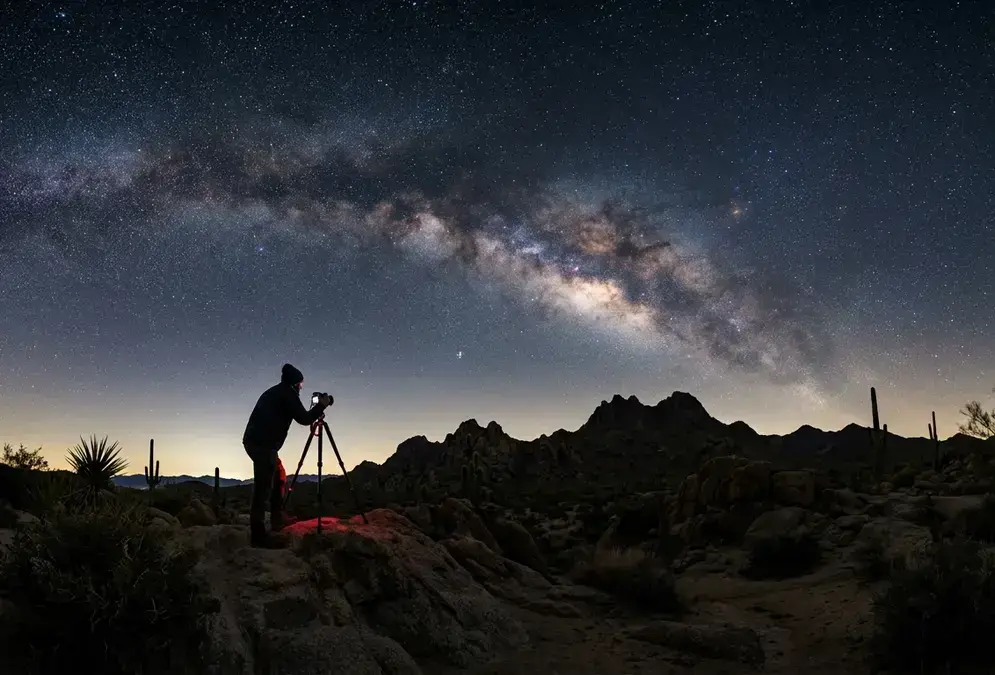

When to shoot: galactic-core season, moon phase, and Bortle sky darkness
Every device in this guide fails on the same two nights: full moon and heavy cloud cover. Before choosing a camera or a scope, get the calendar right first. Three variables decide whether a Milky Way shot is possible at all, regardless of what you're shooting with: which part of the year the galactic core clears the horizon, how close you are to a new moon, and how dark your sky actually is.
18°
Galactic-core season: when it's actually up there
The galactic core is the brightest section of the Milky Way: the dense star cloud toward Sagittarius where our galaxy's centre sits, and the part behind almost every dramatic Milky Way photo. From the northern hemisphere, core season peaks between May and August, with a longer shooting window running from February through October[1]. Outside that window, the core sits too low or stays below the horizon entirely.
On a new-moon night in peak summer, the core stays usably placed for roughly four to six hours[2] before it swings low and dawn twilight starts to brighten the sky. Plan your session around the middle of that window, not the edges, where the core sits highest and thick, hazy air near the horizon does the least damage to contrast. For the month-by-month breakdown of when the core clears the horizon in each hemisphere, see the Milky Way season guide.
The new-moon window
Moonlight is the fastest way to kill a Milky Way photo on any device. Plan to shoot within five to seven days of a new moon[3]; once the moon is more than half lit, its glow washes out the core's contrast even from a genuinely dark site. Check a moon-phase calendar before you check the weather forecast, not after.
Bortle scale and astronomical twilight
The Bortle scale ranks sky darkness from 1 (pristine, casts shadows from starlight alone) to 9 (inner-city glow). A Bortle 4 sky is the practical sweet spot for Milky Way photography: dark enough for the core to show real contrast, without needing a special trip to a Bortle 1 or 2 site like the Atacama Desert. Bortle 5 to 6 skies still capture a visible core, just fainter and needing heavier processing; past Bortle 7, the core is essentially gone from a photo.
Once you're at your site, wait for astronomical twilight to end: the point when the sun drops 18 degrees below the horizon and no residual sunlight brightens the sky[4]. The core photographs best in the hour or two right after that line passes; shoot earlier and a lingering twilight glow flattens contrast before you've even started.
Photographing the Milky Way with a smartphone
Modern phone cameras are good enough now that a smartphone Milky Way shot isn't a gimmick. iPhone 15 and newer shoot the core with Night mode; recent Pixel phones have a dedicated Astrophotography mode; current Samsung Galaxy flagships use Nightography for the same job. All three do real work under the hood, several exposures stacked automatically in-camera to pull detail out of a genuinely dark sky, with no extra app required.
The settings that matter, on phones that let you set them manually through a Pro or Expert mode: ISO 800 to 1600 is the useful range, going past 1600 mostly adds noise without adding detail on a phone-sized sensor. Shutter speed runs 15 to 20 seconds[5] at the phone's default ultra-wide-equivalent focal length, roughly 24 to 28mm, long enough to gather light without visible star trailing at that focal length. A tripod is not optional: even the steadiest hands introduce blur at a 15-second exposure, and none of this works handheld.
Focus is the step people skip. Autofocus hunts and usually fails in near-total darkness, so switch to manual focus and tap the brightest star in frame, or focus on a distant light and leave it there once it locks. The phone's own on-device stacking does real noise reduction, which is the main thing letting a small sensor compete at all. What it can't do is add the contrast a bigger sensor gets for free: a smartphone shot has less shadow detail and a flatter core than a DSLR frame taken the same night, because a phone lens at f/1.5 to f/2.2 is still working with a small sensor. If a smartphone is where you're starting out, stargazing for beginners covers what to learn before stepping up to a dedicated camera.
Photographing the Milky Way with a DSLR or mirrorless camera
A DSLR or mirrorless body with a fast, wide lens is still the most capable single tool for Milky Way photography, and it's the one where getting the exposure triangle and focus genuinely right matters most.
It was written for film-era resolution, and it's too generous on any modern high-megapixel sensor: trails show up in a 100% crop long before the 500 rule says they should.
Aperture, ISO, and shutter speed
Start at f/2.8 or faster, ISO 3200 to 6400, and a 15 to 20 second shutter. That baseline works on almost any full-frame or APS-C body; from there, adjust ISO up if frames still look dark on the histogram, or down if bright stars start clipping.
The settings shift by sensor format. Here's a starting point for three common setups[4]:
| Setup | Aperture | ISO | Shutter speed |
|---|---|---|---|
| Full-frame, fast wide lens | f/1.4 to 2.8 | 3200 to 4000 | 10 to 15 s |
| APS-C | f/2.8 | 4000 to 6400 | 12 to 18 s |
| Budget full-frame (e.g. Nikon Z5) | f/2.8 | 3200 to 4000 | 10 to 15 s |
These are starting points, not fixed rules: check your histogram after the first frame and adjust ISO before anything else.
Manual focus and the NPF rule
The old 500 rule divides 500 by your focal length to estimate the longest shutter speed before stars trail. It was written for film-era resolution, and it's too generous on any modern high-megapixel sensor: trails show up in a 100% crop long before the 500 rule says they should. The NPF rule replaces it: 35 times aperture plus 30 times pixel pitch, divided by focal length[6]. A full-frame body at f/2.8 with a 5.96-micron pixel pitch and a 24mm lens works out to roughly 11 seconds, noticeably shorter than the 500 rule's 20-second allowance for the same lens. A free NPF calculator at skiesandscopes.com does the arithmetic for your exact camera and lens.
Focus itself has to be checked, not trusted. Switch to live view, zoom in 10x on the brightest star in frame, and turn the focus ring until that star is a tight point rather than a soft blob. Lock focus once it's sharp, because autofocus will hunt uselessly the moment you half-press the shutter again.
RAW files and white balance
Shoot in RAW, not JPEG. A RAW file keeps far more shadow detail and gives you real headroom to fix exposure and color after the fact; a JPEG has already thrown most of that data away in-camera. Set white balance manually to somewhere around 3200 to 4000K for a natural-looking sky, or leave it at the camera's default and correct it in post, since a RAW file stores the full color data regardless of the in-camera setting.
Photographing the Milky Way with a smart telescope
A smart telescope bundles a small-aperture scope, camera, mount, and stacking computer into one app-controlled unit. Point your phone's app at the sky, tap a target, and the scope finds it, tracks it, and stacks dozens of short sub-exposures into one cleaner frame while you watch the image build up live. For Milky Way work specifically, this is the most under-used option in this guide: most owners bought theirs for planets and nebulae, not wide-field galactic-core shots.
The honest limit applies across the category: live-stacking reduces noise progressively as more sub-exposures accumulate, but it can't invent detail the aperture never collected in the first place. A smart telescope excels at wide-field Milky Way and emission-nebula targets and isn't a substitute for a longer-focal-length setup on faint galaxies[10]. Setup runs 2 to 10 minutes depending on the model, and every one of these depends on a phone's Wi-Fi connection holding steady through the session.
| Model | Field of view | Best for Milky Way | Approx. price |
|---|---|---|---|
| Seestar S50 (ZWO) | Very narrow, about 1.3 x 0.7 degrees; needs many mosaic frames for the full core | More light-gathering aperture; built-in duo-band filter favors nebulae over wide star fields | Discontinued; launched $549, used ~$300-400 |
| DWARF 3 | Wider than the Seestar S50 | Compact and lightweight; fewer stitched frames needed for the core | $549 |
| DWARF II | Broadest of the three | Can frame the whole core in one or two shots | $459-559 (Standard to Deluxe) |
ZWO Seestar S50
The Seestar S50 launched at roughly $549[7], pairing a 50mm aperture with a 250mm focal length at f/5 and a small 2-megapixel sensor: more raw light-gathering than either DWARF model, and the heaviest of the three at about 3kg. ZWO discontinued the S50 in early 2026, replacing it with the Seestar S30 Pro at roughly $349[7]; original S50 units are now scarce and typically sell secondhand for around $300 to $400[7]. It's still a capable scope if you find one used, just no longer a current model.
The catch for Milky Way work specifically: its field of view is very narrow, roughly 1.3 by 0.7 degrees[7], and its bundled duo-band filter is tuned for emission nebulae, not a wide star-field shot of the galactic core. You'll need to shoot and stitch many mosaic panels to cover the whole core, and you may want to bypass the filter for a natural-color wide shot.
DWARF 3
The DWARF 3 trades aperture for portability: a 35mm lens with a sextuplet flat-field design, priced at roughly $549[8], and at about 1.3kg, less than half the S50's weight. Reviewers consistently note a noticeably wider field of view than the S50, which means far fewer stitched panels to cover the galactic core in one session, though exact degree figures vary between test units and firmware, so treat any specific number with caution.
The tradeoff is aperture: 35mm gathers less light than the S50's 50mm, so DWARF 3 frames need more stacked sub-exposures to reach the same signal-to-noise level on faint targets.
DWARF II
The DWARF II uses a dual-lens system, a wide-angle finder camera paired with a telephoto lens, an 8-megapixel sensor, and the broadest field of view of the three scopes[9], priced from roughly $459 for the Standard edition to about $559 for the Deluxe edition[9], at a similar weight to the DWARF 3 around 1.3kg. That width matters here: DWARF II can frame most or all of the galactic core in one or two shots, where the S50 needs a much larger mosaic given its narrow field of view.
What it gives up is aperture again: 35mm versus the S50's 50mm, so DWARF II leans on its wider frame and higher-resolution sensor rather than raw light-gathering for a usable wide-field Milky Way image.
Processing your Milky Way photos
Every device in this guide benefits from stacking: combining several exposures of the same frame to average out sensor noise while keeping real star and core detail. A camera and tripod produce individual raw frames you stack afterward; a smart telescope does this live in the app as you shoot, though you can still export the stacked result to desktop software for a deeper edit.
For camera-based stacking, three free or low-cost tools cover almost everyone:
Featured · Destination
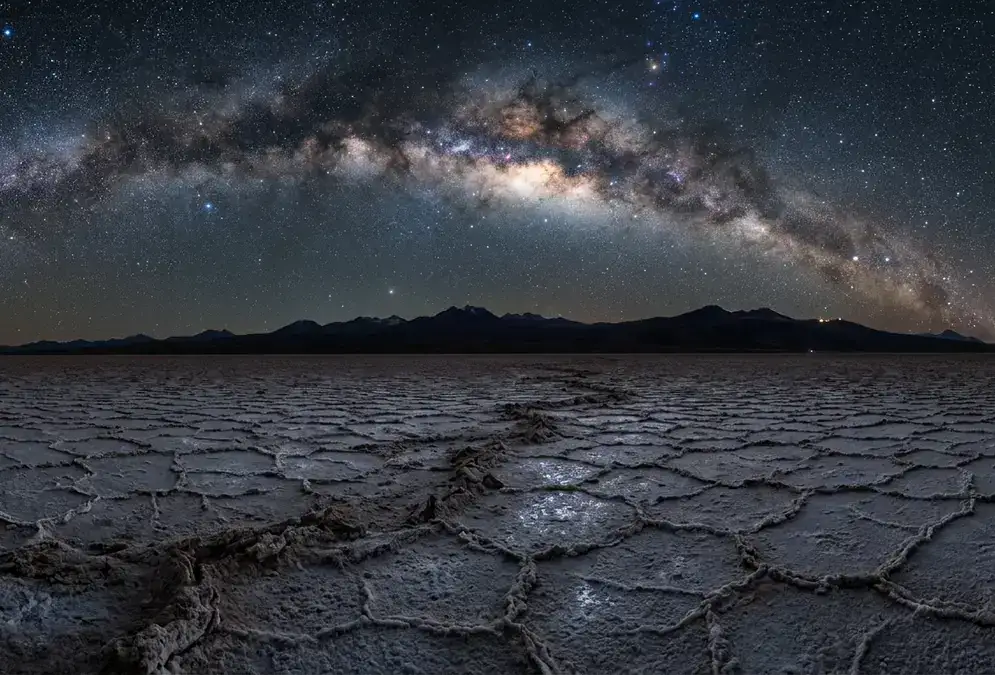
Atacama Desert Stargazing
Earth's driest desert delivers Bortle 1–2 skies, 330+ clear nights a year, and the galactic core almost overhead. Guide: tours, lodges, season, getting there.
- Siril: free, cross-platform, handles the full stacking and calibration workflow
- DeepSkyStacker: free, Windows-only, a long-standing standard for astrophotography stacking
- Sequator: paid, simpler interface, a common starting point for people moving past single frames
Recommended tours
Tours are selected for quality, not commission. I earn a small fee if you book — at no extra cost to you.




Once you have a stacked file, whether from a camera workflow or exported from a smart telescope, the edit itself is a handful of moves in Lightroom or Photoshop: lift shadows to pull out the core's dust lanes, add contrast and clarity selectively rather than globally, boost vibrance on the core without oversaturating the rest of the frame, run luminance noise reduction, and finish with a gentle S-curve for depth. Shooting RAW rather than JPEG is what makes this stage possible at all, since a RAW file holds far more recoverable shadow detail and headroom to fix exposure and white balance after the fact. For a look at how a genuinely dark sky changes what's recoverable at this step, see the best dark-sky parks in the world: more signal at capture time means less work rescuing shadows later.
The same exposure and stacking principles carry over directly to other night-sky events: how to see the northern lights and the meteor showers guide cover the settings and timing specific to each.
Common Milky Way photography mistakes
Most disappointing Milky Way photos trace back to one of six repeatable mistakes, all fixable before your next session.
- Star trailing from the 500 rule. On a modern 40-plus megapixel sensor, the 500 rule allows shutter speeds long enough to show visible trails in a 100% crop. Use the NPF rule instead.
- Missed focus. Autofocus fails in the dark almost every time; zoom in on a bright star in live view and adjust manually, every session, even if you nailed it last time.
- Wrong Bortle expectations. Shooting from a Bortle 6 or 7 sky and expecting a Bortle 2 result off a phone or entry-level camera sets you up to be disappointed by your own planning, not by a real limitation.
- Shooting in the wrong season. In the northern hemisphere, the galactic core sits below the horizon for most of November through January; no amount of skill or gear fixes a target that isn't up yet.
- Ignoring the moon. A bright moon within a few days of full washes out core contrast regardless of camera, phone, or smart telescope.
- ISO too low, or white balance left at default. Underexposing to play it safe just buries the core in noise once you brighten it in post; leaving a RAW file at a default daylight white balance is why so many first attempts come out an unnatural blue instead of the core's natural warm-and-cool contrast.
None of these are gear problems. They're sequencing problems: get the timing right, get the focus right, and the device you already own will do the rest.