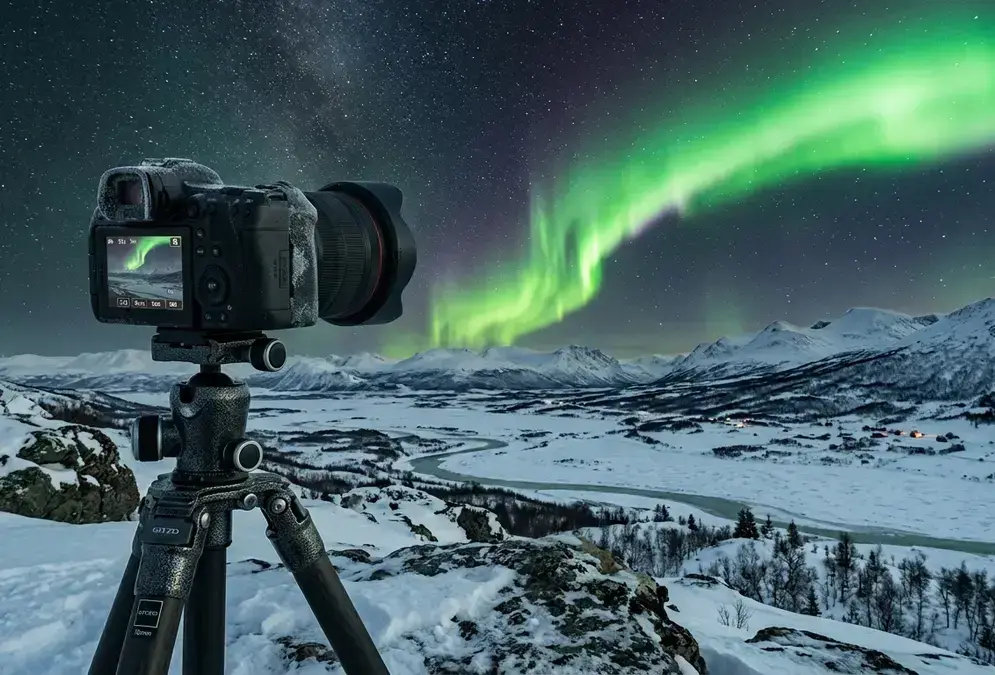

The two mistakes that ruin most aurora photos
f/2.8
Camera settings for the northern lights
Featured · Destination
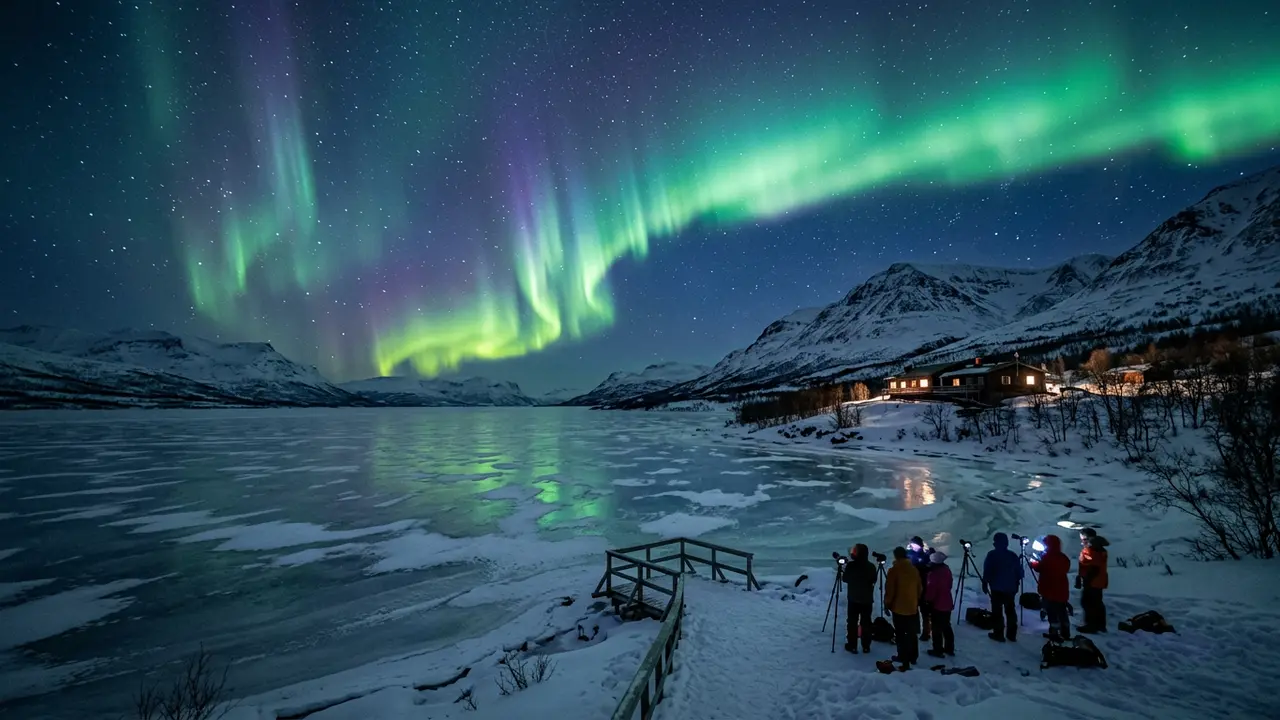
Abisko Stargazing
Abisko's rain-shadow microclimate keeps skies clear when nearby Arctic spots cloud over. Aurora season, the Sky Station, ICEHOTEL, and getting there by train.
Why RAW format matters for aurora color
Choosing your camera and lens
Tripods, remote releases, and cold-weather essentials
30–40%
Can you photograph the northern lights with a phone?
When the aurora is filling the sky with vivid green, there is enough signal for the algorithm to work with.
When the aurora appears: your shooting sequence
Recommended tours
Tours are selected for quality, not commission. I earn a small fee if you book — at no extra cost to you.




- Step 1
Head outside
Check the aurora forecast app. Give your eyes 5 minutes to dark-adapt before judging activity level.
- Step 2
Set up the camera
Mount camera on tripod, lock the ball head, and confirm manual focus on the brightest star in the frame.
- Step 3
Test shot
Shoot at f/2.8, ISO 1600, 10 seconds. Check the histogram, not the preview screen, for exposure.
- Step 4
Dial in
Shorten shutter for fast-moving aurora. Drop ISO if the display is bright. Adjust until the histogram is balanced.
- Step 5
Shoot through the peak
Fire continuously with the remote shutter release. Keep eyes on the sky between shots.
- Step 6
Wrap up
When activity fades, pocket a warm spare battery and head inside before the cold kills the remaining charge.