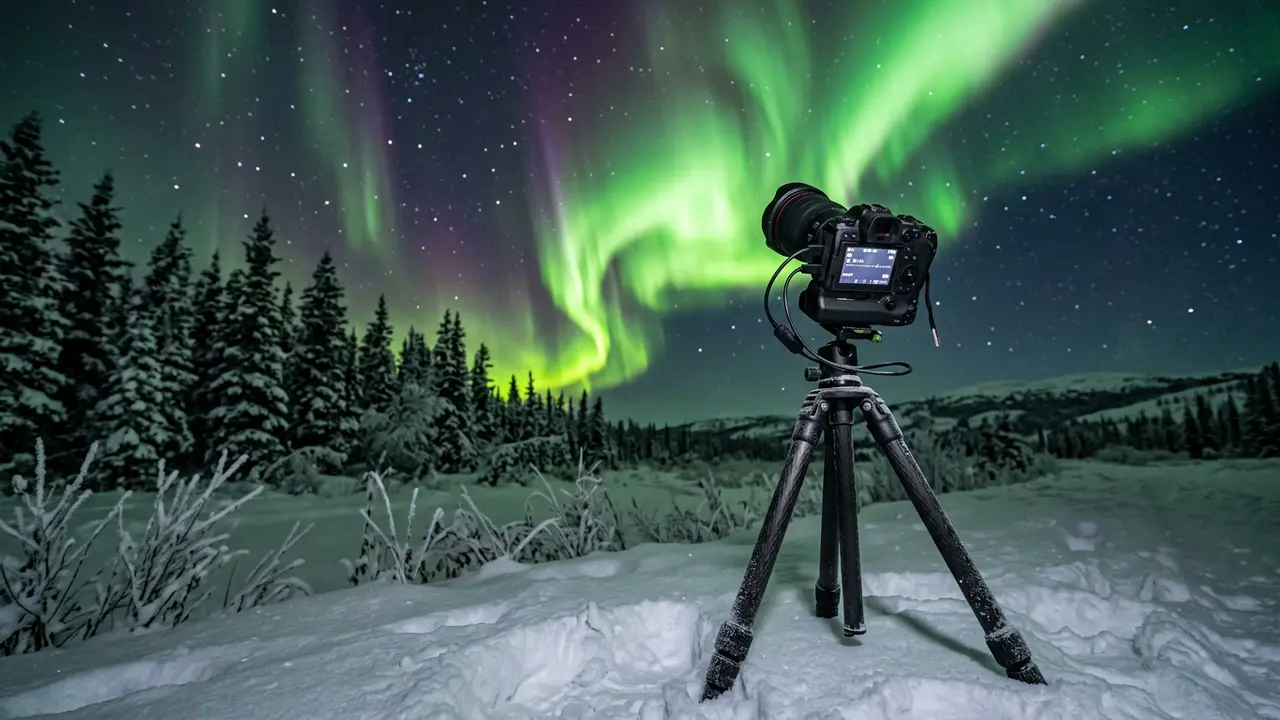

Why Standard Camera Gear Fails at Fairbanks' -40°F Nights
Most aurora-photography guides assume you're shooting somewhere cold, not somewhere that regularly drops to -40°F. Fairbanks does both: it sits inside the auroral oval that makes Fairbanks northern lights visible on ordinary clear nights, and its January lows run colder than a chest freezer. Gear that performs fine at -10°F or -20°F can fail outright once the temperature drops past that line.
Three things break first. Batteries lose most of their working capacity as the chemical reactions inside them slow down; in polar conditions a fully charged battery can drain completely in as little as 45 minutes[1]. Aluminum tripod legs stiffen and lose flexibility below roughly -20°F, becoming painful to grip even through gloves. And condensation, not the cold itself, does the most permanent damage: carry a frozen lens straight into a warm cabin and moisture forms on and inside the glass before you've set your bag down.
The fix for each failure point is specific, not generic cold-weather advice. This guide works through camera body, lens, tripod, and battery choices built for Fairbanks-level cold, plus the accessories and condensation trick that keep everything running through a four-hour aurora vigil. Photographing gear is only half the trip; see Fairbanks winter packing list for the clothing system that keeps you upright while your camera does its job.
45 minutes
Camera Body: Full-Frame vs. Crop Sensor in Extreme Cold
The full-frame-versus-crop-sensor debate matters less for aurora photography than it does for other genres, but it isn't irrelevant. A full-frame sensor collects more light per pixel, producing cleaner files at the ISO 800 to 3200 range aurora work typically demands[2]. A crop-sensor body paired with a fast prime lens still produces solid results; sensor size matters less than exposure technique and lens speed, but if you're choosing between two bodies specifically for a Fairbanks trip, the full-frame option earns its price at high ISO. That extra light-gathering is also why a photo can show far more color than you saw with your own eyes; why Fairbanks aurora photos look more vivid than reality covers the rod-and-cone vision science behind the gap.
Look past megapixels toward the manufacturer's operating-temperature spec. Fairbanks-level cold pushes most consumer bodies close to their stated limits. Recent Canon RF and Nikon Z mirrorless bodies are generally cited for the strongest weather sealing among mainstream mirrorless mounts, while Sony's A7 series gets singled out specifically for high-ISO performance in aurora work. None of the three is bulletproof at -40°F; all three depend on the battery and condensation habits covered below.
Featured · Destination
Fairbanks Northern Lights
Fairbanks sits directly under the auroral oval at 64.8°N. Aurora season runs Aug 21–Apr 21, peaking Feb–Mar, with roughly 90% odds if you stay 3+ nights.
Autofocus speed, usually a major buying factor, barely matters here. Aurora photography is a manual-focus discipline: you lock focus at infinity once and leave it, so a body's autofocus system does none of the work it was built for. What does help is a battery grip, which adds thermal mass around the battery compartment and gives you a second cell inline without a pocket swap. If a mechanical failure strikes far from a heated car, a guided outing like the Fairbanks aurora viewing tour puts you within reach of backup gear and a warm vehicle.
Lens Choice: Aperture and Focal Length for the Fairbanks Sky
Aperture matters more than any other lens spec. f/2.8 is the practical floor for aurora work; anything narrower forces you to push ISO high enough to introduce visible noise or lengthen the shutter until a fast-moving aurora blurs. Faster is better: each full stop wider roughly doubles the light reaching the sensor, so an f/1.8 lens gathers about twice what an f/2.8 lens does in the same exposure[4].
Focal length decides how much sky you capture. Fairbanks sits close enough to the auroral oval that displays often fill the entire dome overhead instead of sitting as a band near the horizon, so a 10mm to 18mm lens is the range most working Fairbanks aurora photographers reach for: wide enough to hold the full arc without cropping the top of an overhead corona[3].
A handful of lenses come up repeatedly among Fairbanks aurora shooters:
- Sony 14mm f/1.8 GM: exceptionally sharp wide open, native to Sony mirrorless bodies
- Sigma 14mm f/1.8 Art: comparable optics, available across Canon, Nikon, and Sony mounts
- Nikon Z 14-24mm f/2.8: the strongest zoom option for Nikon shooters who want focal-length flexibility
- Canon RF 15-35mm f/2.8: a capable all-rounder for Canon bodies, a stop slower than the primes above
Assemble Your Lens Outside, Not Indoors
Cold-weather lens condensation isn't only a problem for the trip home. Attach a lens, filter, or hood indoors and then step out into -40°F air, and moisture from the warm room condenses inside the lens barrel as it cools; it can freeze there before you ever press the shutter. Assemble your full kit in the cold environment you'll be shooting in, whether that's outside, in a car with the heater off, or on a covered unheated porch, never in a heated room right before you step out.
Tripod Material: Why Carbon Fiber Wins Below -20°F
Aluminum is the tripod material most photographers already own, and it's the wrong choice for a Fairbanks aurora shoot. Below roughly -20°F, aluminum legs stiffen and lose flexibility, and the metal gets cold enough that bare or thinly gloved skin risks frostbite on contact.
Recommended tours
Tours are selected for quality, not commission. I earn a small fee if you book — at no extra cost to you.




Carbon fiber solves both problems. It stays flexible and comfortable to handle at Fairbanks-level cold, and it dampens vibration in the legs themselves, which matters when a 3-to-4-second aurora exposure needs a completely still platform. Benro's carbon-fiber tripods come up often among Fairbanks aurora photographers as a reliable, sturdy choice for these conditions[2].
| Material | Behavior below -20°F | Best for Fairbanks aurora work |
|---|---|---|
| Aluminum | Stiffens, loses flexibility, cold enough to risk frostbite on contact | Avoid for extended outdoor sessions |
| Carbon fiber | Stays flexible, comfortable to handle, dampens vibration | Recommended, including Benro's carbon-fiber line |
Beyond leg material, look for:
- A heavy, stable base that resists wind during long exposures
- A ball head that locks and releases smoothly with heavy gloves on
- A quick-release plate you can operate without removing your outer mitts
- A modest maximum height; aurora shooting favors a low, stable stance over a tall one
Battery Survival: Managing Power Through a Polar Night
Cold doesn't destroy a battery's capacity permanently; it slows the chemical reaction inside the cell, temporarily reducing how much charge is available. The effect is dramatic at Fairbanks temperatures: a battery that reads full charge in a heated room can drop toward empty within 45 minutes to an hour of continuous outdoor use[1].
Fairbanks aurora photographers who shoot most clear nights manage batteries the same way:
- Charge every battery fully indoors before heading out; a partial charge drains faster in the cold
- Keep spares in an inner coat pocket, against body heat, not in a camera bag
- Pair a spare with a chemical hand warmer inside a small insulated pouch for sessions longer than two hours
- Turn off Wi-Fi, Bluetooth, GPS, image stabilization, and live view, and dim the screen; every feature you disable buys minutes
- Swap in a warm spare the moment the active battery drops below 20 percent, and let the depleted one recover against your body for later
Cold doesn't destroy a battery's capacity permanently; it slows the chemical reaction inside the cell, temporarily reducing how much charge is available.
A battery grip helps here too: beyond the convenience of a second cell inline, the extra mass around the battery compartment slows how quickly the cold reaches the cells.
How Many Spares to Carry
There's no fixed number, but treat each battery as good for roughly 30 to 45 minutes of active shooting at Fairbanks-level cold rather than the several hundred shots its manufacturer rating promises. For a four-hour aurora session, that means planning on four to six batteries in rotation, cycling depleted ones back to a warm pocket rather than assuming one or two will carry you through the night.
Condensation, Memory Cards, and the Rest of the Kit
Condensation, not the cold, causes the lasting damage. Moving a frozen camera into a warm room lets humid indoor air condense directly onto and inside the lens elements, the single biggest threat lenses face in polar conditions[5]. Fairbanks' dry arctic air works in your favor compared to a damp coastal winter, but the risk doesn't disappear once you head indoors.
The fix costs nothing. Before you go back inside, seal your camera and lens inside a Ziplock bag while you're still outside in the cold[6]. Condensation still forms, but it forms on the outside of the plastic instead of on your glass and sensor. Leave the sealed bag alone until everything inside reaches room temperature, usually about an hour, then open it. A silica gel pack tucked into the bag speeds up the process and mops up any residual moisture.
A handful of smaller accessories round out a Fairbanks-ready kit:
- Memory cards rated for extended temperature ranges; older or budget SD cards can behave erratically in extreme cold
- A mechanical cable release rather than a wireless one; wireless triggers depend on a battery and an infrared signal, and both perform worse in extreme cold
- A single protective filter per lens, not stacked; every extra glass-to-glass interface is another surface where frost can form
A Quick Word on Camera Settings
Settings themselves barely change for extreme cold. Start around ISO 1600, f/2.8 or wider, and a 3-to-4-second shutter, focus manually to infinity, and shoot RAW with a custom white balance near 3500K. The Fairbanks-specific work is keeping the gear alive long enough to use those settings; see how to photograph the northern lights for the full settings walkthrough and shooting sequence.