
What NamibRand's desert actually does to your gear
NamibRand Nature Reserve earned Gold Tier International Dark Sky Reserve status in 2012, the first in Africa and only the second reserve on the planet to reach that rating[1]. None of that darkness comes free. The same isolation and dry air that make the sky exceptional also make the desert itself the thing your gear has to survive, and that's a different survival problem than the one covered by this site's other gear guides.
The dry season, April through October, is the recommended stargazing window: daytime conditions stay pleasant and dry, mornings turn chilly, and nights get genuinely cold[2]. Further inland, that swing gets extreme. Nights in the Namib's interior can drop to around 5°C while daytime highs can reach 40°C or more during the hottest stretch, a diurnal swing of up to 35°C in a single day[3]. Gear that sits fine in a warm vehicle at midday has to switch, within hours, to surviving a near-freezing night under an open sky.
Then there's the sand. Fine Namib dust doesn't stay on the ground. It rides the wind into camera bodies, lens threads, and phone ports, and it ends more NamibRand stargazing sessions early than the cold ever does. Neither problem is solved by gear built for somewhere else: alpine cold-weather kit assumes a stable, dry cold, and Arctic gear assumes snow and moisture, not blowing dust and a 45-degree afternoon. Start planning from the NamibRand Nature Reserve side of the trip, since the lodge you pick decides how much of this you'll actually be exposed to after dark.
Protecting your camera and lenses from Namib sand
A camera left open to Namib wind for even a minute risks real damage. Sand that gets past the lens mount during a lens change can lodge inside the camera body and scratch the sensor or the lens's rear element, the kind of damage that isn't cosmetic[4]. Fine grains dragged across a front element with the wrong cloth do the same to the glass on the outside.
The safest way to change lenses in the field is to do it somewhere the wind can't reach the open mount. Inside a vehicle is the reliable option; if that's not possible, turn your back to the wind and use your own body as a windbreak, and work fast[5]. Minimizing the time a camera body sits open matters more here than any cleaning routine afterward.
Cleaning technique is easy to get backwards. Never wipe a dusty lens with a microfiber cloth. Fine sand dragged across glass under fabric pressure scratches it. Use a rocket blower or a lens pen to lift dust off without contact, and save the cloth for smudges on a lens that's already been blown clean[6].
Never wipe a dusty lens with a microfiber cloth.
A high-quality, multi-coated UV filter screwed onto the front of each lens acts as a sacrificial layer: it takes the sand impact and scratches that would otherwise land on the lens's actual front element, and it's far cheaper to replace than the lens underneath it. A cheap filter isn't worth it, since low-quality glass introduces flare and softness that undoes the point of bringing good lenses in the first place; pay for genuine multi-coated optical glass here[7]. A weather-sealed camera body helps against wind-blown dust generally, though even a sealed body is no substitute for keeping the mount closed during a lens change.
Tripods and camera stability on dune sand
Standing a tripod up on loose dune sand is its own small problem, separate from anything wind or grit does to a camera body. Sand shifts and settles under weight, and a tripod that looked level when you set it up can drift or sink slightly over a long exposure.
None of the sources behind this guide could confirm a technique specific to NamibRand's dunes, so treat the following as sensible field practice rather than settled fact: splay the tripod legs wider than you would on solid ground, skip extending the center column if your tripod has one, and press each leg down firmly until it stops settling before you start shooting. Some photographers weigh the base with a sandbag or a full water bottle hung from the center hook for extra stability in wind. None of it replaces checking your level between long exposures, since sand under one leg can settle differently than sand under another.
Featured · Destination
NamibRand Nature Reserve
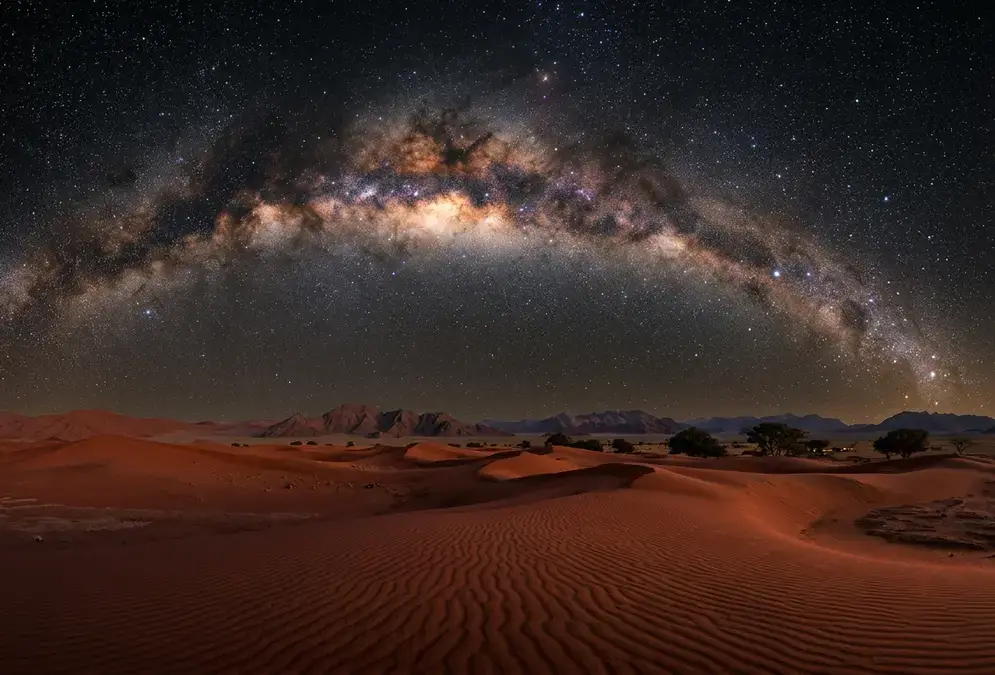
NamibRand is Africa's only Gold Tier Dark Sky Reserve: extreme Namib Desert isolation, the Southern Cross, Magellanic Clouds, and luxury safari lodges.
Binoculars, telescopes, and what NamibRand lodges actually offer
None of NamibRand's naked-eye sky needs a telescope to be worth the trip. The reserve's pitch has always been the whole naked-eye Milky Way and the Southern Cross, not a night spent squinting through an eyepiece. That said, a pair of binoculars is the single most useful optical upgrade for a NamibRand night: wide field of view, no setup, and steady enough to hand-hold after a full day of driving.
Some Namibian stargazing lodges lend guests binoculars, and a portable telescope or a pair of astronomy binoculars helps resolve detail the naked eye can only guess at: Saturn's rings, Jupiter's brightest moons, and fainter deep-sky targets beyond the Magellanic Clouds[8]. Treat that lending as a nice-to-have rather than a plan. It varies lodge to lodge, and NamibRand's own properties don't all advertise it the same way, so ask directly when booking rather than assuming a specific lodge stocks binoculars or a scope.
| Approach | Sand/dust risk | Setup effort | Best for NamibRand |
|---|---|---|---|
| Naked eye | None, nothing to protect | None | The Milky Way arch, Southern Cross, Magellanic Clouds |
| 10x50 binoculars | Low, no lens changes needed | None, ready immediately | Deep-sky detail without extra gear risk |
| Personal telescope | High, cooldown and setup expose optics to blowing sand longer | Cooldown time plus alignment | Serious astrophotographers only |
| Lodge-lent binoculars or scope (where available) | None, it's not your gear at risk | Ask at check-in | Travelers packing light |
A 10x50 pair is the standard travel choice, for the same reasons it works everywhere else: for a broader look at how that spec compares against telescopes in gentler climates, see stargazing gear for beginners. If you're bringing your own telescope regardless, budget extra time for it. A scope that's been baking in a hot vehicle all day needs to cool to the outside air temperature before its optics perform properly, and at NamibRand that gap between car and night air can be enormous. If your days include game drives too, the best binoculars for safari and stargazing guide settles the 8×42 versus 10×50 call for one pair doing both jobs.
Layering for a 30°C-plus day-to-night swing
Dress for the night, not the afternoon you just spent in. A NamibRand day in the dry season typically sits in the low-to-mid 20s°C, and the same night can drop to around 7°C once the sun is fully down and the desert stops holding any of that heat[11]. Pack a system that sheds layers fast at sunset and adds them just as fast an hour later.
35°C+
Daytime is about shedding heat and covering skin from sun and blowing dust, not insulating against cold: breathable long sleeves, a wide-brim hat, and a light scarf or buff that doubles as sand protection on a windy dune walk. None of that stays on once the sun drops.
Night is the opposite problem entirely. A proper insulated jacket, a hat that actually covers the ears, and gloves are not optional once you're standing still at a viewing deck for two or three hours. Namibia's dry season nights can drop to around 7°C out in the open desert even when the daytime high nearby reached the mid-20s°C[3], so pack as if you're dressing for two different climates on the same trip, because you are.
Red light, camera settings, and the rest of your kit
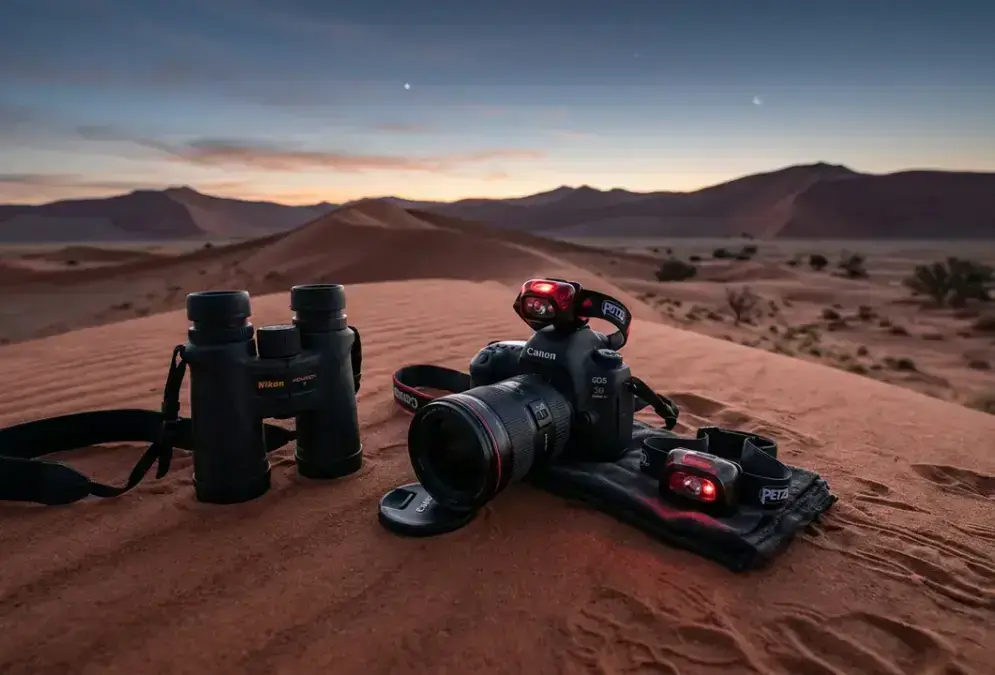
Protect your night vision the way you'd protect it anywhere dark enough to matter. A red-filtered light source keeps your pupils dilated and your eyes sensitive to faint stars, where a plain white headlamp resets that adaptation in seconds[9]. Pack it charged, and use it for everything from finding a dropped lens cap to reading a settings dial.
For a first attempt at photographing the Milky Way over the dunes, a fairly standard starting point works: tripod-mounted camera, manual mode, roughly f/2.8, a 15 to 25 second exposure, and ISO 1600 to 3200[10]. Adjust from there once you see your first frame. For the full settings breakdown and device-by-device advice, see how to photograph the Milky Way, and for the camera-body, lens, and tripod choices specific to a dune-foreground shoot, see astrophotography gear for NamibRand.
The rest of the kit is short, and none of it is exotic:
Recommended tours
Tours are selected for quality, not commission. I earn a small fee if you book — at no extra cost to you.




- A rocket blower, lens pen, and a dedicated lens-cleaning cloth
- A UV filter already mounted on every lens you're bringing
- A red-light headlamp, charged, plus a spare set of batteries
- Layered clothing covering both a 35°C afternoon and a near-freezing night
- A dry bag or zip-lock pouch for any optics not currently in use, since a lens cap alone won't keep fine Namib dust out of a bag
None of this needs to be expensive. It needs to be the right short list, packed before you land in Windhoek rather than assembled once you're already standing on a dune at dusk.