
Why dim red light is the astronomy default
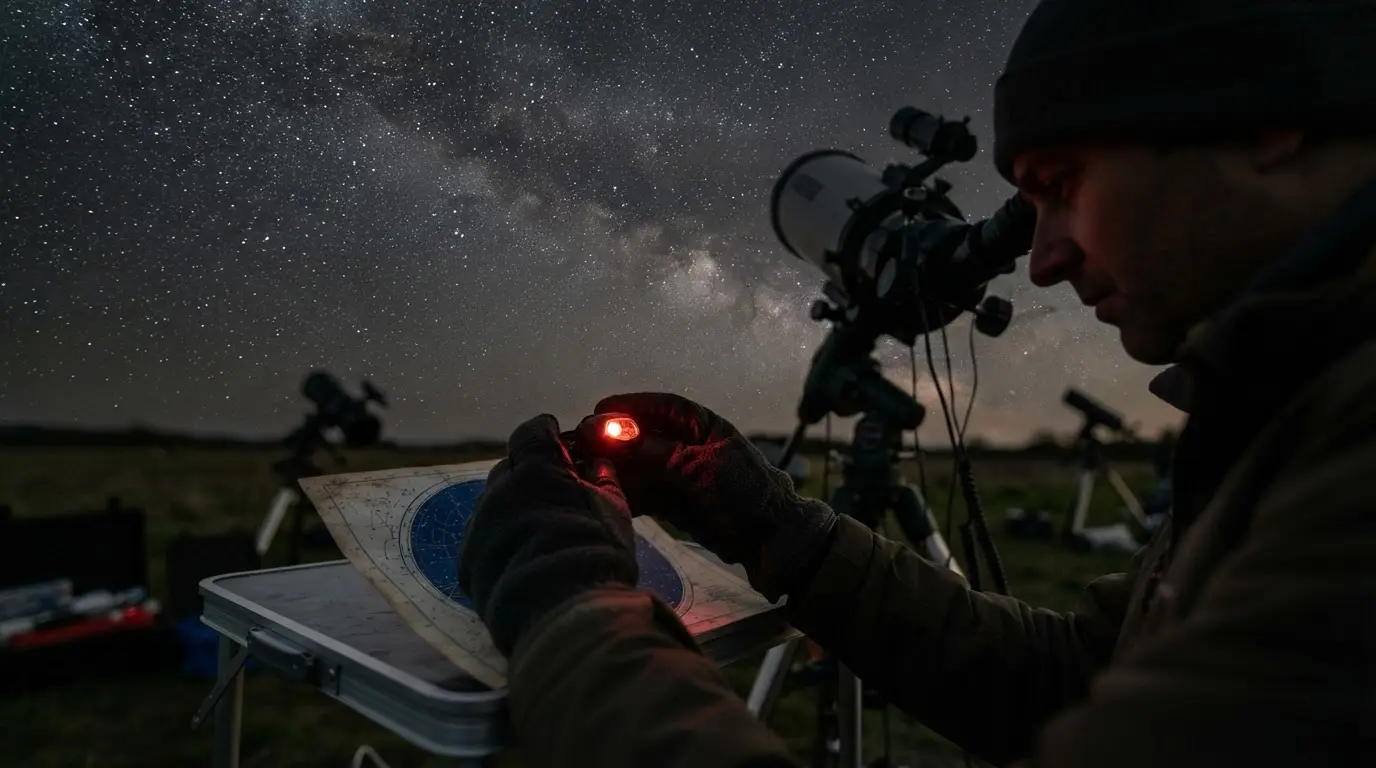
A white headlamp solves the immediate problem and creates a worse one. You can see the tripod leg, but faint stars disappear while your eyes move back toward daylight vision. A low red setting gives enough local contrast for simple jobs and leaves more of your hard-won sensitivity intact. Park guidance therefore recommends a red flashlight or headlamp for moving around after dark.[4]
Red is a compromise, not a force field. Bright red light can still reduce rhodopsin, the visual pigment involved in rod sensitivity, which is why the lowest usable setting beats the brightest red mode.[5] Keep the beam close to the object you need to see. If the ground around your boots is glowing crimson, turn it down.
This matters even more around other observers. Someone beside you may be ten minutes deeper into dark adaptation, lining up a faint target or taking a long exposure. Treat your lamp as shared equipment: point it down, cover it before changing modes, and follow basic dark-sky etiquette before you arrive at a group session.
Before darkness falls
- Select red mode before leaving the car
- Reduce brightness to the lowest readable level
- Check that the lamp cannot switch straight to white
- Tell companions where white light is off-limits
What dark adaptation does inside your eyes
Your retina has cone cells for color and fine detail in brighter conditions, and rod cells that take over much of the work in very low light. Rod-led vision is mostly black and white.[6] That is why a nebula can look gray through an eyepiece even when a long camera exposure records color.
The first visible change is quick: your pupils open wider. The slower gain comes from changes inside the retina, including the recovery of rhodopsin after light exposure. This is the part a bright screen interrupts. More light reaches the eye, more visual pigment is bleached, and faint contrast becomes harder to detect.
Featured · Destination
Uluru
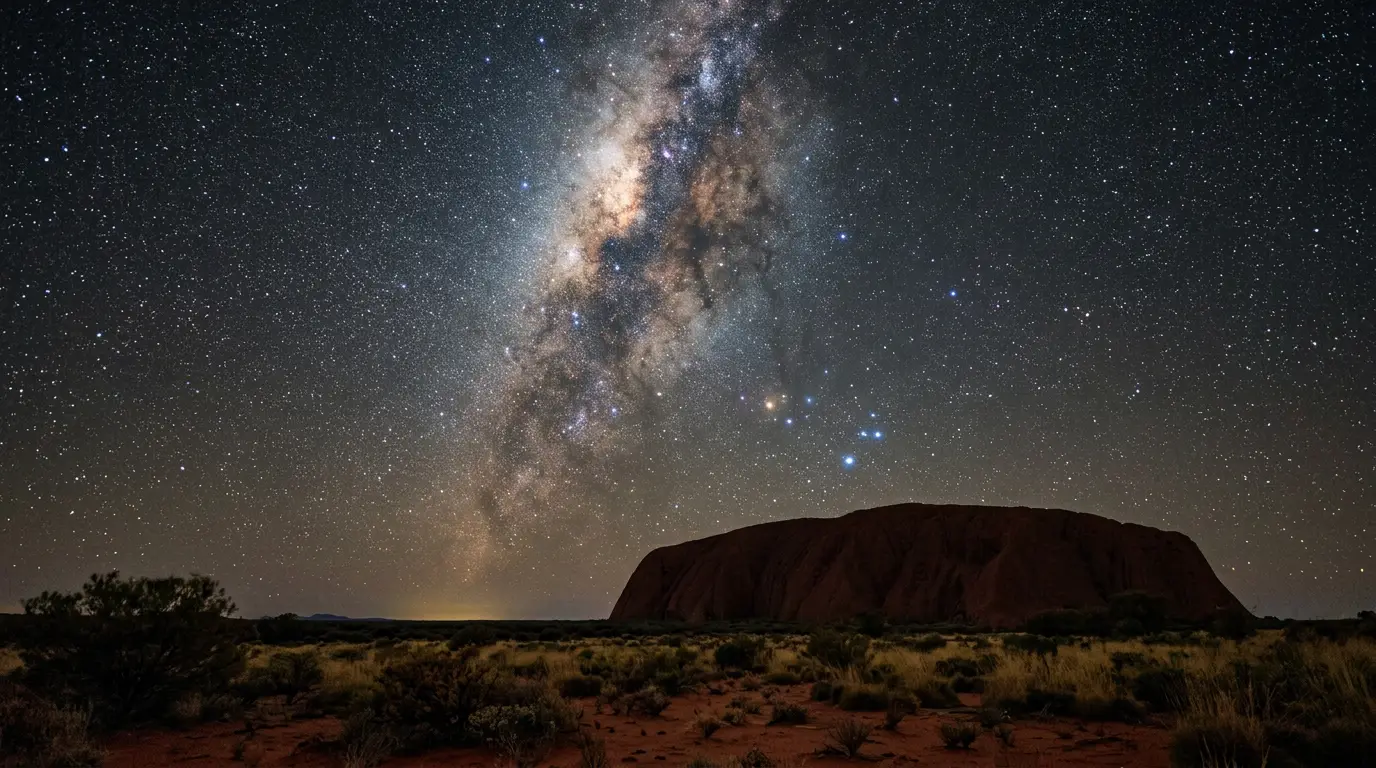
Stargaze at Uluru on Anangu-owned, jointly managed land: the Milky Way's core, Magellanic Clouds and Southern Cross over Australia's red-centre outback.
Recovery is gradual. In one human electroretinogram study after a full bleach, researchers detected no rod response for the first five minutes and measured half-maximal recovery at 13 to 17 minutes.[2] That laboratory exposure does not describe every phone glance or car headlight, but it shows why there is no useful instant-reset trick.
For an ordinary observing session, the practical rule is patient rather than precise: allow a quiet stretch in darkness before judging the sky. The broader stargazing for beginners guide covers what to look for once your eyes have settled.
Why wavelength matters but 650 nm is not a magic line
The eye does not respond equally to every wavelength. Its daylight, or photopic, response peaks at 555 nm in the yellow-green part of the spectrum. In very dark conditions, scotopic vision shifts toward greater blue sensitivity and produces a black-and-white view.[8] A dim red lamp sits away from the part of the spectrum to which rod-led night vision is most sensitive.
That relative difference explains the astronomy habit. It does not prove that every red LED is harmless. Spectrum is only one part of the exposure; brightness, duration, distance from the eye, and beam direction all change how disruptive a lamp will be. A close, powerful red beam can be worse than a very faint warmer light used briefly.
You may see 650 nm presented as a universal safe threshold. The sources behind this article do not establish such a cutoff, so I would not buy a lamp on that number alone. Look for a genuinely low first setting, controls you can operate by touch, and a mode sequence that will not flash white while you cycle through options.
Red light also cannot repair a bright observing site. It protects the sensitivity you have; it does not remove skyglow. If the horizon is washed out, what light pollution does to the night sky matters more than the color of your headlamp.
How to use a red headlamp without becoming the problem
Choose a lamp with a dedicated red control if you can. A model that wakes in red is safer at a star party than one that makes you click through high white output first. Lockout controls also help when the lamp is buried in a bag beside batteries and eyepieces.
Brightness control matters more than a long feature list. Start at the lowest level, aim the beam at the ground, and cup a hand around it when reading a chart. The practical stargazing gear guide can help you place the headlamp among the few items worth carrying.
A phone needs the same discipline. Park guidance recommends red or night mode to help preserve night vision,[9] but a red interface can still be far too bright. Lower the screen before stepping outside, disable notifications, and use it briefly. An opaque cover is better than hoping you can find the brightness slider after your eyes adapt.
Featured · Article
Stargazing Gear for Beginners: Binoculars to Telescopes
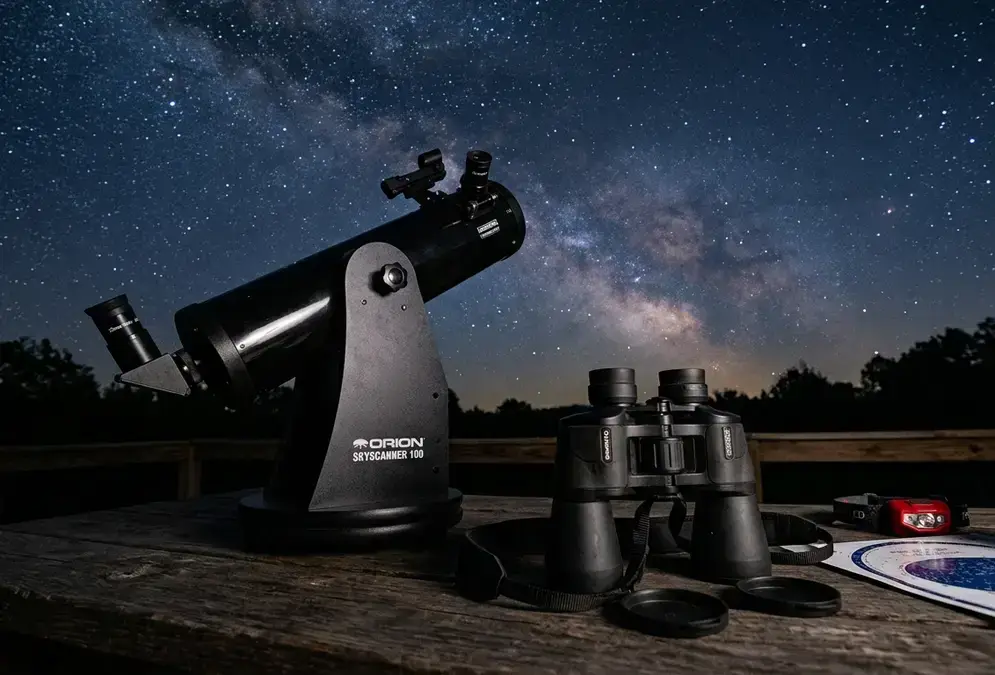
New to stargazing gear? This guide breaks down binoculars, telescopes, and smart telescopes, so you know what to buy first and what to skip for right now.
Pack so you do not need to search. Keep caps, spare batteries, and gloves in fixed pockets, then check the stargazing packing list while you still have room light. Good organization reduces how often any lamp has to come on.
What to do after an accidental white-light exposure
Turn the light off. Do not test your vision every minute with another screen, because that starts a fresh exposure. Stay in darkness, keep both eyes away from nearby lamps, and postpone the faintest targets until contrast begins to return.
There is no honest countdown for every mistake. Experimental recovery time rises with the amount of visual-pigment bleaching,[7] so a split-second notification, a headlamp at arm's length, and car headlights across a field should not be treated as equivalent. Your eyes, the brightness, and the duration all change the result.
Do not promise a reset time
A fixed recovery claim ignores how bright the exposure was and how long it lasted. Let vision return before attempting a faint target.
If only one eye was exposed, closing or covering the better-adapted eye during the interruption may preserve it for the eyepiece. Do not turn that into a reason to tolerate stray light. Prevention is easier than judging which eye recovered first in the dark.
For astrophotography, use the interruption to handle a bright-screen task away from other observers, then return with the display dimmed. For visual observing, switch temporarily to the Moon or a bright planet rather than pretending a faint galaxy should look normal immediately. Patience is the only recovery tool that works every time.