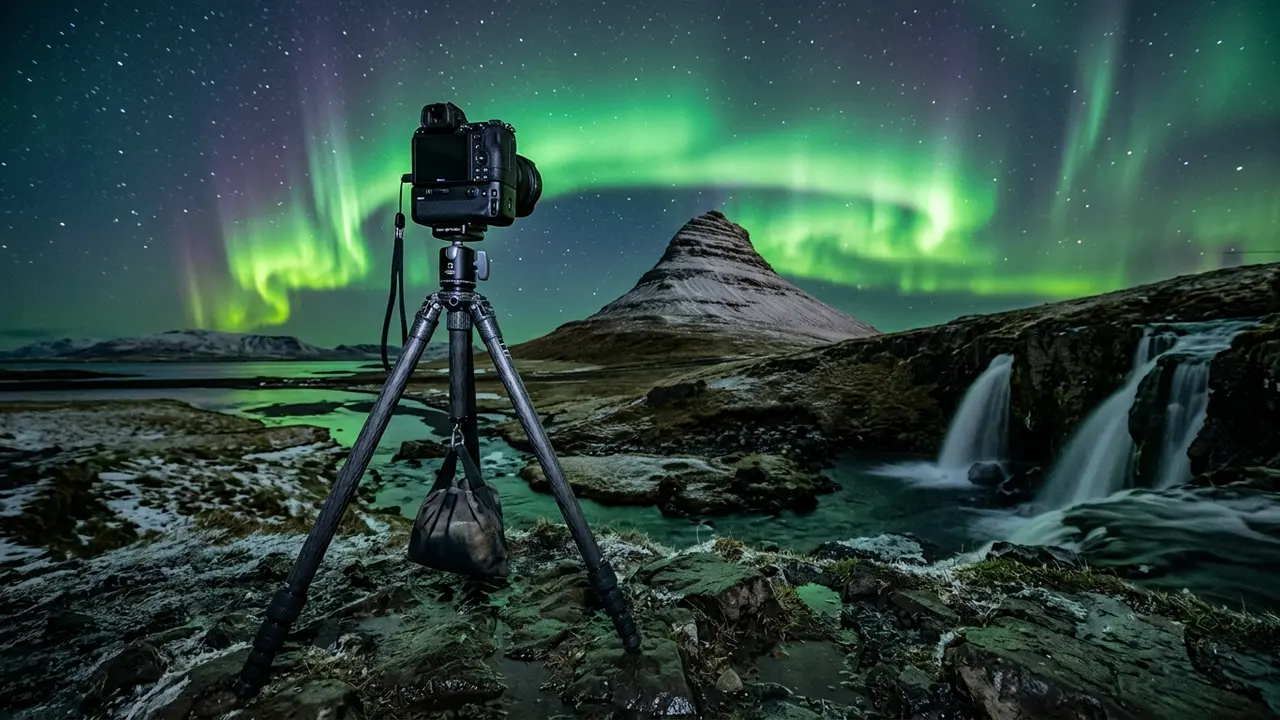

Why Iceland's Wind and Sea Spray Change the Gear Equation
Iceland sits far enough north and close enough to the auroral oval that a clear, moonless night can deliver a strong display on its own, without extreme cold complicating the shoot. Winter lows here typically run from the low 20s to mid-30s°F, mild compared to Fairbanks' -40°F nights, so battery failure and brittle tripod legs aren't the main threat. Wind is. Arctic gusts off the North Atlantic feel 10 degrees colder than the thermometer reading[1], and that same wind is what actually ruins most Iceland aurora photos: a six-second exposure on a shaking tripod comes back soft no matter how good the lens is.
Guides written specifically for Iceland conditions flag two separate risks, not one blended one: a wind gust can knock a tripod-mounted camera over entirely, which one guide warns is simply not fun when it happens, and separately, Iceland's cold, milder as it is, still drains battery life faster than a mild night would. That's the order of priorities this guide follows, tripod stability first, then lens speed, then battery management, then the coastal problem nobody mentions until their lens starts corroding: sea spray. Locations like Skógafoss, Seljalandsfoss, and the black-sand coast near Jökulsárlón put mist and salt directly into the air around your gear, on top of whatever wind is already shaking your tripod.
Before packing anything, check the Kp index for your travel window and get familiar with Iceland's northern lights season, since gear choices only matter on a night the aurora actually shows up.
Camera Body and Lens: Wide-Angle Setup for Landscape and Aurora
A full-frame body with strong high-ISO performance is the safer choice for Iceland, the kind of camera guides for the destination point to directly: Canon's 5D series or the Nikon D850 turn up repeatedly as reliable choices[1], typically shot at ISO 1600 or higher depending on how bright the aurora display is. A crop-sensor body with a fast prime still produces usable images; sensor size matters less than lens speed, but if you're buying specifically for this trip, full-frame earns its price at high ISO.
Weather sealing matters more here than in Fairbanks. A sealed body shrugs off the mist drifting off Skógafoss or Seljalandsfoss; an unsealed one invites moisture into the same gaps that let cold in. Both Canon's RF mount and Nikon's Z mount bodies are generally cited for stronger sealing among current mirrorless lines, worth checking before you commit to a rental or a purchase.
The lens matters more than the body. f/2.8 is the floor, not the target: for aurora work in Iceland's conditions, you need a fast lens, ideally f/2.8 or wider[2]. A 14 to 24mm focal length does double duty, wide enough to fit more of the landscape and more of the sky into the same frame, which is exactly what shooting the northern lights over a foreground like Kirkjufell or a glacier lagoon requires[3]. Four lenses come up again and again among Iceland aurora photographers:
f/2.8
- Sony 14mm f/1.8: exceptionally sharp wide open, native to Sony mirrorless bodies, wide enough for foreground and sky in one frame
- Sigma 14mm f/1.8 Art: comparable optics across Canon, Nikon, and Sony mounts, sharp to the edges
- Nikon Z 14-24mm f/2.8: the strongest zoom option for Nikon shooters, with a built-in ND filter useful for daytime waterfall shots on the same trip
- Canon RF 15-35mm f/2.8: a capable all-rounder, a stop slower than the primes above but more flexible for framing
Strip off every filter, including a plain UV filter, before shooting aurora. Each glass interface adds a faint reflection and quietly reduces how much aurora signal reaches the sensor.
Camera Settings for Aurora with Landscape Foreground
Settings barely change between destinations; what changes is how you balance foreground and sky. Start at f/1.4 to f/2.8, whatever the lens allows, ISO 1600, and a 3 to 6 second shutter. Focus manually to infinity and confirm on a bright star before the aurora appears, since autofocus can't lock onto anything this dim. Shoot RAW with white balance set near 3500K as a starting point; aurora color temperature drifts between 3500K and 5000K depending on the display.
For a frame that includes both a lit foreground and a legible aurora, keep ISO in the 1600 to 2400 range rather than pushing it to compensate for a slower lens; overexposing the snow or ice in front of you is a more common mistake than underexposing the sky. Push the shutter toward 8 to 10 seconds only if the aurora is faint and the wind has died down enough to hold it steady. For the full settings walkthrough beyond Iceland-specific composition, how to photograph the northern lights covers exposure adjustments in more depth.
Tripod Choice: Aluminum vs Carbon Fiber in Icelandic Wind
Aluminum is the tripod most people already own, and in Iceland it's a more defensible choice than it would be in Fairbanks. The mercury here doesn't drop far enough for aluminum to turn brittle the way it does at -40°F; in Iceland's typical winter range, aluminum legs stay usable. Wind, not cold, is what wrecks an aluminum tripod's usefulness here. A sturdy tripod is essential for aurora photography because the country experiences frequent high winds[2], and a lightweight aluminum tripod that's perfectly fine in a calm backyard will visibly shake in a 25mph coastal gust.
Carbon fiber earns its price in Iceland for a different reason than it does in extreme cold: mass and dampening, not warmth on the legs. A heavier, more rigid carbon-fiber tripod resists wind-driven vibration better than a light aluminum one, which matters directly during a 3-to-6-second aurora exposure. If you already own a solid aluminum tripod, it will get you through an Iceland trip. If you're buying new specifically for this, carbon fiber's wind resistance is worth the extra cost.
| Material | Behavior in Iceland's wind and cold | Best choice for |
|---|---|---|
| Aluminum | Stays usable in Iceland's winter range, but its lighter weight shakes visibly in 20-30+ mph coastal gusts | Calm nights, budget setups, or if you already own one |
| Carbon fiber | Heavier and more rigid, dampens wind-driven vibration during long exposures | Coastal and mountain shoots with frequent high wind |
Whichever material you bring, look for:
- A tripod rated for genuine wind resistance, not just a stated weight capacity
- A heavy or weighted base, and a center post you can hang your camera bag from to add stability during long exposures
- A ball head that locks smoothly through thick gloves, tested before you're standing on ice in the dark
- A quick-release plate operable without removing your outer mitts
- Enough grip on the feet to hold on ice-slicked rock near coastal viewpoints
Composing Aurora with Iceland's Landscape
Iceland's advantage over most aurora destinations is foreground. Waterfalls, glaciers, ice caves, and jagged peaks give you something to put in the frame besides flat tundra, and a 14-24mm lens is wide enough to hold both that foreground and the aurora arc overhead in one shot. A common composition guideline for aurora with foreground is roughly one-third landscape, two-thirds sky, which keeps the aurora dominant while still giving the eye a place to land.
Position your foreground element in the lower third of the frame and let the aurora fill the rest. A frozen or slow-moving stretch of water can double the effect by reflecting the aurora's color back at the camera, though Iceland's faster rivers and waterfalls rarely sit still long enough for a clean reflection the way a still lagoon does. Including a person, lit by a headlamp or a brief flash of light-painting, adds a sense of scale that an empty landscape can't.
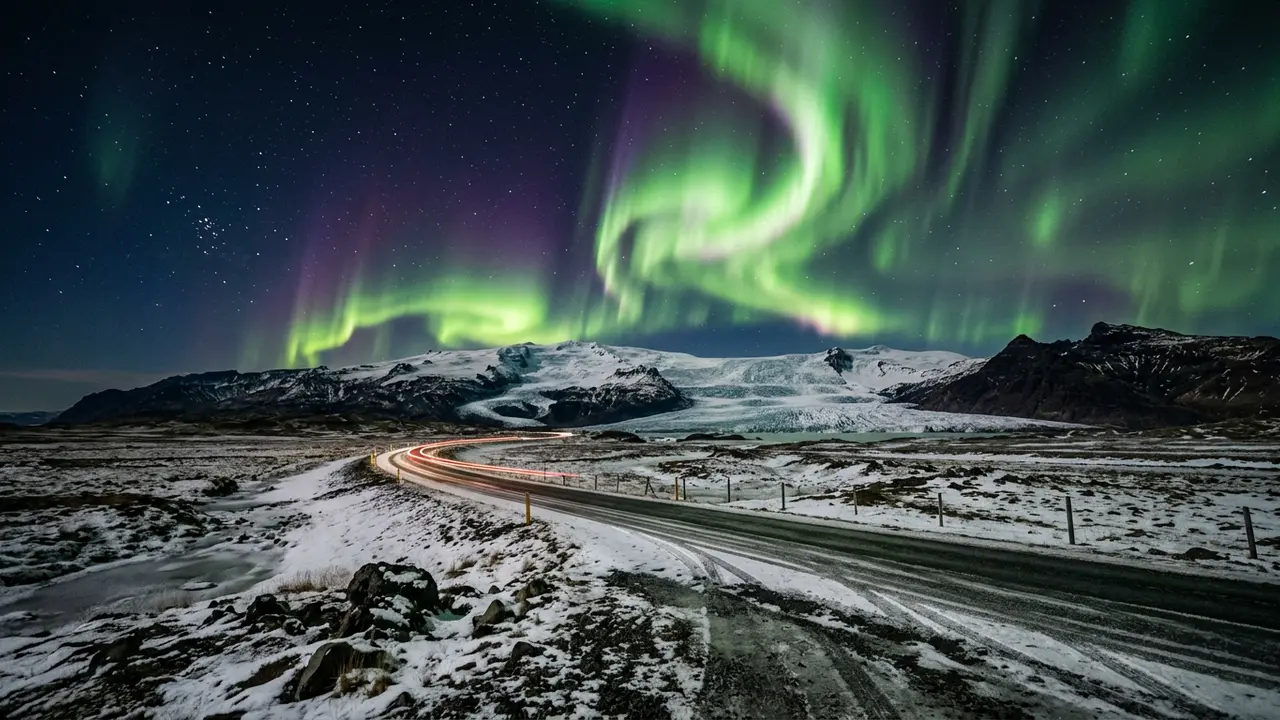
Featured · Destination
Northern Lights in Iceland
Iceland's whole-country aurora guide: best regions to base in, aurora season Sep–Mar, ice caves, winter driving reality, and where cloud cover ends every plan.
Framing Iceland's Signature Aurora Locations
- Waterfalls (Skógafoss, Seljalandsfoss, Gullfoss): put the falls in the lower third and frame the aurora above or beside them; a longer exposure on fast-moving water blurs it into a pale ribbon rather than a reflection
- Glaciers and ice caves (Vatnajökull, Sólheimasandur): use the edges of the ice as leading lines toward the aurora; the blue of the glacier against green aurora is one of Iceland's signature color pairings
- Mountains (Kirkjufell, Snæfellsjökull): anchor the peak low in the frame and let the aurora curve around the summit for a sense of scale and place
- Glacier lagoons (Jökulsárlón): use the water's surface to double the aurora with a reflection, and let icebergs in the foreground add depth
Batteries: Power Management in Iceland's Milder Cold
Iceland's mild winter range is nowhere near Fairbanks' -40°F, but it still cuts battery performance meaningfully. Cold slows the chemical reaction inside a battery cell, and in Iceland winter conditions that reaction slows enough to cut battery capacity roughly in half compared to a mild night[1]; plan on 2 to 4 hours of active shooting per charge instead of the 4 to 8 hours the same battery gives you at room temperature. The loss is temporary, and batteries recover fully once they warm back up, so nothing here is permanent damage, just a rotation task to manage through the night. Iceland's cold rarely reaches the survival-threatening levels Fairbanks' -40°F extremes do; see aurora photography gear in Fairbanks if you're also planning a colder-climate aurora trip and want the extreme-cold checklist.
Lithium-ion batteries hold up better in Arctic temperatures than alkaline or NiMH cells[2], so stick with your camera manufacturer's OEM batteries or a certified equivalent rather than reaching for a generic pack. Skip external battery packs entirely: they expose your spare cells directly to freezing air instead of keeping them against your body, and one warm battery beats two cold ones every time.
Recommended tours
Tours are selected for quality, not commission. I earn a small fee if you book — at no extra cost to you.




A rotation that works through a 4-to-6-hour aurora session:
- Fully charge every battery indoors before you leave; a partial charge drains faster outdoors
- Keep spares in an inner jacket pocket, against body heat, not in the camera bag
- Run one battery for 60 to 90 minutes, then swap in the warm spare and tuck the depleted one back against your body to recover
- Turn off Wi-Fi, Bluetooth, GPS, image stabilization, and live view, and dim the screen; every disabled feature buys shooting time
- Carry at least two to three fully charged spares for a session longer than four hours
Protecting Gear from Sea Spray and Condensation
Coastal aurora spots put a problem in front of your lens that Fairbanks and Tromsø mostly don't: salt. Skógafoss, Seljalandsfoss, and the black-sand shoreline near Jökulsárlón throw mist and spray into the air around your gear, and salt residue left on glass or metal corrodes faster than plain moisture. A dry bag worn around your neck, snapped shut around the camera between shots, blocks most sea spray before it reaches the gear, and it costs less than a single filter.
After any coastal session, rinse your lens, tripod legs, and camera bag with fresh water before the salt has a chance to crystallize. A microfiber cloth kept specifically for salt residue helps, since using the same cloth you use for dust can just grind salt crystals across the glass. A weatherproof camera bag for storage matters too: spray that gets past your dry bag can pool inside a normal bag long enough to reach electronics.
Preventing Condensation When You Head Back Inside
Condensation does more lasting damage to a lens than the cold itself. Walk a frozen camera straight into a warm guesthouse and moisture from the indoor air condenses directly onto the optics and inside the barrel. Seal the camera in a sturdy ziplock or dry bag while you're still outside, and leave it sealed for at least an hour once you're indoors; the moisture forms on the outside of the plastic instead of on your glass. A packet of silica gel inside the bag speeds up the process. Iceland's winter air runs drier than a damp coastal winter elsewhere, which helps, but the transition step is still worth the extra minute every time.