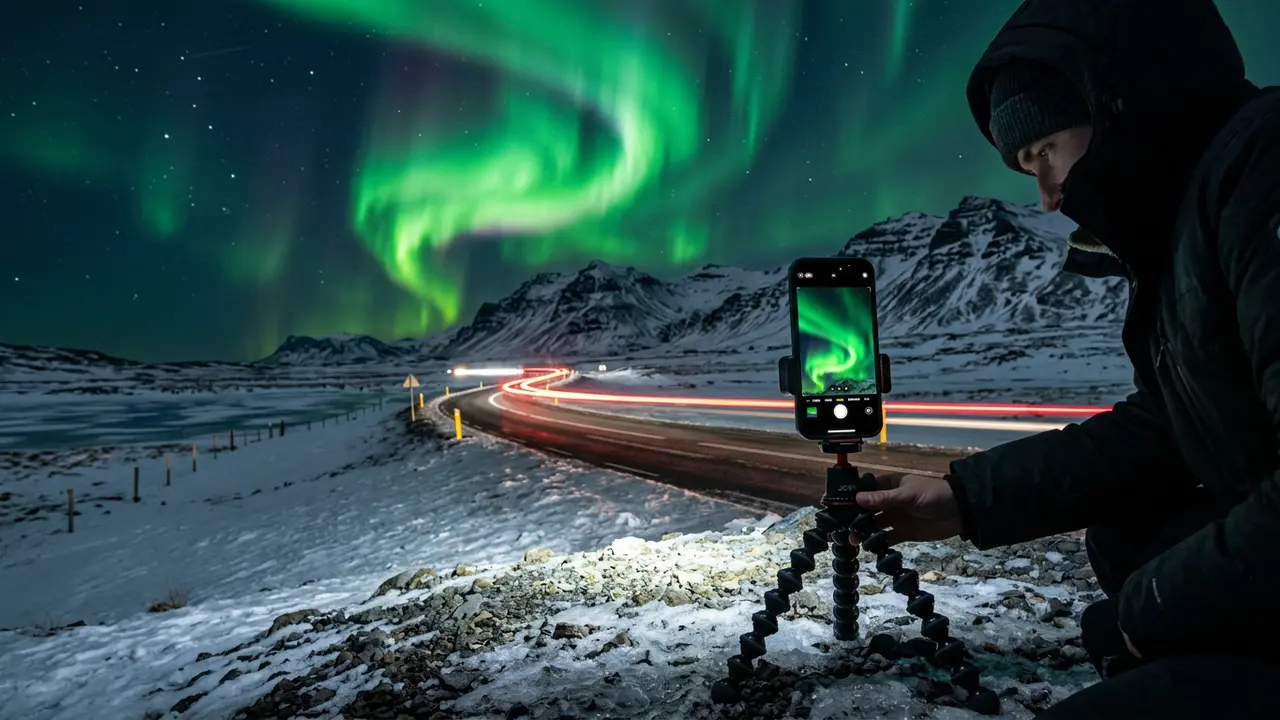

Can your phone actually capture Iceland's aurora?
Yes, if the aurora is doing anything more than a faint grey smear on the horizon. Computational photography is the reason: instead of a single long exposure, your phone fires off a burst of shorter frames and merges them into one bright image, a process sometimes called frame stacking that pushes well past the roughly 66-millisecond limit a traditional camera sensor works within on its own[1]. On an iPhone 11 or newer, this happens automatically through Night Mode[2]. On a Samsung Galaxy, you get the same computational boost, plus manual control if you switch into Pro Mode.
The catch is activity level, not phone model. A vivid, dancing green curtain over the Reykjanes peninsula or Jökulsárlón will photograph well on almost any flagship released in the last four years. A pale, barely visible glow you can only really confirm with a long look and dark-adapted eyes is a different story. Weaker auroras are nearly impossible to photograph with a phone camera, because the same noise reduction that brightens the frame also amplifies grain until the image looks closer to static with a green tint[3]. If you're standing there squinting and asking whether that's really the aurora, your phone will struggle just as much as your eyes.
66ms
That threshold matters more than any setting in this guide. Check the aurora forecast before you head out. Iceland's northern lights covers the seasonal timing that gets you under an active sky in the first place, and how to see the northern lights walks through reading a forecast so you're not guessing. Still deciding between destinations? Iceland vs. Norway for the northern lights weighs the two against each other.
iPhone Night Mode settings for aurora, step by step
Open the Camera app, point it at the sky, and Night Mode will usually engage on its own once the scene is dark enough. The exposure time it picks by default is often too short for a moderate display, so tap the crescent-moon Night Mode icon in the top-left corner and drag the slider to extend it. For most aurora scenes, 5 to 10 seconds produces a usable frame; on newer models the slider goes up to roughly 30 seconds if a fainter display calls for it[4]. Tap the Night Mode icon and slide the exposure timer to adjust it manually; whatever you choose is saved for your next photo automatically[5].
Shoot in RAW if your phone supports it, look for a RAW or Pro RAW toggle in Settings > Camera > Formats on most flagship phones from the last few years. A RAW file holds onto more color and shadow detail than the compressed JPEG your camera saves by default, which matters when you're trying to recover the faint purple fringe at the edge of a green curtain later on a laptop.
A few habits make the difference between a sharp photo and a green blur:
- Turn the flash off completely, not just to auto. Tap the flash icon next to Night Mode and select the off position specifically
- Lock focus by tapping the brightest star in the frame and holding for a second; this locks both focus and exposure so the camera stops hunting between shots
- Brace the phone against something solid right before you tap the shutter; Night Mode's frame stacking can smooth out some shake, but not a full tremor mid-burst
What if you have an older phone?
iPhones released before the iPhone 11 don't have a computational Night Mode built for genuinely low light; they tend to just underexpose the aurora into a near-black frame with a faint green cast. Budget Android phones without a dedicated night mode run into the same wall. If your phone is older than the iPhone 11 (2019) and has no manual camera controls, the honest answer is that your results will be limited no matter what settings you try, and borrowing a friend's newer phone will do more for your aurora photos than any setting in this guide.
Samsung Galaxy Pro Mode: manual control for Android
Samsung's stock camera app has a Pro Mode tucked into the mode carousel, and it's the closest thing to a real manual camera Samsung ships on a phone. Swipe over to Pro Mode and you get direct sliders for ISO, shutter speed, white balance, and exposure compensation[6].
For aurora, start here: ISO 800 to 1600, shutter speed 10 to 15 seconds, and manual focus set to infinity. Tap the focus ring and drag it to the mountain icon at the far end. If the display is faint, push shutter speed toward 20 seconds before you push ISO higher. A longer exposure gathers more real signal; a higher ISO mostly adds grain.
One quirk worth knowing before you're standing in the cold fumbling with sliders: once you set shutter speed manually, ISO can no longer stay on Auto[7]. The two settings are linked. If your test shot looks too dark, you raise ISO or extend the shutter yourself; the phone will not quietly compensate behind the scenes the way it does in Auto mode.
Non-Samsung Android phones vary widely. Google Pixel phones have a Night Sight mode that works on a similar principle to iPhone Night Mode, no manual settings required. Phones without any manual mode at all benefit from a third-party manual-camera app that unlocks ISO and shutter control the stock camera app keeps locked down.
| Setting | iPhone Night Mode | Samsung Pro Mode |
|---|---|---|
| Exposure | 5-30 seconds, auto-detected | 10-15 seconds, set by hand |
| ISO | No manual override | 800-1600, manual slider |
| Focus | Tap a star to lock | Manual ring, set to infinity |
| Best for | Fast setup, bright displays | Fine-tuning faint-to-moderate displays |
Cheap tripods and phone mounts that actually work
Bare hands alone won't hold a phone steady enough for a 10-second exposure without blur. A tripod isn't optional for aurora photography on a phone, it's the single biggest factor separating a sharp photo from a green smear, because a long exposure records every small shake as motion.
You don't need to spend much. A budget option like the UBeesize tripod folds small enough for a jacket pocket. The Joby GorillaPod, cheaper than a dedicated aurora tripod, wraps its bendable legs around a car mirror, fence post, or handrail when the ground is too uneven or icy for a standard tripod, which in Iceland's lava fields is often. The Manfrotto PIXI trades some portability for a sturdier ball head, a reasonable pick if you're already carrying camera gear and just want a phone backup.
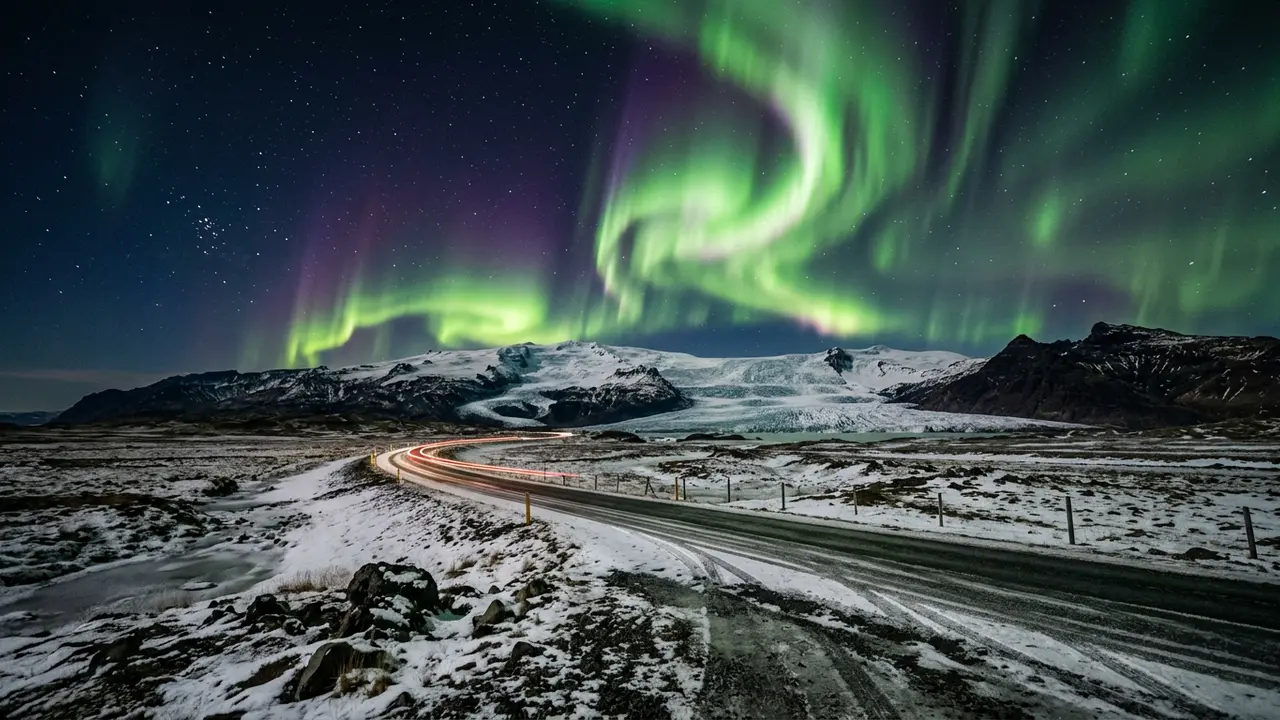
Featured · Destination
Northern Lights in Iceland
Iceland's whole-country aurora guide: best regions to base in, aurora season Sep–Mar, ice caves, winter driving reality, and where cloud cover ends every plan.
Whatever tripod you bring, you'll need a phone mount clip to attach it. Most tripods in this price range don't ship with one built in, so check the listing before buying. Trigger the shutter with the volume button, which works through wired earbuds too, or a small Bluetooth remote. Either avoids the hand-shake that comes from tapping the screen directly.
If you're building out a full aurora kit rather than relying on your phone alone, the Iceland aurora photography gear guide covers the dedicated cameras and lenses worth the extra weight in your bag.
Cold-weather battery care in Iceland
Iceland's winter cold is exactly the condition that drains a phone battery fastest, and it happens faster than most travelers expect. Below 10°C (50°F), battery performance starts to fall, and it can drop by 30 to 40%[8] once you're properly out in it. A phone that reads 90% back at the hotel can look alarmingly low well before the aurora actually shows up.
The chemistry behind it is straightforward. Lithium-ion batteries deliver power through a chemical reaction that slows down as temperature drops, and a phone's optimal operating range sits between 32°F and 95°F (0°C and 35°C)[9]. Below that, the battery isn't broken, it's chemically sluggish, and it recovers once it warms back up.
30-40%
Never charge your phone outdoors below freezing. Plugging in a battery that's still cold from sub-freezing air causes lithium to build up on the anode, a process called lithium plating, and unlike the temporary power drop from cold, that damage is permanent and reduces the battery's total capacity going forward.
What actually works out on the ice:
Recommended tours
Tours are selected for quality, not commission. I earn a small fee if you book — at no extra cost to you.




- Keep the phone in an inner coat pocket, not an outer pocket or your camera bag, between shots. Body heat keeps it well above the outside air temperature[10]
- Carry a portable power bank inside your jacket too, so it's warm and ready when your phone dips low
- Turn on Airplane Mode while shooting; the phone burns extra battery searching for signal in Iceland's rural aurora-viewing spots, and you don't need reception to take a photo
- Let the phone warm up before charging it. If it's been outside more than 20 minutes, bring it back to room temperature first, then plug in
When you actually need a real camera
Be honest with yourself about what you actually saw before deciding your phone let you down. If the display was vivid enough to throw color onto the snow or make shadows shift, your phone should have delivered something close to what you saw. If it was a faint grey-green haze you had to squint at and ask your travel companion 'is that it,' no setting in this guide would have saved that shot. That's the point where smartphone astrophotography hits its ceiling and a dedicated camera with a fast lens takes over.
The honest dividing line is Kp index and cloud cover, not gear. Iceland regularly delivers Kp 3 to 5 nights that are genuinely bright enough for a phone; Kp index explained breaks down what those numbers mean for what you'll actually be able to shoot. On a quiet Kp 1 to 2 night, the aurora can be gorgeous in person and barely register through any camera that isn't a dedicated mirrorless body wide open at f/1.8 or faster for ten-plus seconds.
If Iceland turns out to be the trip where the aurora bug bites and you want to go further next time, how to photograph the northern lights covers the camera settings and gear that take over once your phone hits its limit. There's no shame in stopping at a phone, either. A sharp, colorful photo of a bright aurora over Iceland's ring road is a genuinely good souvenir, and it fits in your pocket for the rest of the trip.