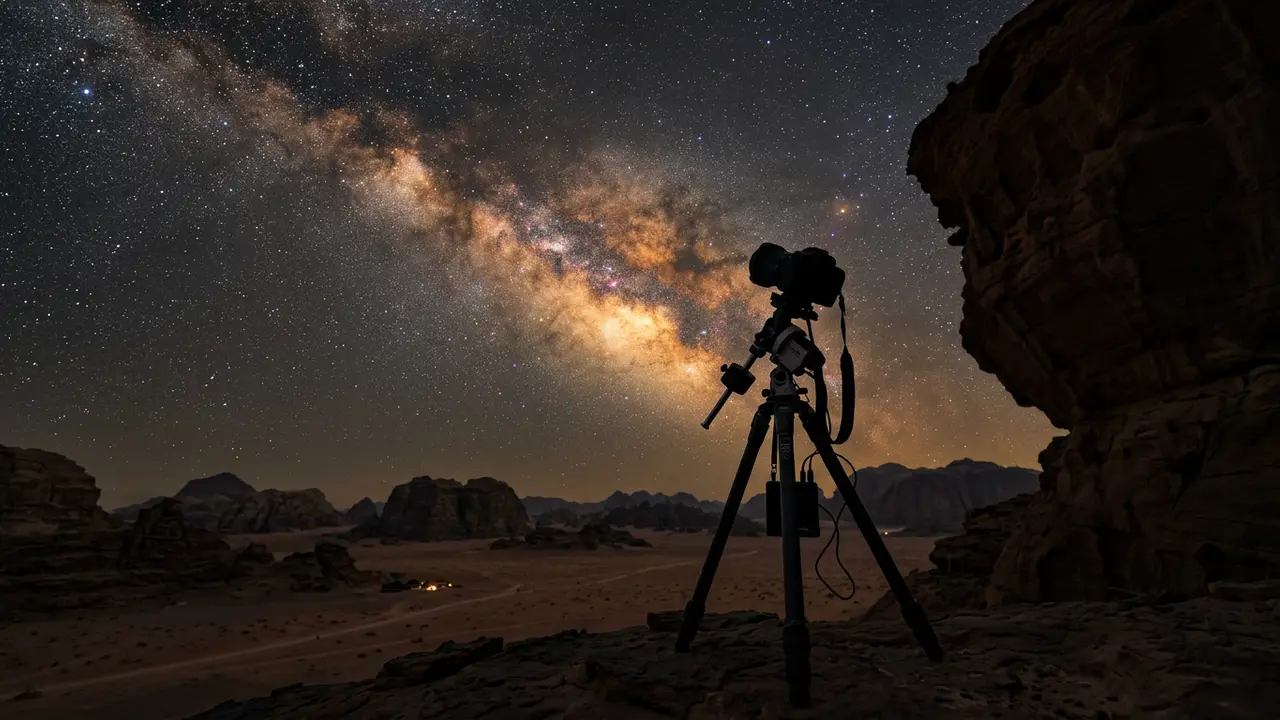

Why Wadi Rum Needs Dedicated Camera Gear

Point a phone camera at the sky above Wadi Rum's sandstone valley and you'll get a smear of gray noise, if the sensor registers anything past the brightest stars at all. (If a phone is what you're bringing instead, Wadi Rum smartphone stargazing photography covers what's realistically achievable.) A dedicated camera does what a phone cannot: hold a long exposure open at a wide aperture long enough to pull real structure out of a galactic core the naked eye only sees as a hazy band. Wadi Rum earns that kind of shot. No IDA or DarkSky International designation covers this valley, and this guide won't repeat the certified dark sky label some travel blogs attach to it — what the reserve actually holds is genuine remoteness: a protected UNESCO World Heritage landscape of red sandstone mountains and open sand, with almost nothing running on electricity once you're away from the village and the busiest camp strip. Wadi Rum's UNESCO dark sky status, explained covers what that listing does and doesn't certify. Some parts of the reserve sit further from Rum village and the busiest camp strip, and make quieter, darker ground for a serious night session, worth the extra drive time if your camp can arrange it.
That combination, a sky this dark and a landscape built from towering rock massifs rather than dunes or scrub, is why gear suited to this specific ground can outperform the same camera pointed at a flat, featureless desert floor. A sandstone monolith silhouetted against the core, or a narrow canyon mouth framing a slice of sky, gives a frame something to hold onto besides stars. Tour operators here are blunt about the bare minimum: a stable tripod and a wide-angle lens fast enough to gather real light in the dark.
What follows works through camera and lens choice, the tripod and monolith-framing decisions that turn Wadi Rum's rock into a real foreground rather than a dark smudge at the bottom of the frame, the manual settings and optional star tracker that separate a sharp Milky Way shot from noise, and the sand, dust, and heat protection a long night out here actually demands. For the wider trip-planning picture beyond gear, the Wadi Rum stargazing hub covers when to go and where to camp.

Camera and Lens: Aperture and Focal Length for the Milky Way

Aperture is the one spec worth spending real money on. The essentials for a first Milky Way shoot are simple: a stable tripod, a camera that shoots RAW, and a fast wide-angle lens. For untracked wide-field shots, full-frame focal lengths of roughly 14mm to 35mm are the common range, with an aperture of f/2.8 or faster doing the real work; f/1.4 to f/2 glass pulls further ahead on exposures you're not tracking[1]. A kit lens that tops out at f/4 will still register the core on a clear, new-moon night here, just with more visible grain and less shadow detail in the sandstone below it.

None of that matters without something worth pointing the lens at. A strong foreground subject turns a plain star field into an actual composition, and Wadi Rum hands you more of them than almost anywhere else on this site's roster:

  • The sheer red face of Jebel Rum, rising straight from the sand
  • The narrow slot of Khazali Canyon, framing a sliver of sky between rock walls
  • A single balanced boulder or natural arch silhouetted against the core
  • The long, low ridgeline of Jebel Umm Ishrin, still holding color at dusk after the sky above it has gone black

f/2.8 or faster

The aperture range worth spending real money on for a first Wadi Rum night shoot. A pro lens wide open at f/1.4-f/2 gathers more light for untracked frames, but f/2.8 kit glass still pulls a recognizable core out of a clear, new-moon sky.
A crop-sensor body needs a shorter lens than the 14-35mm full-frame range above to hold the same field of view, worth checking before buying glass for a trip like this one.

Tripod Stability on Sand and Red-Sandstone Composition

A tripod is not optional anywhere on Wadi Rum's open sand. A long exposure held for ten, twenty, or thirty seconds turns the smallest wobble, a gust funneled between two massifs, a boot shifting on loose sand, into a smear across every star in the frame.
Sand changes the job a tripod has to do compared to a firmer desert floor. Legs sink unevenly near the dune edges, footing shifts underfoot in a way a gravel wadi floor never does, and wind can funnel hard through the narrow gaps between Wadi Rum's rock massifs. Carbon fiber tripods are lighter to carry across sand and dampen vibration better than aluminum, though an aluminum tripod performs fine on a calm night with no wind funneling through the canyon walls. Lock every leg joint fully before starting a real sequence, and keep twist or flip locks clear of where sand can work its way in and jam them.

Scout your composition before dark. A rock face that looks obvious and imposing in daylight reads completely differently once the light has gone, and Wadi Rum's massifs are tall enough that framing the full formation plus a meaningful stretch of sky takes real forethought. Treat the sandstone as the anchoring subject, not an afterthought at the bottom of the frame:

  • Position the tripod low and wide to hold both the rock's full height and the core above it
  • Walk the base of the formation before dark to find a silhouette with a clean edge, not a jagged one that reads as noise in a long exposure
  • A narrow canyon mouth, shot straight down its length, does more compositional work than an open sand flat with a distant rock in the corner
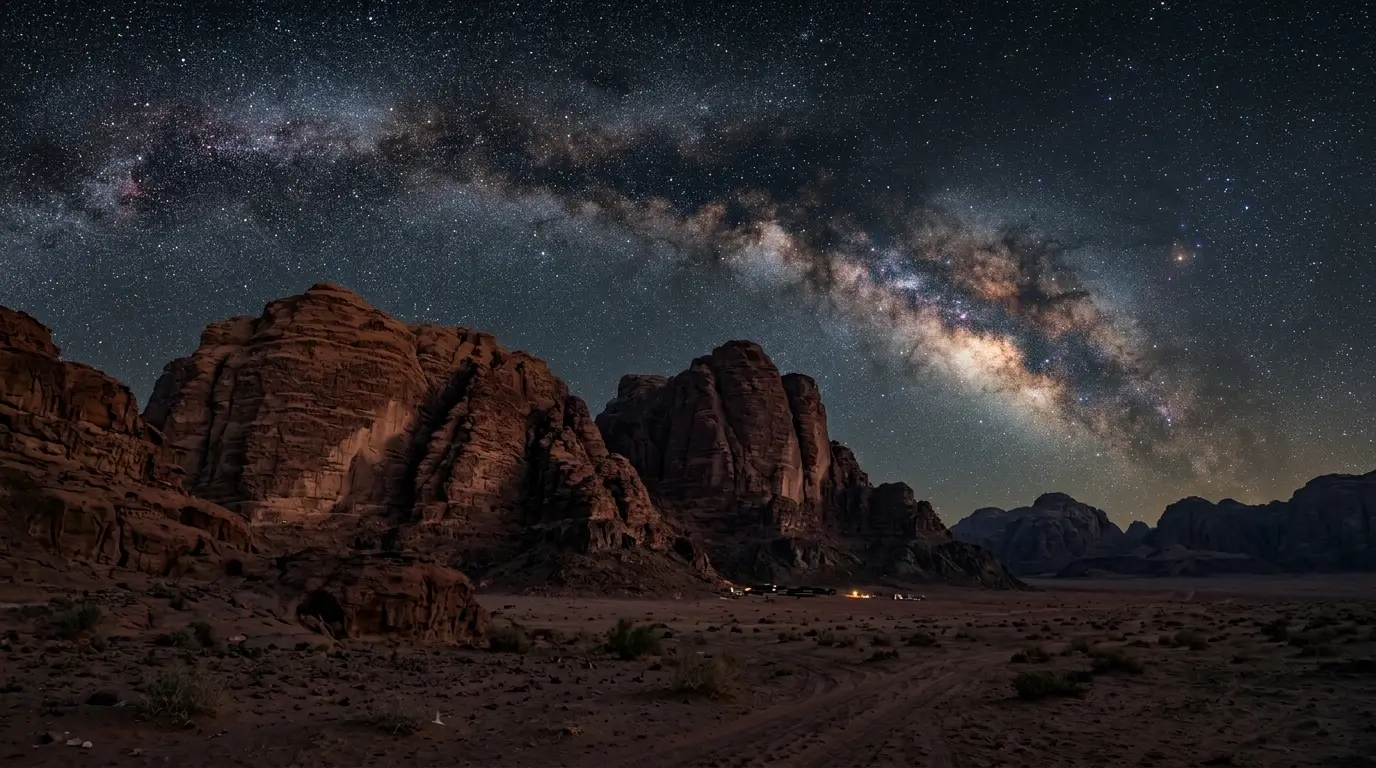
Featured · Destination

Wadi Rum

Wadi Rum is Jordan's UNESCO World Heritage desert, a Mars-like sandstone landscape where Bedouin-led camps put you under near-total darkness at night.

Best stargazing spots in Wadi Rum names viewpoints near several of these formations, worth checking before you commit a whole night to one spot.
None of this needs to be complicated. A single monolith cutting a hard vertical against the Milky Way's arch does more than a wide shot of stars with nothing below them to anchor the eye.

Manual Settings, the Intervalometer, and the Optional Star Tracker

Once aperture and focal length are set, the rest of the dial falls into place. Push ISO higher than any daylight shot would need, and let the shutter stay open as long as your focal length allows before individual stars begin to trail into short streaks instead of clean points.
Two habits matter more than any single number on the dial. Shoot RAW, not JPEG, so the shadow and color detail in the sandstone survives editing afterward; a compressed file throws that detail away before you're back at camp. And switch to manual focus locked at true infinity before the first frame. Autofocus hunts uselessly in near-total darkness against an unlit rock face, and a lens's marked infinity point is rarely exact, so zoom in on a bright star on the rear screen and turn the focus ring by hand until it collapses to a sharp point.
An intervalometer gives precise control over shutter timing, frequency, exposure duration, and the gap between shots, more capability than a simple remote release, and worth having if you're shooting a stack of frames to blend or reduce noise later[2]. It's one less thing to fumble for by headlamp light with sand already working into your pockets.
A star tracker is the one piece of gear on this list that's genuinely optional. A basic tracker follows the sky's rotation and lets a camera hold a much longer exposure than any tripod alone can manage before stars start trailing, which means a lower ISO and a cleaner final file. It adds setup time, a polar-alignment step, and one more delicate part to carry across sand that gets into everything, so it's worth adding on a second or third desert trip rather than a first one. The trade-off in plain terms:

Sand and Dust Protection: Lens Changes, Filters, and Cleaning
This is where a night in Wadi Rum asks something a cold, dry desert never quite does. Fine, wind-blown sand gets into gear here in a way that dew and frost simply don't, and the fix starts with changing lenses as rarely as possible. Sand and dust in the air during a lens swap can get straight into the camera body[3], so when a change is unavoidable, get out of the wind first: behind a rock outcrop, inside a parked 4x4, or under a Bedouin camp's tent, rather than swapping glass in the open on exposed sand.
A UV or clear protective filter screwed onto the front of every lens earns its keep out here. Filters guard the front element against sandblasting damage, and a scratched or pitted filter is far cheaper to replace than a scratched lens. A rain sleeve or a simple dry bag wrapped around the camera body and lens barrel, cinched loosely enough to still reach the controls, does most of the rest of the work: one of the cheapest ways to keep a body's dial seams and a lens barrel from filling with fine dust during a long session in the open.
Cleaning matters as much as prevention. Never shake a camera or lens to remove sand; it drives particles deeper into crevices and past seals rather than out of them. Use directed airflow from a squeeze-type blower first, then a soft brush for the fine residue the blower alone won't shift. Skip the compressed-air can some photographers reach for out of habit: a hard blast can drive fine sand deeper into a seam or focus ring instead of clearing it. Between sessions, keep gear zipped into a sealed bag or case rather than left assembled on a camp table overnight, where blowing sand settles into every gap it can find while you sleep.

Featured · Article

What Is Light Pollution? Definition, Types, and Solutions

Light pollution is artificial light brightening the night sky, affecting 80% of the world. Learn the 4 types, wildlife and health effects, and how to fix it.

Tripod joints take the same abuse as glass. Extend the thickest, lowest-friction leg sections first and keep twist or flip locks above the sand line rather than letting them sink into it, since a lock buried in sand jams before it wears out. A blower-and-brush pass on the tripod's leg joints belongs in the same after-session routine as the camera body itself.
Camera and tripod set up against a red sandstone monolith in Wadi Rum, lens wrapped against blowing sand, framing the Milky Way above the desert at night

Camera and tripod set up against a red sandstone monolith in Wadi Rum, lens wrapped against blowing sand, framing the Milky Way above the desert at night

Desert Heat, Battery Care, and Planning a Night Shoot

Heat, not cold, is Wadi Rum's electronics problem. Daytime temperatures in the reserve climb hard even in the cooler travel months, and a battery or camera body baked in a jeep's trunk or left in direct sun performs differently once you ask it to hold a charge through a long night session. Keep spare batteries in a shaded bag or an inner pocket during daylight hours, not in a hot vehicle or a bag left sitting on sand in full sun, and let a body that's spent the day in the heat cool to ambient temperature before starting a long exposure sequence.
Carry two or three spares regardless, and swap the active battery out once it's noticeably depleted rather than running it flat, the same discipline that matters in a cold climate, for the opposite reason. A camera that's spent the day inside a hot tent or vehicle also benefits from a few minutes acclimating in open air before you start shooting, since a sudden swing between a hot interior and a cooler night can fog a lens element just as readily as a cold one warming back up would.
Gear alone doesn't guarantee a shot. Travel guides recommend planning around a new moon window, when moonlight isn't washing out the fainter arms of the Milky Way[4]; check a lunar calendar before committing a whole evening to hauling gear out to a monolith. Best time to stargaze in Wadi Rum covers the seasonal detail beyond the moon phase alone.

A basic kit checklist covers most of what a first Wadi Rum night shoot needs:

  • A mirrorless or DSLR body with manual mode, set to shoot RAW
  • A fast wide-angle lens, roughly f/2.8 or wider, in the 14-35mm range
  • A sturdy tripod with sand-tolerant locks, kept out of the sand between uses
  • An intervalometer or built-in interval timer for longer sequences
  • A UV or protective filter on every lens, plus a rain sleeve or dry bag
  • A squeeze blower and soft brush for after-session cleaning
  • Two or three spare batteries, kept shaded and cool during the day
If you're staying at a Bedouin camp rather than driving in for a single night, Sun City Camp and Memories Camp both sit away from the busiest cluster of camps, worth checking if a dark, uninterrupted sky matters more than proximity to the village.



