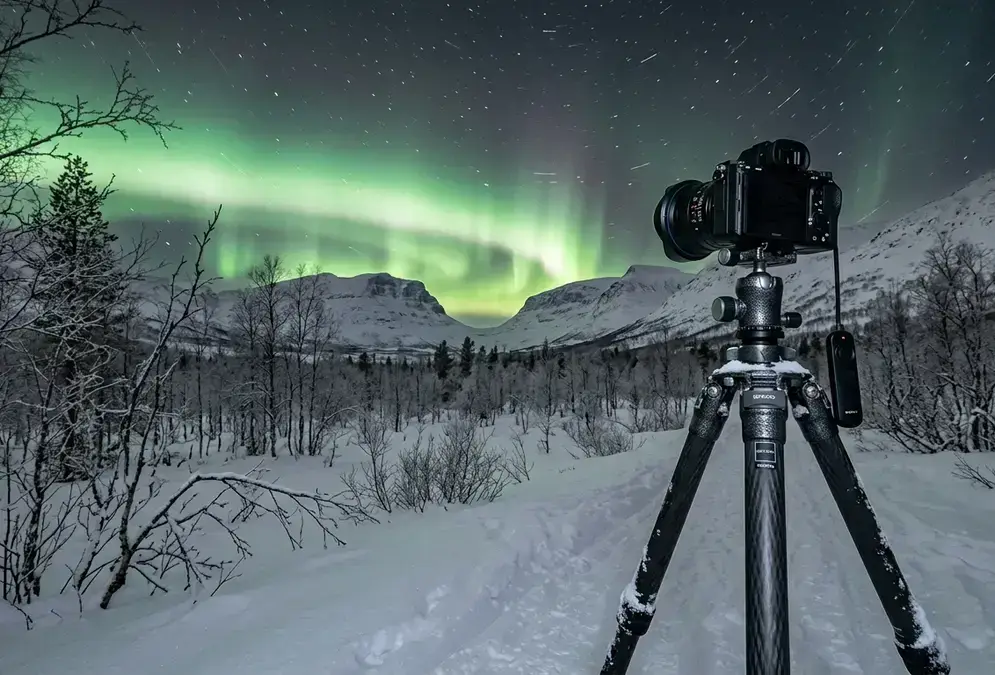

Why Abisko Needs Dedicated Camera Gear, Not a Phone
Point a smartphone at the aurora over Abisko and you'll usually get a green smear, if you get anything at all. A dedicated camera does something a phone sensor cannot: hold the shutter open long enough, at a wide enough aperture, to pull real detail out of curtains that move faster than your eye can track. That gap between phone and camera is the entire reason this guide exists.
This is not the phone-camera companion piece. If you're shooting on a phone, look for the smartphone photography guide for Abisko instead; the settings and workarounds there don't apply to a real camera body. What follows assumes you're bringing a mirrorless or DSLR camera, a fast wide-angle lens, a tripod, and ideally an intervalometer into a valley where January nights routinely sit well below freezing, cold enough to challenge gear that works fine in milder conditions.
The questions worth answering before you pack are practical, not abstract: which lens aperture actually earns its price tag on an aurora night at the guided evening trip up to the Sky Station, whether a full-frame body is worth the extra weight over a crop sensor, what keeps a battery alive through a long vigil, and what happens to your gear the moment you carry a frozen camera back into a warm cabin. This guide works through all four, plus the manual settings that separate a sharp aurora shot from a noisy blur.
Camera Body and Sensor: What Matters for Abisko's Long, Dark Nights
The full-frame-versus-crop-sensor argument matters less here than most gear articles make it sound, but it isn't irrelevant. A full-frame sensor collects more light per pixel, which produces cleaner files at the ISO 800 to 3200 range that aurora photography typically demands. A crop-sensor body paired with a genuinely fast lens still produces solid results in the dark valley at Abisko National Park, where light pollution is close to zero and every extra stop of dynamic range actually gets used.
Skip the megapixel count and read the manufacturer's cold-weather operating spec instead. Abisko-level cold pushes most consumer bodies toward the low end of what they're rated for, and a camera that performs fine in mild cold can behave unpredictably once conditions turn genuinely Arctic. Whatever body you bring, three things are non-negotiable for a night at the Sky Station or along the lakeshore: manual focus, RAW capture, and a tripod[1]. Autofocus hunts uselessly in near-total darkness, and a compressed JPEG throws away exactly the shadow and color detail an aurora curtain needs to look right afterward.
Featured · Destination
Abisko Stargazing
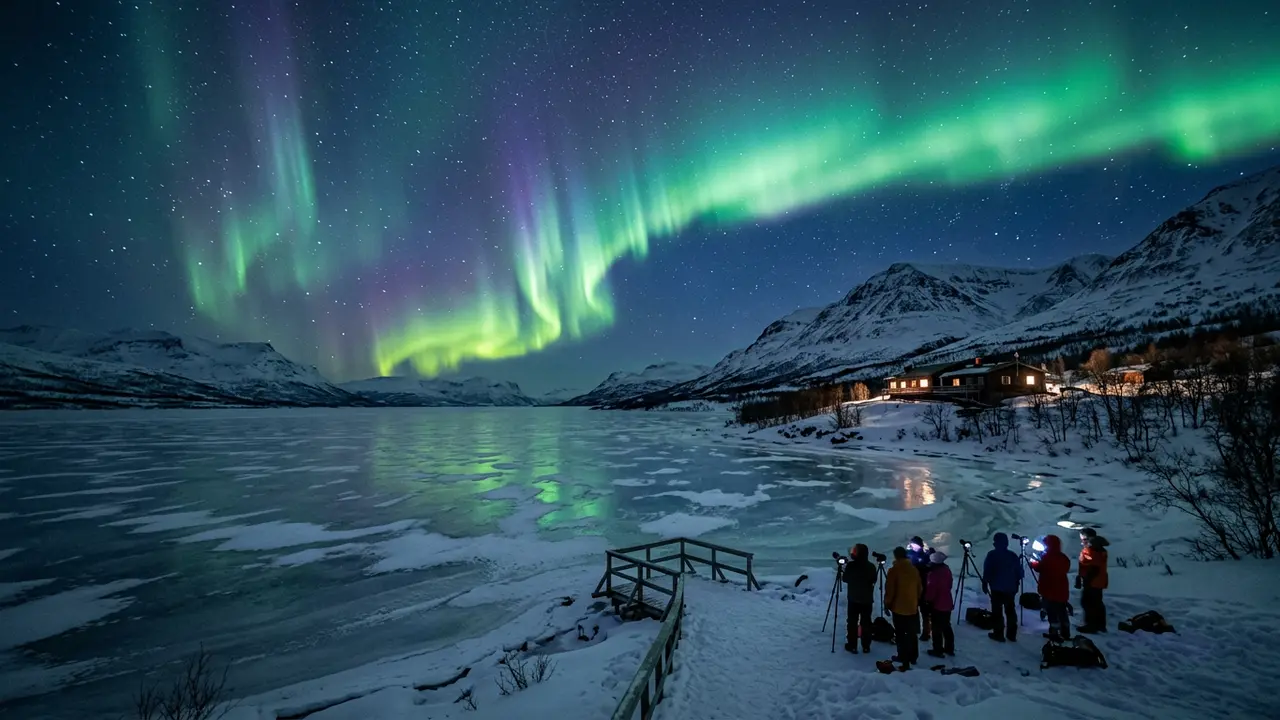
Abisko's rain-shadow microclimate keeps skies clear when nearby Arctic spots cloud over. Aurora season, the Sky Station, ICEHOTEL, and getting there by train.
Autofocus speed, usually a major factor in camera-buying decisions, is close to irrelevant for this trip. You lock focus at infinity once, tape the ring down if your lens has one, and leave it alone for the rest of the night. What actually helps is a battery grip: the extra thermal mass around the battery compartment slows how fast Arctic cold reaches the cells, which matters more here than autofocus speed ever will.
Lens Choice: Aperture and Focal Length for Aurora and Deep Sky
Aperture is the one spec worth spending real money on. A wide aperture in the f/1.4 to f/2.8 range is the recommended lens speed for aurora photography, since a wider opening lets the sensor gather more light while keeping ISO, and the resulting noise, lower[2]. Anything narrower than f/2.8 forces a choice: push ISO high enough to introduce visible grain, or lengthen the shutter until a fast-moving curtain blurs into a flat green haze.
Focal length decides how much sky you actually capture. On a full-frame body, roughly 14mm to 30mm is the recommended wide-angle range for aurora landscapes; longer than 30mm crops too much of the sky out of a display that, from the Sky Station's elevation, often fills the whole dome overhead rather than sitting as a low band near the horizon[3]. Crop-sensor shooters should aim for roughly 10mm to 25mm to land in the same effective field of view.
f/1.4-f/2.8
A handful of lens types come up again and again among photographers working this stretch of Swedish Lapland:
- Fast wide-angle primes (14mm f/1.8 or similar): the sharpest option wide open, at the cost of zoom flexibility
- f/2.8 zoom lenses (14-24mm or 15-35mm depending on mount): a stop slower than the primes above, but far more flexible for framing the lakeshore, the canyon, or the Sky Station terrace in the same session
- A single wide-angle lens for both aurora and Milky Way: the same aperture and focal-length logic applies whether you're chasing a curtain or a dense stretch of the Milky Way, visible from Abisko in late August and early September before true winter dark sets in
Tripod and Intervalometer: The Support Kit Long Exposures Need
A tripod is not optional at any of Abisko's viewpoints, from the Sky Station terrace to the open lakeshore. Carbon fiber tripods are stiffer and lighter than aluminum for the same rigidity, and carbon models have dropped substantially in price over the past several years. A lightweight carbon-fiber tripod built for backpacking is stiff enough for aurora and star-trail work without adding much to the pack.
Recommended tours
Tours are selected for quality, not commission. I earn a small fee if you book — at no extra cost to you.




Aluminum still works, and it's the tripod most people already own, but Abisko's regular sub-zero nights make the case for carbon fiber harder than a milder climate would. Cold aluminum legs stiffen, and get cold enough that bare skin risks sticking to them through anything less than a proper glove.
A tripod is not optional at any of Abisko's viewpoints, from the Sky Station terrace to the open lakeshore.
An intervalometer, a remote interval timer, is the other piece of kit that separates a single aurora frame from a full star-trail sequence. You need an intervalometer to shoot the series of frames that star-trail stacking requires; some higher-end mirrorless and DSLR bodies build one into the menu system, and if yours doesn't, an external remote is worth the modest cost[5]. It also means you aren't physically pressing the shutter button in bitter cold every 30 seconds for four hours straight.
Each of Abisko's named viewpoints rewards slightly different framing, from the open lake to the sheltered canyon trail. For a full rundown of where to actually set up, see where around Abisko to actually set up.
Manual Settings: Aperture, ISO, and Shutter for Aurora Curtains vs. Star Trails
ISO 1600 is a common starting point for northern lights photography, adjusted down as the aurora brightens and pushed higher as it dims[6]. Treat that number as a starting point to adjust from, not a fixed setting: check your first frame on the rear screen, zoomed in, before committing to a full sequence.
Shutter speed follows the aurora's own behavior, not a fixed formula. Fast, dancing curtains call for a short 3 to 7-second exposure, while a slower, dimmer glow can hold up at 10 to 25 seconds without blurring into a flat wash[7]. A bright, fast curtain shot at 20 seconds usually comes back as a flat green wash; the same curtain at 6 seconds holds its ribbon structure. For the calendar side of this decision, which weeks give you the darkest sky and the best odds of a strong display, see the seasonal timing breakdown.
Star-trail photography uses a different combination entirely: manual focus set just before the infinity mark using live view zoomed on a bright star, then f/2.8 to f/4, ISO 800 to 3200, with repeated 30-second to 4-minute exposures captured continuously with an intervalometer and stacked afterward in software[8]. That's a meaningfully slower, lower-ISO setup than aurora work, which is why shooting both in the same sequence without changing settings between them tends to produce mediocre results either way. For the general shooting-sequence basics behind these numbers, see How to Photograph the Northern Lights.
| Setting | Aurora curtains | Star trails |
|---|---|---|
| Aperture | f/1.4-f/2.8 (as wide as your lens allows) | f/2.8-f/4 |
| ISO | 800-1600, higher only if the aurora is faint | 800-3200 |
| Shutter speed | 3-7 sec for fast curtains, 10-25 sec for a faint glow | 30 sec-4 min per frame, stacked in software |
| Focus | Manual, locked at true infinity | Manual, set just before infinity using live view on a bright star |
Manual Focus at Night: Finding True Infinity
Lens infinity-focus markings are rarely accurate. Practice manual focus by taking test shots at night and checking sharpness on the rear screen to find your lens's true infinity point[9]; it's often a hair short of where the manufacturer's mark actually sits. Do this once at home in a dark backyard before you travel, not for the first time on your one clear Abisko night.
Cold-Weather Care: Batteries, Condensation, and Keeping Your Kit Alive
Cold doesn't destroy a battery's capacity permanently, but it slows the chemical reaction inside the cell enough to matter a great deal in Abisko. Lithium-ion camera batteries begin losing noticeable performance below freezing, and once temperatures drop below about -10°C, expect a significant drop in capacity and a much shorter shooting window[10]. A fully charged battery that reads full in a heated room can be down to a sliver of that after standing still on the lakeshore for an hour.
Photographers working Abisko-level cold manage this the same way, night after night:
- Keep spare batteries warm against your body, not in an outer camera bag pocket
- Pair a spare battery with an chemical hand warmer inside a small pouch on longer sessions[11]
- Carry an external USB power bank as backup if your body supports it
- Swap the active battery for a warm spare once it drops below roughly 20 percent, and let the depleted one recover in an inside pocket
If you're staying at the in-park lodge, the short walk back down from the chairlift is exactly the kind of window where a spare, pre-warmed battery earns its place in your pocket.
The bigger risk isn't the cold itself. It's what happens the moment you carry a frozen camera back indoors. Bringing a cold camera into a warm room lets condensation form on the lens, sensor, and internal electronics, which is the single most common cause of lasting camera damage in winter astrophotography[4]. The fix costs nothing: seal the camera in an airtight bag while you're still outside, let it acclimate to room temperature gradually, usually about an hour, and remove the battery to warm up separately[4].