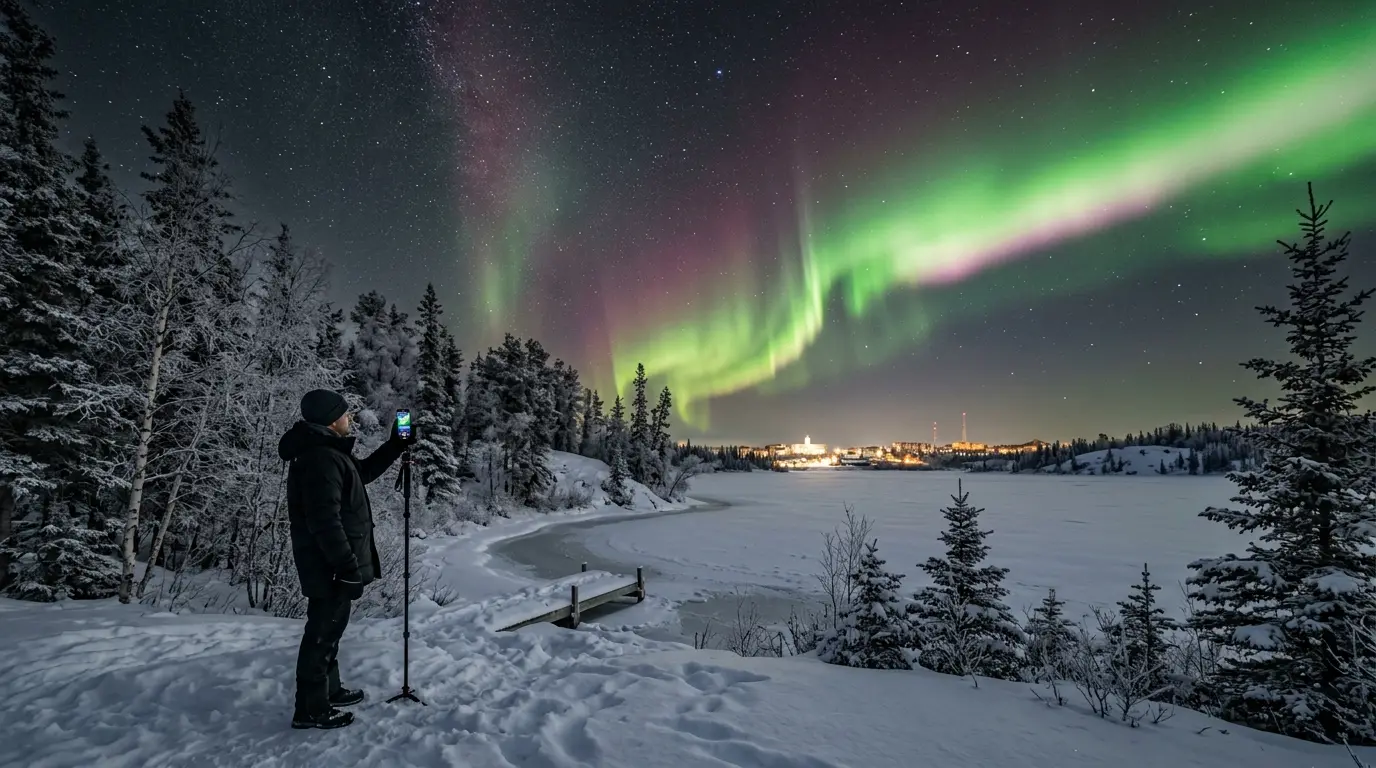

Yes, your phone can capture the aurora over Yellowknife — but it needs help
The question every phone photographer lands on after one blurry, too-dark frame is whether the phone is even capable of capturing the lights at all. The answer is yes for any recent flagship phone with a dedicated night mode, and probably not for anything made before 2019 that relies on a single, unstacked exposure.
Modern phones use computational photography: the camera fires a burst of short frames and merges them into a single bright image, which is why a 5-second Night Mode shot comes out brighter than any single 5-second exposure a dedicated camera could produce on its own. iPhone Night Mode works this way, as does Google Pixel Astrophotography Mode and Samsung's Night mode on recent Galaxy phones[1]. On a night when the aurora is genuinely active (a visible, moving green curtain, not a faint grey haze you have to squint at), any of those phones on a tripod can produce a sharp, colorful frame.
10–20 min
The phone that can't do it is a pre-2019 Android with no computational stacking at all, or the iPhone 8 whose basic long exposure has none of the multi-frame merging that makes night mode bright. If your phone falls into that category, no setting in this article changes the outcome. Borrow a friend's newer phone for the night, or rent a dedicated camera.
Yellowknife's low light pollution is a major, often overlooked advantage for phone photography. Most of the popular aurora viewing sites (Aurora Village, the Ingraham Trail pull-offs, the ice road onto Great Slave Lake) sit within 15 to 30 minutes of town but are dark enough that phone night modes work cleanly without the orange sky glow that washes out aurora structure near a city[3]. For the full list of viewing sites and what the sky looks like from each, see the best aurora viewing spots near Yellowknife guide.
Tripod, remote, microfiber cloth: the three items you actually need
The single most useful accessory for phone aurora photography is also the cheapest: a small phone tripod with a clamp mount. Handheld aurora shots will blur at any exposure over roughly one second, and Night Mode on most phones runs 3 to 10 seconds even on automatic. An inexpensive compact tripod with a phone clamp and a Bluetooth remote is the one purchase that turns phone aurora photos from a frustrating gamble into a reliable process.
A Bluetooth remote shutter (usually sold bundled with the tripod, or available on its own) solves two problems at once. It triggers the camera without touching the screen, which means no vibration at the moment of exposure and no bare hands out of mittens at -30°C. Yellowknife winter temperatures also make phone screens physically less responsive: the digitizer layer that registers touch input loses conductivity below roughly -20°C, causing lag, dropped taps, or incorrect inputs. A physical button on a remote, kept inside your glove, sidesteps the screen entirely. Your phone's volume-up button works as a wired shutter release too, if you have already plugged the headphones in indoors and the cable runs inside your jacket.
The third item is a microfiber cloth — carry it in an outer pocket, not an inner one, so it stays cold and does not fog on contact with a cold lens. Phone lenses fog the moment you move from a warm vehicle or heated viewing shelter into the cold, because moisture in the warmer air condenses on the cold glass. The same thing happens in reverse when you bring the phone back inside, and that second condensation is worse because the phone is now warm and the water sits longer. Wipe the lens with the cloth before every sequence of shots, and let the phone acclimate inside a jacket pocket for 15 minutes after returning indoors rather than setting it on a table where warm, humid air hits a cold lens directly.
Camera settings: iPhone Night Mode, Pixel Astrophotography, and Samsung Night mode compared
Each phone handles low-light photography differently, and treating every phone as the same camera with a different brand name burns hours of fiddling with settings in the dark. Understanding which mode your specific phone uses, and when to switch from auto to manual, is what determines whether you walk away with a usable shot on the first night.
iPhone Night Mode activates automatically when the camera detects a dark scene, or you can force it by tapping the half-moon icon in the top-left corner of the frame. Once active, tap the icon again to drag the exposure slider yourself rather than accepting the automatic pick. For aurora, 5 to 15 seconds is the working range, pushing to 30 seconds for a faint, barely-there glow. Go shorter within that range for a fast-moving curtain (it preserves ribbon detail and shape) and longer for a dim, static display. If your iPhone supports ProRAW, enable it in Settings > Camera > Formats; a RAW file holds far more shadow and colour detail than the compressed JPEG the phone saves by default, which matters when you are pulling faint purple fringes out of a green curtain later.
| Setting | iPhone Night Mode | Samsung Night mode | Pixel Astrophotography |
|---|---|---|---|
| Trigger | Automatic in low light, or tap half-moon icon | Manual: Camera > More > Night | Automatic once phone is still on a tripod |
| Exposure | 5–15 sec (up to 30 sec for faint displays) | Set within mode; keep moderate | Roughly 4 minutes; fully automatic |
| Focus | Tap and hold a bright star to lock at infinity | Same: tap and hold a distant light | Automatic once scene is detected, but manual lock recommended |
| Best use | Fast-moving curtain at 5–10 sec | Galaxy phones without a dedicated astro mode | Faint, slow display on a tripod |
Google Pixel Astrophotography Mode runs roughly four minutes of automatic exposure stacking, and the phone only offers it once it detects the camera is mounted on a tripod or held perfectly still. It is built for a slower, fainter display and produces a longer, cleaner stack than Night Mode alone on most phones. On a fast-moving curtain, four minutes smooths the structure into a soft glow rather than crisp ribbons; switch to standard Night Sight for a moving display.
Samsung Galaxy Night mode is not automatic and does not sit on the main camera dial. Open the Camera app, swipe to More, and tap Night. Once it is running, treat the exposure the same way as on an iPhone: moderate, not maxed out, because overexposing aurora greens blows them into a washed, detail-less block.
Manual focus matters on every phone. Autofocus hunts uselessly in near-total darkness, and trusting it will cost you frames. Tap and hold on a bright star or a distant artificial light to lock focus at infinity, and leave it alone for the rest of the session. If your phone's stock camera app does not allow manual focus, install NightCap or ProCamera (iOS) or Open Camera (Android), all of which unlock manual focus, ISO, and shutter speed controls that a locked-down stock app hides.
Keeping your phone alive at -30°C: the inner-pocket rotation
This is the section that a version of this guide written for coastal aurora destinations would skip, and it is the one that makes or breaks a Yellowknife phone shoot. At -30°C, a fully charged phone battery drains from 100% to zero in 10 to 20 minutes of continuous outdoor use. Apple's published operating range for iPhones is 0°C to 35°C, and Samsung and Google publish similar ranges; step outside that and performance drops before anything is permanently damaged.
The strategy that works:
- Keep the phone in an inner chest or trouser pocket, pressed against your body, between every shot. Body heat through a layer of clothing keeps it at roughly cabin temperature instead of ambient air temperature, and the drain slows dramatically.
- Pull the phone out only for the shot sequence. Frame, fire five to ten frames, and put it straight back. Do not leave it on the tripod between sequences.
- Activate Low Power Mode (iPhone) or Battery Saver (Android) before heading outdoors, not after the battery is already struggling.
- Carry a power bank inside your coat, not in an outer bag where it will freeze. A power bank that is cold enough to trigger its own low-temperature protection is dead weight.
Do not charge a cold phone outdoors. Plugging a phone that has been sitting in sub-freezing air into a charger risks lithium plating, permanent metallic deposits on the battery's anode that quietly reduce total capacity going forward. Let a cold phone warm to room temperature for 20 to 30 minutes before you plug it in.
The good news specific to Yellowknife: most aurora tour operators (Aurora Village, North Star Adventures, Bucket List Tour Company) provide heated viewing shelters where guests can warm phones between aurora appearances[3]. This makes the inner-pocket rotation feasible: shoot outside, warm inside, repeat. Independent aurora chasers driving the Ingraham Trail do not have this backup; for them, the pocket rotation is the entire strategy. For the cold-weather clothing system that makes standing still for hours at -30°C survivable, the how to see the northern lights guide covers the layering system in detail.
When to shoot: magnetic midnight, moon phase, and the October trap
The best time of night to photograph the aurora in Yellowknife is magnetic midnight, roughly 1:00 to 2:00 AM local time, when the auroral oval passes closest to the local magnetic meridian and substorm activity peaks[4]. That does not mean the lights stop before or after. A strong display can fire at 22:00 or 04:00, and in Yellowknife's deep winter, aurora is detectable from late afternoon through dawn. But magnetic midnight is when the statistical peak happens, and if you are choosing which night to stay out late, prioritize the 23:00 to 03:00 window.
Moon phase matters for phone photography more than for dedicated camera work. A smartphone sensor is smaller than even a crop-sensor camera, and a full moon reflecting off snow brightens the sky enough that Night Mode shortens its exposure and drops detail in the aurora. The New Moon week, and two to three nights on either side of it, is the practical dark-sky window for phone aurora shots. Check a moon-phase calendar before booking flights; the best time for northern lights in Yellowknife guide covers the month-by-month seasonal trade-offs, including why March wins on both geomagnetic activity and manageable temperatures.
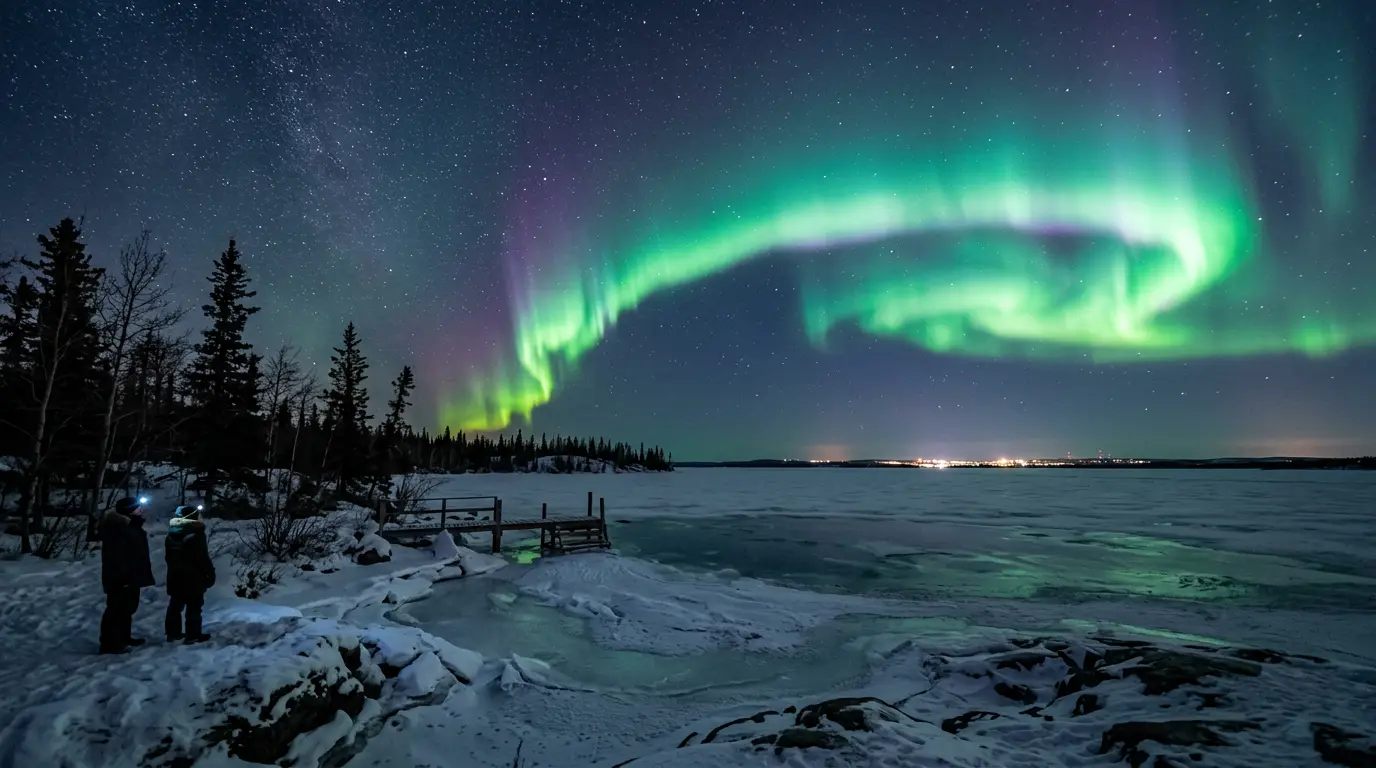
Featured · Destination
Yellowknife Northern Lights
Yellowknife sits beneath the auroral oval: up to 240 aurora nights per year. Guide to seasons, viewing spots, Indigenous-led tours, and cold-weather planning.
One timing trap specific to Yellowknife that catches first-time visitors: the October-to-mid-November cloud gap. Great Slave Lake releases stored summer heat into the cooling autumn atmosphere, generating persistent cloud cover that blocks aurora viewing for weeks at a stretch. Tour operators largely pause operations during this window. If you book a trip for late October expecting to photograph the aurora with your phone, you may spend the entire stay under a grey lid with no sky at all. Book either side of the gap: early October if the weather holds, or late November onward when subarctic high pressure settles in and skies clear.
Aurora forecast apps help with night-of decisions. My Aurora Forecast and AuroraMe give a Kp forecast and a short-term probability estimate; Astronomy North runs a Yellowknife-specific forecast that calibrates NOAA data to the local magnetic latitude of roughly 68°N. For a full workflow on reading the tools, see the Yellowknife aurora forecast guide.
What your phone captures vs what your eyes see
The question nobody asks before their first aurora trip, and everyone asks after: why do my phone photos look better than what I saw, and why do my friend's phone photos look worse?
Phone cameras capture aurora differently than the human eye. A night mode stacks multiple seconds of light into a single frame, brightening colours and pulling out structure that your eyes (which process light in real time, about 200 milliseconds per visual update) never registered. A Kp 3 green glow that looked like a subtle shifting smear to the naked eye can emerge on a phone screen as a bright curtain with clear vertical rays. This is not the phone cheating. It is the phone doing what cameras do: accumulating light over time.
The colour gap is real too. Phone sensors pick up the aurora's 630 nm oxygen red and 427.8 nm nitrogen purple more readily than the human eye's rods, which are essentially colour-blind in low light. You might look at your phone screen after a shot and see purple fringes you never noticed overhead. That colour was always there; your eyes' dark-adapted vision just could not register it.
The reverse happens when the aurora is bright and fast but the phone settings are wrong. A Kp 5 curtain that looked electric green and visibly dancing to the naked eye can record as a blurry, overexposed green smear if the exposure ran too long and the phone tried to stack too much motion. The sweet spot for any phone is a genuinely active display at moderate Kp on a tripod with a well-chosen exposure time.
Featured · Article
What Is Astrotourism? The Complete Beginner's Guide
Astrotourism means travel built around dark skies: meteor showers, auroras, the Milky Way. What it means, where to go, and how to plan your first trip.
Recommended tours
Tours are selected for quality, not commission. I earn a small fee if you book — at no extra cost to you.




Two things to accept before you leave for Yellowknife:
- Your phone screen will not look like the glossy aurora photos in tourism brochures. Those were shot on dedicated cameras with fast, wide-aperture lenses and edited in Lightroom. A phone photo is a genuine souvenir of a real place and a real night, and it will look like one.
- The images will look better tomorrow. Bring the phone inside, let it warm up, and review the photos on a calibrated screen in a dim room rather than on the phone display outdoors with reduced brightness and cold-sapped colour accuracy. Most phone aurora shots gain noticeable colour and detail when you view them warm, indoors, and not in a hurry.
For photographers weighing whether to bring a dedicated camera instead, the how to photograph the northern lights guide covers the full DSLR and mirrorless settings, lens choices, and cold-weather kit that a phone cannot replicate.