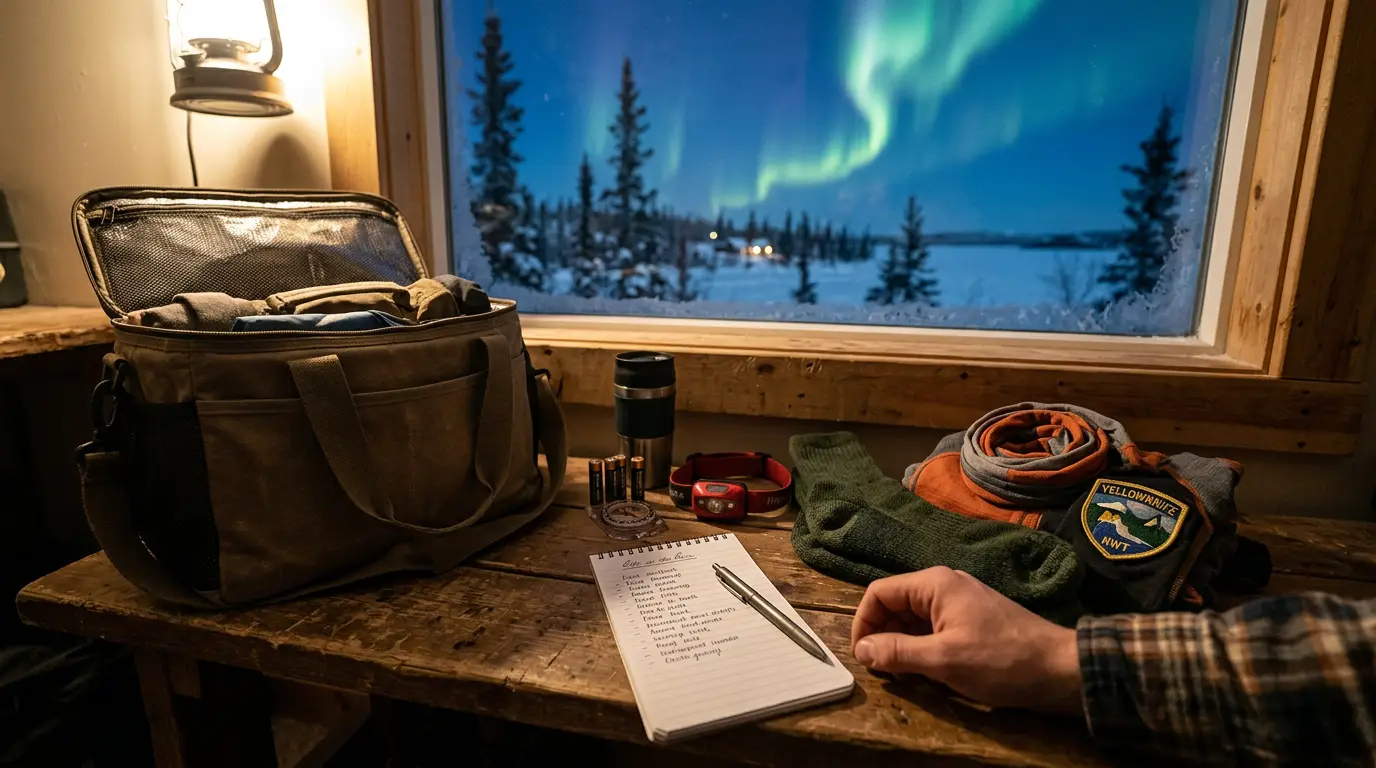

Why Yellowknife cold needs its own packing list
Yellowknife's winter hits temperatures that most cold-weather packing guides never address. January averages -21.6°C during the day and -29.4°C at night, with cold snaps dropping past -40°C before wind chill. Wind chills below -50°C are not exceptional; they happen most winters, and you will be out in them. The Yellowknife northern lights destination page covers the seasonal range for trip planning.
The real variable is not the number on the thermometer. It is the standing still. Alpine skiing, winter hiking, even ice fishing generate metabolic heat from movement. An aurora vigil is the opposite. You are stationary on a frozen lake surface for one to three hours at a stretch, generating almost no body heat. The gear that keeps you warm on a chairlift leaves you dangerously cold after forty minutes of immobility.
-50°C
Yellowknife's dry cold adds another twist. The subarctic continental climate means winter humidity runs around 60 to 70 percent, often lower. The cold feels less penetrating than coastal Arctic cold at the same temperature; your layers perform closer to their rated spec because there is less moisture to conduct heat away from your body. The trade-offs: static shock is constant (every doorknob, every car door), and your skin and lips crack within hours without moisturiser and lip balm.
Most viewing sites sit on the frozen surface of Great Slave Lake, ice-road-ready for vehicle traffic by midwinter. There are no windbreaks, no walls, no tree cover, just ice stretching to the horizon in every direction. Tour operators including Aurora Village and North Star Adventures provide heated shelters, teepees, cabins, or yurts where you can warm up between viewing sessions. But the aurora does not wait for you to finish your hot chocolate, and the best displays often happen during the twenty-minute stretches you spend outside the shelter, not inside it.
The layering system that works when you are not moving
Active-winter layering advice (the kind written for cross-country skiers and snowshoers) starts with a lightweight wicking base, adds a mid-layer for insulation, and tops it with a shell. For stationary cold, flip the logic: insulation dominates, and moisture management matters less because you are not sweating. You need roughly double the insulation of an active-winter setup for the same temperature. The how to see the northern lights guide covers the broader aurora-vigil strategy that this packing system supports.
- Base layer: Merino wool, in a heavier weight than you would wear for everyday cold. Merino wicks what little sweat you produce and resists odour for days, useful on a multi-night trip where laundry is not an option. Synthetic base layers work in a pinch but begin to smell after one use and feel clammy against skin in extreme cold. Avoid cotton entirely: it absorbs moisture, loses all insulating properties when damp, and accelerates heat loss.
- Mid-layer: A heavyweight fleece (Polartec 200 or 300 series) or a down sweater with at least 800-fill power. Fleece breathes better than down and keeps insulating if it gets damp from condensation inside your parka. Down is lighter per gram of warmth and packs smaller, useful when airline luggage limits cap you at 23 kilograms per checked bag; but loses loft if moisture builds up. A fleece is the safer choice for multi-hour vigils.
- Outer layer: An insulated parka rated to -40°C with a windproof outer shell. The temperature rating is not marketing fluff; an unrated fashion parka will leave you shivering within thirty minutes. Look for a parka with a substantial hood (faux-fur ruff is functional, not decorative; it traps a pocket of warm, still air around your face), internal cuffs at the wrists, and a waist drawcord to seal out drafts. Canada Goose, Arc'teryx, and Fjällräven all make parkas in this class, but the rating matters more than the brand.
- Bottoms: Merino long underwear under insulated snow pants with full-length side zips. The zips let you ventilate if you overheat walking to the viewing site, then seal up once you are stationary. Skip the uninsulated shell pants sold for skiing — they provide zero warmth without a thick insulating layer underneath.
The layering test is simple and worth doing at home before you fly: put on every layer you plan to wear, step outside on the coldest night available, and stand still for thirty minutes. If you are not warm, add a mid-layer. It is cheaper to buy an extra fleece at home than to discover the gap on Great Slave Lake at -35°C.
Rent in Yellowknife or bring from home
The biggest packing decision is whether to buy an expedition parka and boots rated for extreme cold or rent them in Yellowknife. The answer turns on two constraints: airline luggage weight and whether you will use the gear again.
Standard checked baggage on flights to Yellowknife (Air Canada, WestJet, Canadian North) typically permits one to two bags at 23 kilograms each, plus a carry-on and personal item. A serious parka weighs 1.5 to 2.5 kilograms. A pair of Baffin or Sorel winter boots weighs another 2 to 3 kilograms. That is up to a quarter of a single checked bag consumed before you pack anything else. The workaround: wear your bulkiest items on the plane. Board in your parka and boots; you will be uncomfortably warm for ninety minutes, but you save 4 to 5 kilograms of checked weight for everything else.
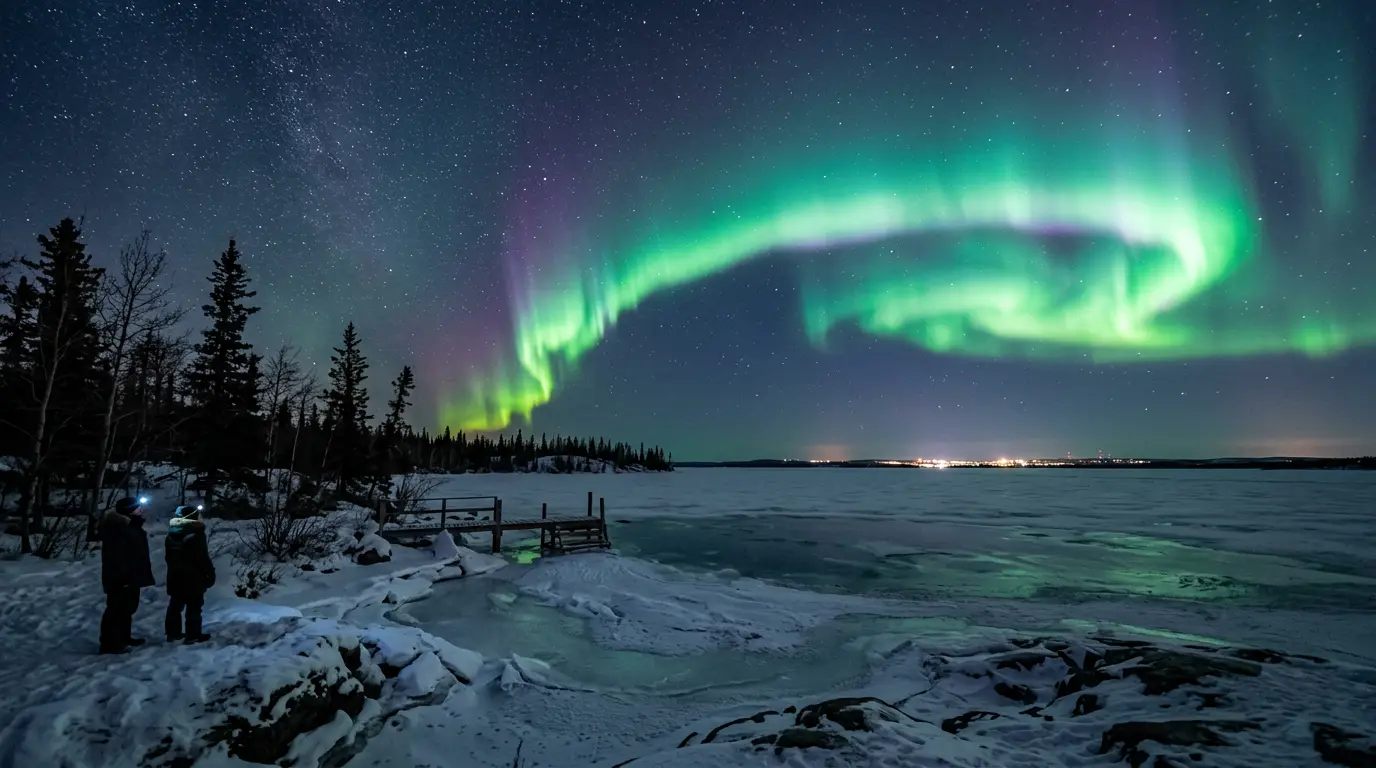
Featured · Destination
Yellowknife Northern Lights
Yellowknife sits beneath the auroral oval: up to 240 aurora nights per year. Guide to seasons, viewing spots, Indigenous-led tours, and cold-weather planning.
Several Yellowknife operators and lodges offer gear rental:
- Aurora Village provides heated teepees and warm drinks but does not rent clothing; you bring your own outerwear.
- Blachford Lake Lodge includes parkas and boots in its winter packages, so guests staying there do not need to bring expedition-rated outerwear.
- A handful of local outdoor shops in Yellowknife rent parkas and boots by the night, but inventory is limited during peak aurora season (December through March). Book rental gear when you book your flights, not the week before.
If this is a one-time aurora trip, renting makes financial sense; an expedition parka costs several hundred to over a thousand dollars. If you plan to chase the aurora in Fairbanks, Tromsø, or Lapland in future winters, buying quality gear amortises across multiple trips. For the full logistics of reaching Yellowknife and what to expect at the airport, the getting to Yellowknife guide covers the fly-in experience end to end.
Boots, mittens, and the extremities that fail first
Cold wins the war at the extremities. Your core can stay warm inside a good parka while your toes go numb, your fingers stop working, and your face hurts badly enough that you go inside and miss the show. Pack this layer first, not last.
Boots: Insulated winter boots rated for extreme cold are not a suggestion; they are the difference between a two-hour vigil and a twenty-minute one. Baffin, Sorel, and Kamik are the Canadian brands you will see on every local's feet. Look for removable liners (you can dry them overnight) and a sole thick enough to insulate you from the frozen lake surface. Size up half a size to accommodate thick socks without compressing them; compressed socks lose insulating loft.
- Sock system: A thin merino liner sock inside a thick wool outer sock. The liner wicks moisture, the outer traps warmth. Bring three pairs of each for a week-long trip; you will want a dry pair for each evening's aurora session.
- Mittens, not gloves: Fingers share heat inside a mitten; inside a glove, each finger fights the cold alone. Wear a thin merino liner glove inside a heavily insulated mitten (down or synthetic fill, windproof shell). You pull the mitten off for thirty seconds to operate your camera, then put it back on.
- Face protection: A merino balaclava covers your head, neck, and most of your face. Add a fleece neck gaiter you can pull up over your nose, and a thick insulated hat over the balaclava. Exposed skin freezes in under ten minutes at -35°C with wind.
- Hand and toe warmers: Chemical air-activated warmers (HotHands, Grabber) last six to eight hours. Put toe warmers on top of your toes, not underneath; the air-activated reaction needs oxygen, and standing on them suffocates it. Hand warmers go inside your mittens, against your palms.
Do not ignore early warning signs. Numbness that turns to a burning sensation, skin that goes white or waxy, and clumsiness with zippers or buttons are all signs of early frostnip, the precursor to frostbite. Go inside and warm up the moment you notice any of them. No aurora photo is worth permanent nerve damage.
Camera and electronics survival in -40°C
The aurora appears, you raise your camera, and the battery reads zero percent. This happens to nearly every first-time Yellowknife visitor. Lithium-ion battery chemistry slows dramatically below freezing, and at -30°C a fully charged phone or camera battery can drain from one hundred percent to dead in under ten minutes. The fix is low-tech and non-negotiable: carry every spare battery in an inner pocket against your body heat. Rotate batteries every thirty to forty minutes; swap the cold one from the camera with the warm one from your pocket, and you can shoot all night.
The second electronics problem is unique to extreme cold: camera condensation. When you bring a camera body and lens from -40°C outdoor air into a warm lodge or vehicle, moisture condenses instantly on every cold surface: the lens glass, the sensor, the internal electronics. Local photographers follow a hard rule: before you go indoors, seal the camera inside a large ziplock bag while still outside. Let the camera warm to room temperature inside the sealed bag over thirty to forty-five minutes. The moisture condenses on the bag, not on the gear. Never remove a cold lens from a cold body indoors; the warm, humid air rushes into the mirror box or sensor chamber and fogs everything. For a deeper dive into aurora camera settings, lens choices, and tripod technique, the how to photograph the northern lights guide covers the full workflow.
Featured · Article
What Is Astrotourism? The Complete Beginner's Guide
Astrotourism means travel built around dark skies: meteor showers, auroras, the Milky Way. What it means, where to go, and how to plan your first trip.
- Tripod: Carbon fibre over aluminium. Aluminium conducts cold so aggressively that touching a bare aluminium tripod leg at -35°C can give you a cold burn. Carbon fibre stays warmer to the touch. Wear your liner gloves when adjusting tripod legs; bare fingers on cold metal hurt fast.
- Phone: Keep it in an inner jacket pocket, not an outside pocket and never in a tripod-mounted clamp exposed to the air. For operating the screen, a stylus or gloves with conductive fingertips let you tap without exposing skin. Do not count on your phone as a backup camera unless you have tested it in real cold — many phone batteries shut down as a protective measure below -20°C.
- Power banks: A portable USB battery pack is useful for recharging a phone or camera via USB, but it suffers the same cold-drain problem. Keep the power bank in an inner pocket and run a short charging cable out through your jacket zipper to the device. The cable will stiffen in the cold but will still conduct power.
The complete Yellowknife winter packing checklist
Below is the checklist, organised by category. Items marked RENT are available from Yellowknife operators or outdoor shops. Everything else you bring from home. Check off each line before you zip your bag.
Clothing — base and mid layers
- Merino wool base layer top and bottom (heavier weight)
- Heavyweight fleece or 800-fill down sweater
- Merino wool liner socks (3 pairs)
- Thick wool outer socks (3 pairs)
- Merino liner gloves
You are stationary on a frozen lake surface for one to three hours at a stretch, generating almost no body heat.
Clothing — outer layers
- Insulated parka rated to -40°C with windproof shell (RENT or buy)
- Insulated snow pants with full-length side zips
- Insulated winter boots rated for extreme cold (RENT or buy)
- Heavily insulated mittens, windproof outer shell
- Merino balaclava
- Fleece neck gaiter
- Thick insulated hat
- Chemical hand warmers (8 to 10 pairs for a week)
- Chemical toe warmers (8 to 10 pairs for a week)
Recommended tours
Tours are selected for quality, not commission. I earn a small fee if you book — at no extra cost to you.




Electronics
- Camera body with at least 3 fully charged batteries
- Wide-aperture lens (f/2.8 or faster for aurora)
- Sturdy tripod (carbon fibre preferred)
- Large ziplock bags for condensation management
- USB power bank (high-capacity)
- Short charging cables (USB-C and Lightning)
- Phone (keep in inner pocket, not exposed)
Personal
- High-SPF lip balm with sun protection
- Heavy moisturiser (fragrance-free, for face and hands)
- Sunglasses (snow glare on the lake is intense during daylight)
- Reusable water bottle (insulated, wide-mouth so it does not freeze shut)
- High-energy snacks (chocolate, nuts, protein bars; cold burns calories fast)
This list is built for a five-to-seven-night trip with nightly aurora vigils. If your trip is shorter, reduce the sock and hand-warmer counts proportionally. If you are staying at a lodge that provides outerwear, drop the parka and boots from your bag and spend the saved weight on an extra mid-layer and more snacks.