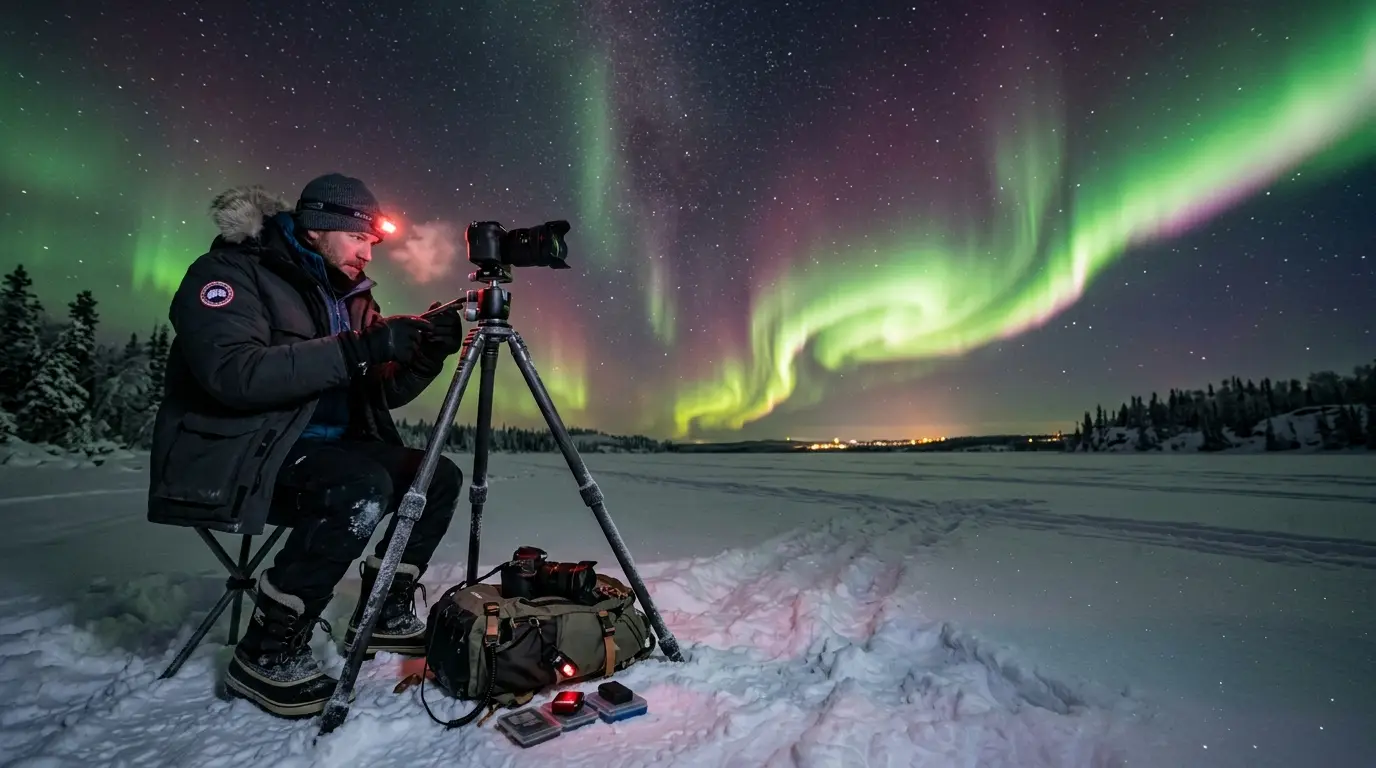

Camera bodies: full-frame sensors and manual controls, not megapixels
The single best camera body for Yellowknife aurora photography is the one you already own that has manual mode, a bulb setting for exposures beyond 30 seconds, and ISO performance that stays usable at 1600 to 6400. A full-frame sensor buys you roughly one stop of light over an APS-C sensor at the same ISO, which matters when every second of exposure risks turning a sharp aurora arc into a green smear. But if your budget or existing kit is APS-C, do not buy a new body for this trip: better glass (see the lens section) will improve your images more than a sensor-size upgrade at the same cost.
The real debate in Yellowknife is mirrorless versus DSLR, and here the cold tips the scales in ways showroom comparisons never capture. A mirrorless camera's electronic viewfinder (EVF) and always-on sensor drain the battery continuously, and at -30°C, a mirrorless battery that lasted 2 to 3 hours in testing now dies in 30 to 60 minutes[1]. A DSLR's optical viewfinder draws no power when you are composing, and the larger body leaves more room for a physically bigger battery. For a three-hour aurora vigil where you are framing, waiting, and shooting in bursts, a DSLR often outlasts a mirrorless body two to one on battery swaps.
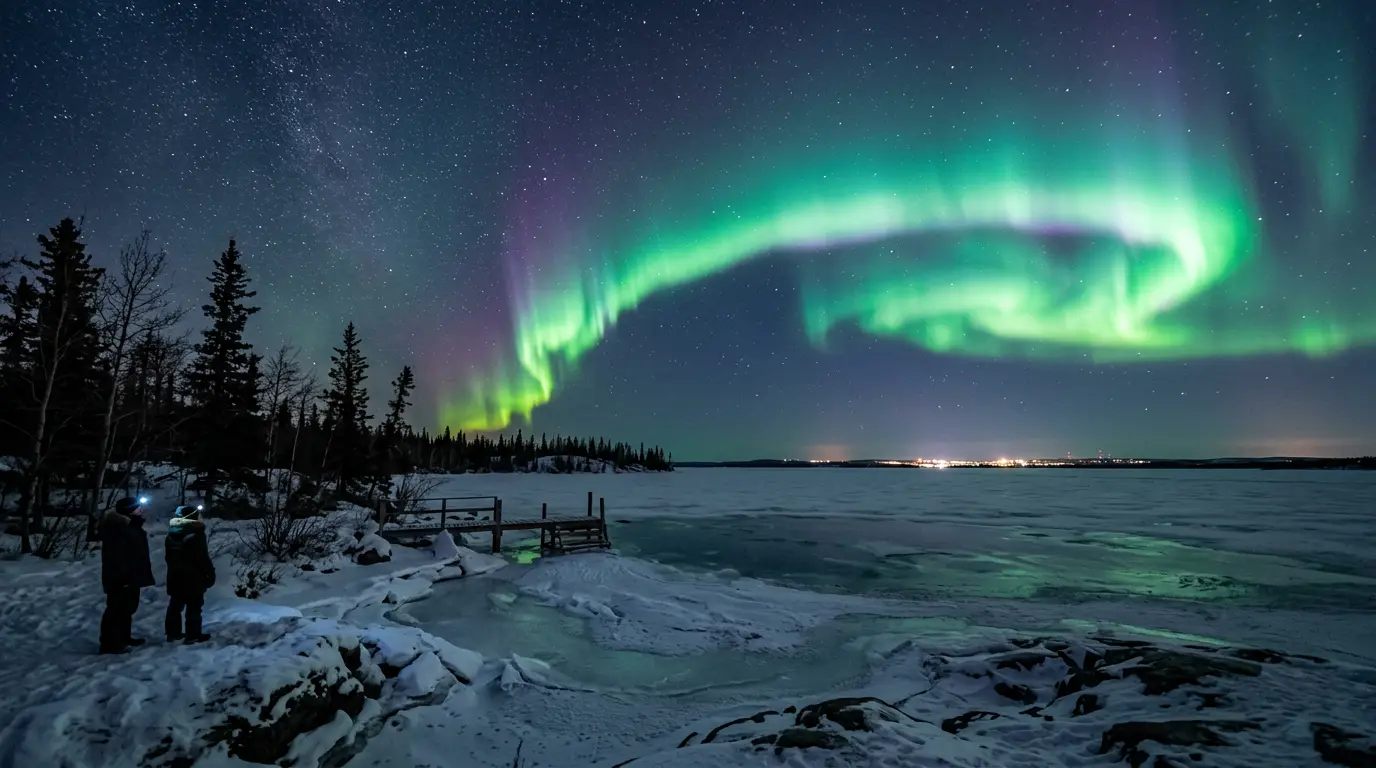
Featured · Destination
Yellowknife Northern Lights
Yellowknife sits beneath the auroral oval: up to 240 aurora nights per year. Guide to seasons, viewing spots, Indigenous-led tours, and cold-weather planning.
If you are shooting mirrorless (and most modern bodies are), the fix is straightforward: bring four to six spare batteries, keep two in an inner jacket pocket against your body heat, and rotate them on a 20-minute cycle. More on that in the battery section below. Any camera you bring must also accept a remote shutter release or have a built-in 2-second timer: pressing the shutter button by hand during a 10-second exposure introduces enough vibration to soften detail across the entire frame. A wired intervalometer that lets you program exposure sequences from inside your mitts is even better. For a full walkthrough of the exposure triangle, composition, and post-processing that this gear-focused article skips, read the general how to photograph northern lights guide.
Lens choices: f/1.4 primes versus f/2.8 zooms, and why it matters more for aurora than for stars
The standard astrophotography advice is correct: fast, wide-angle lenses between 14mm and 24mm are the right tool. What changes in Yellowknife is the weight of the trade-off between maximum aperture and focal-length flexibility.
At f/1.4 or f/1.8, you can shoot a bright aurora display in 5 to 15 seconds at ISO 1600. At f/2.8, the same scene needs 15 to 25 seconds, and by then a fast-moving auroral corona has blurred into a shapeless green wash. The shorter your exposure, the more structure you preserve in the aurora's rays, curtains, and coronas: distinct vertical pillars rather than a diffuse glow. For aurora specifically, one extra f-stop is worth more than it is for Milky Way photography because the subject itself moves.
The practical lens shortlist for Yellowknife, grouped by budget:
5–15 seconds
- Premium zooms: Sigma 14-24mm f/2.8 DG DN Art, Canon RF 15-35mm f/2.8L, Nikon Z 14-24mm f/2.8 S. These give you compositional range from ultra-wide landscapes to tighter aurora + foreground frames. The f/2.8 aperture is workable at ISO 3200–6400 with 8- to 15-second exposures on most nights.
- Budget wide-angle: Samyang/Rokinon 14mm f/2.8 manual focus. Budget-friendly, fully manual, and optically sharp enough stopped down to f/2.8 or f/4. The manual-focus ring is actually an advantage at -30°C: no autofocus motor to hunt in the dark, and you preset focus to infinity before the cold sets in.
- Fast primes for maximum light: Sigma 20mm f/1.4 DG HSM Art or a 24mm f/1.4. At f/1.4, these lenses pull in four times more light than an f/2.8 zoom, enabling 3- to 5-second exposures that freeze aurora structure cleanly. The trade-off is a fixed focal length: you compose by moving your tripod, not by zooming.
Focus technique: Switch to manual focus, magnify the live-view preview on a bright star or distant light, and set the lens to infinity before the aurora appears. Do this once for each lens you will use that night, then tape the focus ring down with a strip of gaffer tape. Autofocus is useless in the dark and drains the battery; the cold makes focus rings stiffer and easier to knock out of position.
Tripods and ball heads: the component most likely to fail at -30°C
A sturdy tripod is the single piece of aurora photography gear that will ruin your night if it fails. At -30°C, every material weakness that was invisible at room temperature becomes catastrophic: plastic leg locks crack, aluminum legs transfer cold to your hands through even thick gloves, and cheap ball heads seize so you cannot adjust composition without breathing warm air onto frozen metal.
Carbon fibre is the right material for Yellowknife. It is lighter to carry through snow, it vibrates less in the subarctic wind that sweeps across Great Slave Lake in winter, and it does not draw heat from your hands the way aluminum does when you reposition the tripod. A carbon-fibre tripod from Gitzo, Really Right Stuff, or Peak Design costs more than the aluminum alternative but will outlast several camera bodies. If you are buying specifically for this trip, the Peak Design Travel Tripod in carbon fibre packs small enough for carry-on luggage and uses a ball head that stays smooth at -30°C. For the best locations to plant this tripod after dark, the best aurora viewing spots Yellowknife guide maps every Ingraham Trail pull-off with drive times and sky views.
The leg locks matter as much as the leg material. Twist locks can seize when frost forms inside the threads; flip locks with large levers are easier to operate with thick photography gloves. If your tripod uses twist locks, clean and dry the threads the night before each shoot and avoid overtightening in the cold.
The ball head must be Arca-Swiss compatible so you can swap between bodies and lenses without changing plates in the dark. A head rated for at least 10 kg (22 lb) will hold a full-frame body with a heavy f/1.4 prime steady in moderate wind. Budget-conscious photographers can start with a Manfrotto 190-series aluminum tripod and a basic Arca-Swiss ball head: it is heavier and colder to handle, but it will hold a camera still for 15-second exposures. Just budget for the weight and the cold-hands trade-off.
On rubber feet: the frozen surface of Great Slave Lake near Yellowknife is as hard as concrete. Metal spikes grip ice but skid on the polished wood floors of an aurora-viewing lodge deck. Bring both rubber feet and spike feet, and switch between them depending on your surface.
Batteries, condensation, and the small items that keep you shooting past midnight
The battery strategy is the most important thing in this article that has nothing to do with image quality. At -30°C, a mirrorless battery lasts 30 to 60 minutes of active use, and a DSLR battery lasts roughly twice that. The fix is not a bigger battery: it is multiple spares and a warm-up rotation. Bring four to six fully charged batteries. Keep two in an inner jacket pocket pressed against your base layer, where body heat keeps them near 20°C. When the battery in the camera drops below 20%, swap it with a warm one and put the depleted battery back in the inner pocket. A lithium-ion battery that reads empty at -30°C will often recover to 40-60% once it warms up, giving you a second and sometimes a third use per battery per night.
Condensation is the silent killer of aurora camera gear, and the fix costs fifty cents. When you move from -30°C outdoor air into a warm lodge or vehicle, every surface on your camera is suddenly the coldest object in the room, and moisture in the indoor air condenses on it instantly. The water forms inside the lens barrel, on the sensor, and in every crevice. If that moisture freezes again when you go back outside, your lens is fogged from the inside and your night is over. The solution is the sealed bag method[3]: before you go indoors, put the camera (with lens attached) into a large ziplock bag or dry bag and seal it. Let the camera warm up inside the sealed bag for 30 to 45 minutes. The condensation forms on the outside of the bag, not on the camera. Remove silica gel packets from the bag before reusing it.
Recommended tours
Tours are selected for quality, not commission. I earn a small fee if you book — at no extra cost to you.




Photography gloves are a separate category from regular winter gloves, and you need both. A liner glove thin enough to operate dials and buttons paired with a flip-back mitt system is the standard Yellowknife photographer's setup. Dedicated photography gloves (Vallerret, Heat Company, or The Heat Company) have removable index-finger and thumb tips so you can feel the shutter button and the focus ring without exposing your entire hand. Bring two pairs of liners: one will get wet from handling a frosted tripod.
A headlamp with a red-light mode is mandatory, not optional. White light kills your night vision and, if you are shooting near other photographers, will ruin their exposures. A red headlamp preserves your dark adaptation and lets you read camera settings, swap batteries, and navigate snow-covered terrain without lighting up the foreground. The Petzl Actik Core with its red LED setting or the Black Diamond Storm are the standard choices.
Lens cloths and hand warmers round out the small-items kit. Frost forms on the front lens element within minutes at -30°C, especially if you are breathing anywhere near the camera. A microfiber lens cloth tucked in an inner pocket stays warm and dry; pull it out to wipe frost, then put it back to rewarm. Chemical hand warmers (HotHands or similar) placed in your glove liners keep your fingers working for button adjustments and battery swaps. Do not tape hand warmers directly to the camera body: the uneven heat can warp the lens mount or fog internal elements.
Yellowknife logistics: pack everything, book a photo tour, scout your foreground
There is no dedicated camera or photography gear shop in Yellowknife[4]. No rental house. No last-minute SD card aisle at the hardware store. If you forget a battery, a remote shutter release, or an Arca-Swiss plate, you will not find a replacement in town. Every piece of gear this article recommends must arrive in your checked luggage or carry-on. The closest dedicated camera store is a flight south in Edmonton, so treat anything you cannot shoot without as non-replaceable once you land — though general winter and outdoor gear, if you arrive short on that instead, is often available locally in Yellowknife. Bring duplicates of anything you cannot shoot without, especially batteries and lens cloths.
If you are new to aurora photography or just want to focus on composing while someone else handles the logistics, book a dedicated photo tour. Dancing Skies Photo Tours runs private aurora-chasing and photo sessions with groups capped at 5 people, including portrait-style photos of guests under the aurora[6]. The small group size means the guide can help with camera settings individually rather than shouting aperture values at a tour bus. Book this for your first or second night in Yellowknife: you will dial in your settings under expert supervision, then use the rest of your trip to apply what you learned at your own pace. For a broader dive into technique, the general how to photograph northern lights guide covers the exposure triangle, composition, and post-processing that this gear-focused article skips.
Smartphone backup: a modern phone (iPhone 14 Pro or newer, Pixel 7 or newer, recent Samsung Galaxy S-series) can capture recognizable aurora with its night mode, and it is worth having as a backup body. Phone sensors are small, so the image will be noisier and less detailed than anything from a full-frame camera, but a smartphone on a small tripod with a 10-second night-mode exposure will record green aurora structure well enough to prove you saw it. For a deeper dive on this, the Kp index explained guide covers how low the geomagnetic threshold is in Yellowknife: you are often shooting at Kp 2 or 3 with bright overhead displays, which is well within smartphone night-mode capability.
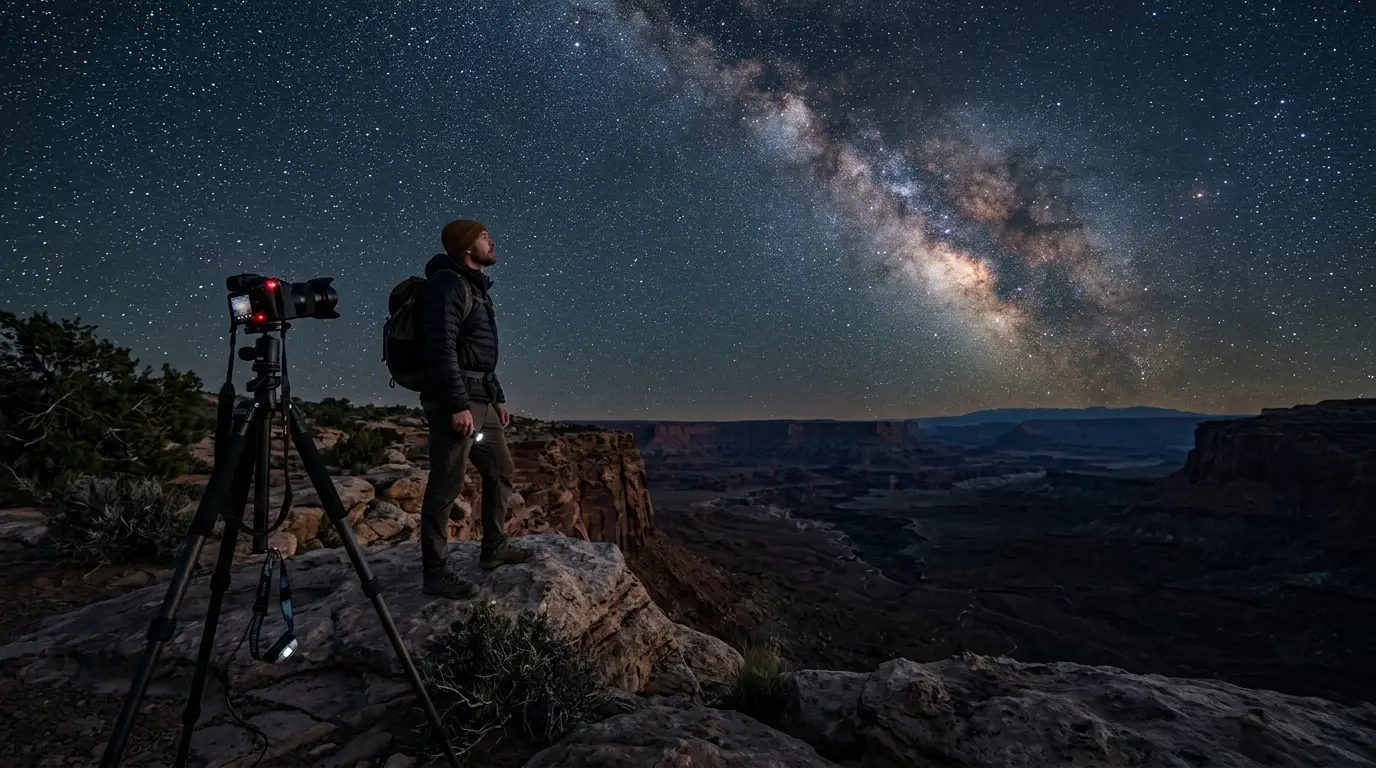
Featured · Article
What Is Astrotourism? The Complete Beginner's Guide
Astrotourism means travel built around dark skies: meteor showers, auroras, the Milky Way. What it means, where to go, and how to plan your first trip.
Foreground scouting is the difference between an aurora photo and an aurora photograph worth printing. Great Slave Lake, frozen over by November and holding through mid-June, provides an ice foreground with cracked-ice patterns that can catch aurora light as natural leading lines. The Ingraham Trail pull-offs (detailed in the best aurora viewing spots Yellowknife guide) offer boreal-forest silhouettes, and the Dettah ice road gives you an unobstructed northern horizon over the lake. Scout your foreground during daylight: finding a composition by headlamp at midnight in -30°C is the fastest way to miss the best aurora of your trip. For accommodation that puts you close to these viewing sites, the best lodges in Yellowknife for aurora guide ranks every option by sky access and photographer-friendliness.