
The Short Answer: Two to Three Nights, Not One

One overnight in Death Valley works if you're only passing through. It doesn't work if stargazing is the actual reason for the trip. Death Valley holds Gold Tier certification, the highest rating DarkSky International and the National Park Service award for night-sky darkness[1], but reaching that darkness on the ground takes more time than most visitors budget for it.
Start with the park itself. Death Valley is large enough that just driving between its main zones eats into an evening, well before factoring in the separate roads out to Badwater Basin, Mesquite Flat, or any of the park's farther corners. A single overnight gets you one evening at one pull-out. It doesn't get you a choice between zones, and it doesn't get you a second attempt if that one evening goes wrong.
That's not a hypothetical risk. Clouds, wind, or a bad moon phase on your one scheduled evening can undo the whole trip, with no second chance built in. A second night meaningfully improves your odds of landing on a clear, moonless sky. Three adds room to work through more than one of the park's distinct viewing zones instead of settling for whichever one is closest to where you're staying.

Gold Tier

The highest dark-sky rating DarkSky International and the National Park Service award, and Death Valley holds it across the entire park, not just at one pull-out.
So the real decision isn't whether to stay overnight. It's how many nights buy enough insurance against weather, moon phase, and your own itinerary. Stargazing in Death Valley covers the park's Gold Tier designation and ranger programs in full; this guide is about how many nights it actually takes to use them.

One Night: What You Actually Risk

A single overnight isn't nothing. If the sky cooperates, one night at Badwater Basin or a Furnace Creek pull-out is still a real Milky Way, likely darker than anything most visitors have stood under before. The problem is that it's the only attempt the trip gets.
A second night meaningfully improves your odds of landing on a clear one, which is the entire argument for not stopping at one. A cloud bank rolling through, a full moon washing out the core, or arriving a day later than planned: any one of those turns a one-night trip into a wasted drive, with no second evening built in to fall back on.

Featured · Destination

Abisko Stargazing

Abisko's rain-shadow microclimate keeps skies clear when nearby Arctic spots cloud over. Aurora season, the Sky Station, ICEHOTEL, and getting there by train.

The trade-off cuts the other way too. A one-night trip is genuine insurance against an overpacked schedule: less time off work, less lodging cost, and still a real shot at a dark sky if the weather holds. It's the right call for a quick pass-through on a longer Southwest road trip. It's the wrong call if Death Valley's Gold Tier sky is the entire reason for the drive.

Two Nights: Furnace Creek Plus One Zone

Two nights turns a single gamble into a plan with a backup built in. Base at Furnace Creek, the park's hub with lodging, a visitor center, and the closest access to the park's most-visited zones, and use the two evenings to cover Furnace Creek itself plus one farther pull-out.
Badwater Basin is the obvious second stop. It's roughly a 30-minute drive from Furnace Creek[2], short enough to fit after dinner without eating into the rest of the evening, and it delivers on the payoff: at 282 feet below sea level, the flat salt pan gives an unobstructed 360-degree view of the sky with nothing on the horizon to block it[3].

The two-night plan looks roughly like this:

  • Night 1: Stargaze from a pull-out near Furnace Creek, or walk out toward the dunes at Stovepipe Wells
  • Night 2: Drive the 30 minutes to Badwater Basin for the trip's signature view
If night one clouds over, night two is the backup. If night one is clear, night two is a second, different view rather than a repeat. Either way, two nights means the trip doesn't rest on a single roll of the weather dice.
The best stargazing spots in Death Valley breaks down four named zones in more depth than fits here, worth reading before deciding which one earns your second night.

Three Nights: Badwater, Mesquite Flat, and Furnace Creek in Full

A third night changes the math again. Instead of choosing one zone beyond Furnace Creek, three nights make room for two, plus a genuine weather buffer if either of the first two evenings falls through.
Mesquite Flat Sand Dunes, near Stovepipe Wells, is the natural third stop: a short drive from Furnace Creek, trading Badwater's flat salt pan for rippled sand and a different foreground under the same dark sky. Bringing a camera specifically? Harmony Borax Works, close to Furnace Creek, is worth its own evening: the elevation there leaves little to no obstruction from the surrounding mountains, exactly the open sightline astrophotographers look for[4].
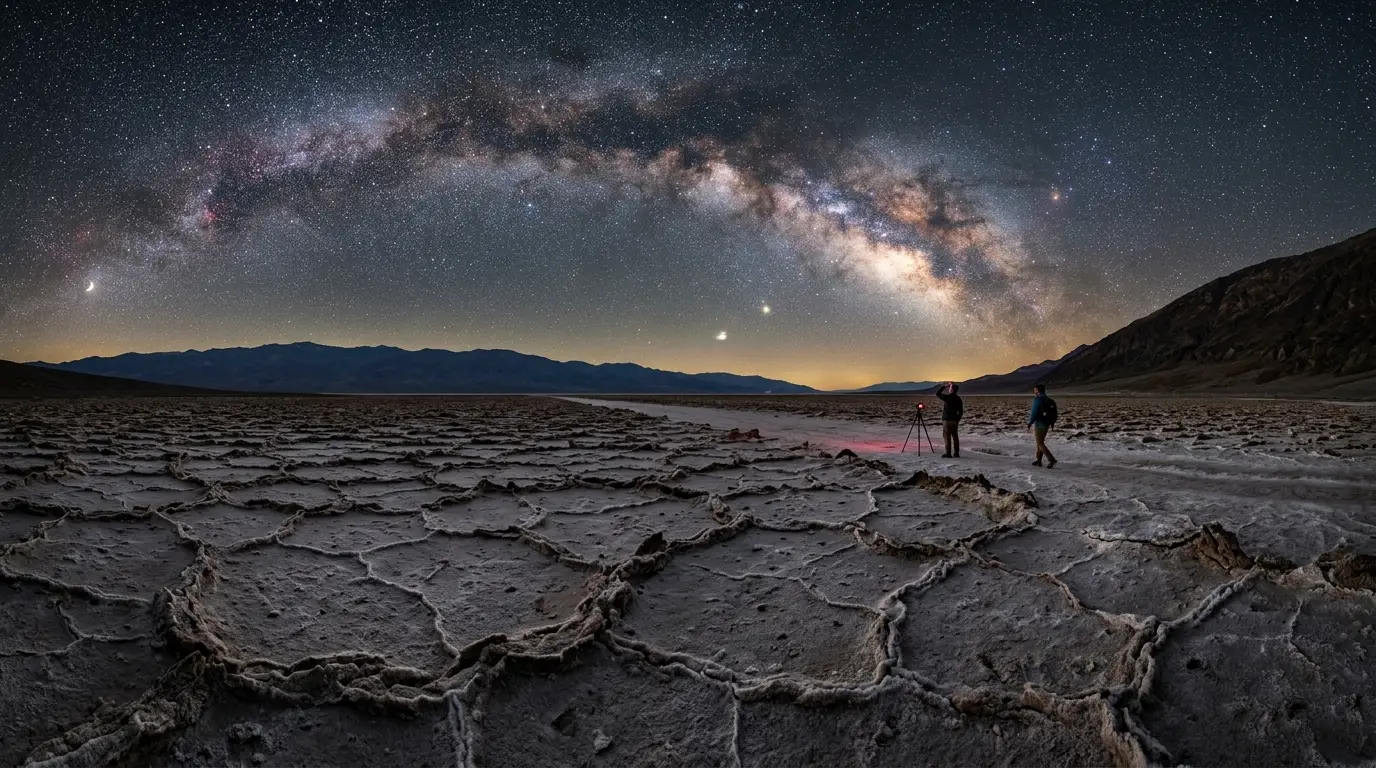
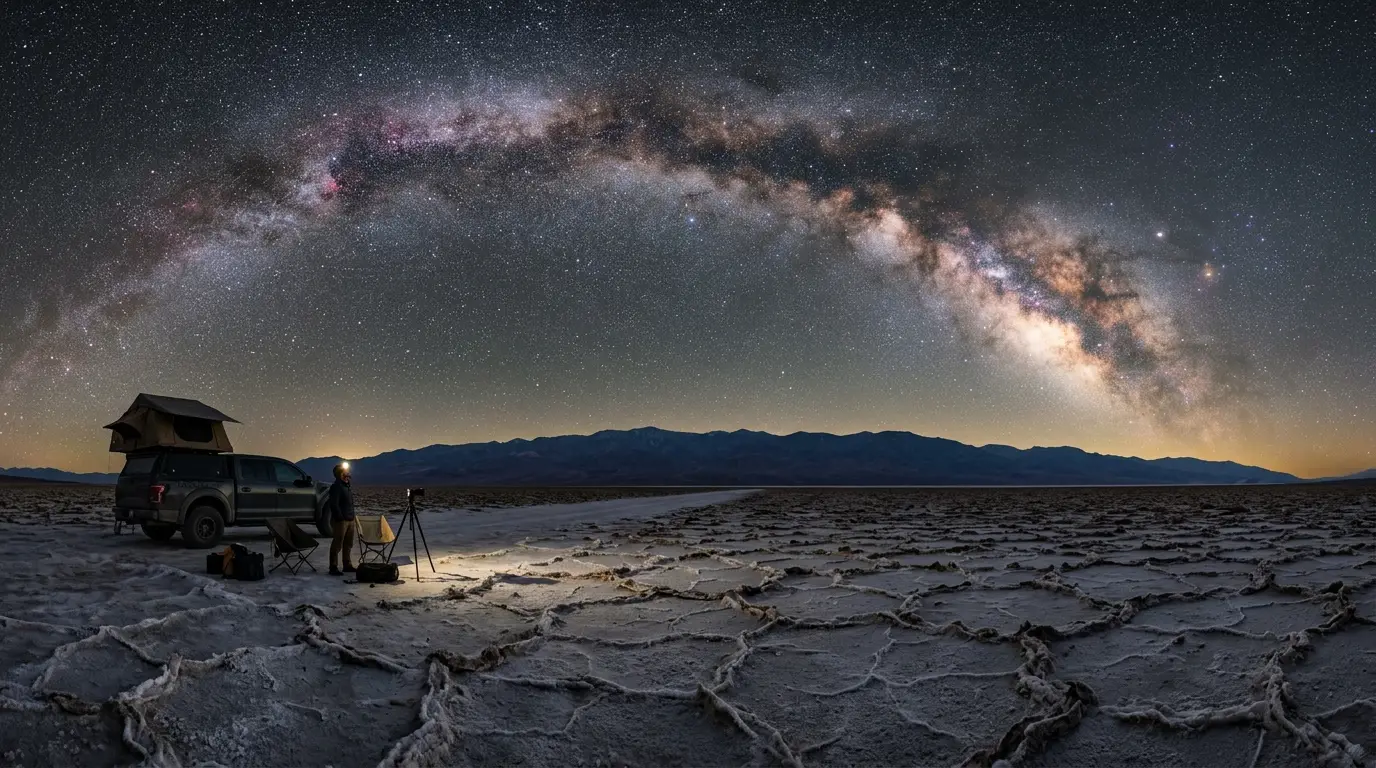
Night sky over Death Valley's Badwater Basin salt flats with the Milky Way arching overhead, illustrating how many days to plan for Death Valley stargazing across the park's Furnace Creek, Badwater, and Mesquite Flat zones

Night sky over Death Valley's Badwater Basin salt flats with the Milky Way arching overhead, illustrating how many days to plan for Death Valley stargazing across the park's Furnace Creek, Badwater, and Mesquite Flat zones

A three-night plan spreads out like this:

  • Night 1: Furnace Creek or Stovepipe Wells, an easy first evening to get oriented
  • Night 2: Badwater Basin, the roughly 30-minute drive and the park's signature flat horizon
  • Night 3: Mesquite Flat Sand Dunes or Harmony Borax Works, depending on whether dunes or a camera-friendly sky matters more
What you get2 nights3 nights
Zones coveredFurnace Creek + Badwater BasinFurnace Creek + Badwater + Mesquite Flat or Harmony Borax Works
Weather bufferOne backup eveningA full extra night if one evening clouds over
Best forTight schedules, one signature viewPhotographers and anyone chasing more than one zone
Three nights also means a bad-weather night doesn't sink the whole trip. Lose one evening to cloud cover and there are still two left to work with, instead of the single backup a two-night plan allows.

Ranger Programs and the Case for a Third Zone Like Ubehebe
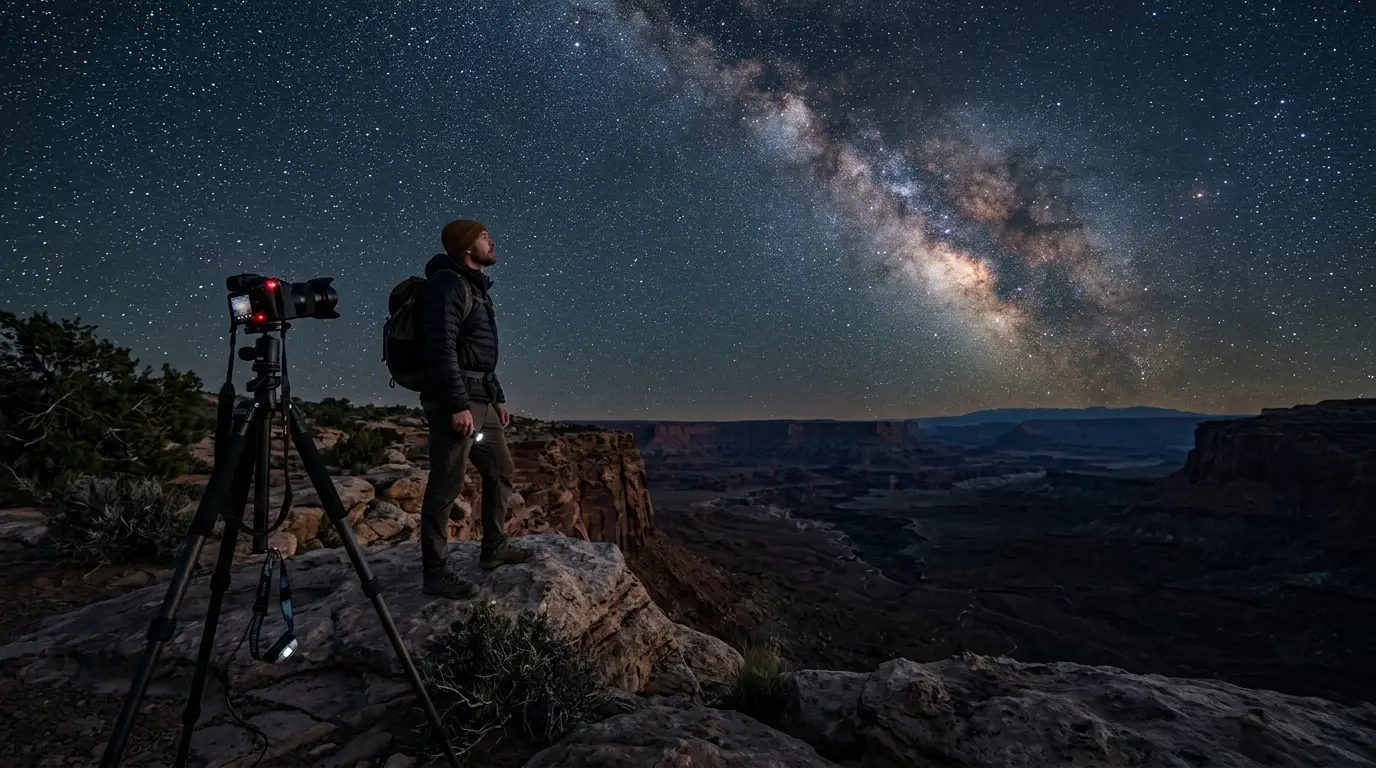
Time your evenings around Death Valley's own ranger programs and a third night pays off twice: once for the extra viewing zone, once for the extra chance to catch a program that only runs certain nights.
The park's Night Sky Talk runs seasonally from mid-November through mid-April, with daily programs offered December through March[5], a guided way to learn the sky with a ranger before finding your own dark pull-out for the rest of the night. During the annual Furnace Creek Star Party, rangers run constellation tours hourly from 7:30 to 9:30 p.m.[6], a structured start to an evening that leaves plenty of dark hours afterward for unguided viewing.
A third night is also what makes a longer detour like Ubehebe Crater realistic. It's a considerably longer drive from Furnace Creek than Badwater or Mesquite Flat, too far to tack onto a two-night trip already committed to those two zones, but a reasonable add for anyone with a third evening and no ranger program to catch that night instead.

Featured · Article

What Is Light Pollution? Definition, Types, and Solutions

Light pollution is artificial light brightening the night sky, affecting 80% of the world. Learn the 4 types, wildlife and health effects, and how to fix it.

None of this requires special gear. Death Valley's most remote back-country reaches Bortle Class 1[7], while skies near the developed Furnace Creek hub run closer to Bortle Class 2[8] — dark enough either way for the Milky Way to cast a visible shadow on the ground on a clear, moonless night, no telescope necessary, just patience and enough time away from a phone screen for your eyes to fully adjust.

Sample Itineraries and When to Book Each Night

Here's the practical version of everything above, hour by hour rather than in the abstract.

A two-night plan:

  • Day 1: Arrive by afternoon, check into The Inn at Death Valley or a Furnace Creek-area property, get oriented before dark
  • Night 1: Stargaze near Furnace Creek or Stovepipe Wells
  • Day 2: Drive the roughly 30 minutes to Badwater Basin in the afternoon
  • Night 2: Stargaze at Badwater Basin, the trip's signature view
  • Day 3: Depart
Timeline
  1. Night 1

    Main stargazing window

    Furnace Creek or Stovepipe Wells, the trip's only guaranteed evening on a two-night plan.

  2. Day 2 (3-night only)

    Mesquite Flat or Harmony Borax Works

    Added on the three-night version; dunes or a low-obstruction astrophotography sky.

  3. Night 2

    Badwater Basin

    The roughly 30-minute drive to the park's flattest horizon and signature view.

  4. Day 3

    Departure or Ubehebe detour

    A last morning at Furnace Creek, or an early start for the considerably longer drive to Ubehebe Crater.

A three-night plan adds a full extra evening:

  • Day 2 (added): Drive to Mesquite Flat Sand Dunes, a short trip from Furnace Creek, or head to Harmony Borax Works if a camera is the priority
  • Night 2 (added): A second stargazing zone, or a second attempt if night one was cloudy
Either plan works, but the sky is at its darkest in the hours after full night falls and before moonrise, whatever night you land on, and budget at least two hours once you arrive for your eyes to fully adjust. Check the best time to stargaze in Death Valley before locking in a specific week, since moon phase and season both shift these odds more than the number of nights does.