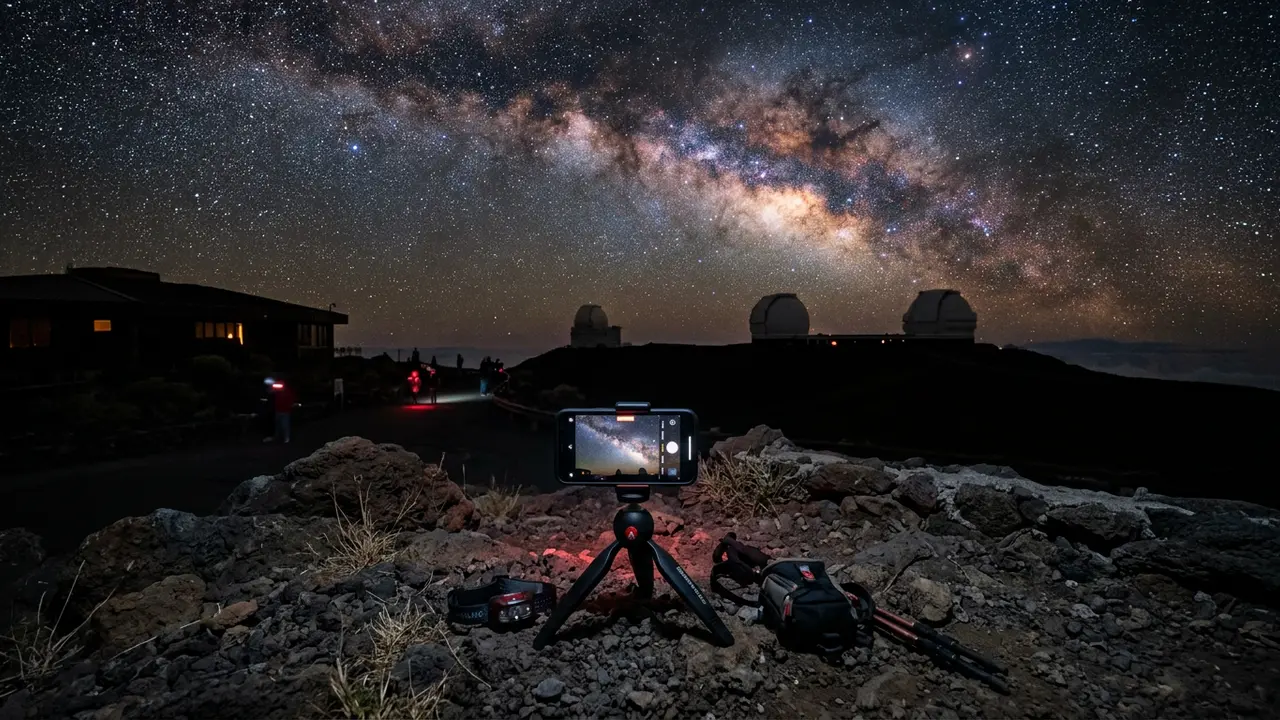

Before you shoot: Mauna Kea is sacred ground, not a backdrop
Mauna Kea's summit is regarded by Native Hawaiians as one of the most sacred places in the archipelago: a shrine, a home to the gods, and the piko, or summit-center, of Hawai'i Island[1]. That status isn't background trivia before a stargazing tip list — it's the frame everything else in this guide sits inside, including the plain fact that no photograph is worth disregarding it.
The mountain's summit currently holds 13 observatories[2], and how they got there, and stayed there, has been genuinely contested for decades. A 1998 state audit found the University of Hawaii had prioritized astronomy development over natural and cultural resource protection, criticism that shaped years of subsequent oversight fights. In 2022, Hawaii's governor signed HB2024 into law[3], moving summit governance away from the University of Hawaii to a new stewardship authority with Native Hawaiian representation — a real structural change, though debate over further summit development, including the long-proposed Thirty Meter Telescope, is ongoing and unresolved.
“Mauna Kea is a deeply sacred place revered in Hawaiian traditions, regarded as a shrine for worship, as a home to the gods, and as the piko of Hawai'i Island.”
None of that is a reason to skip Mauna Kea. It's a reason to shoot from the Visitor Information Station, not the summit, and to leave cameras out of anything that looks like a ceremony, a shrine, or a private moment for a practitioner. For the fuller history and etiquette behind that line, see Mauna Kea cultural significance and visitor etiquette before you plan the rest of the trip.
The Visitor Information Station: where to actually point your phone
The Visitor Information Station (VIS), part of the Onizuka Center for International Astronomy, sits at roughly 9,200 feet (2,804 meters)[4] — high enough to clear most of the Big Island's haze and light pollution, low enough that most healthy visitors can stand around outside for a few hours without serious altitude trouble. This is where the smartphone technique in this guide is meant to be used, not the true summit above it.
The station keeps daily hours of 9 a.m. to 9 p.m., and after twilight ends staff have historically stepped outside for a laser-guided sky presentation[5] — worth timing your visit around, since it puts a knowledgeable guide next to your tripod right when the sky gets genuinely dark. Confirm the current schedule before you go; the exact format has shifted over the years. For the full rundown on what a night at the VIS looks like, from parking to program length, see the Onizuka Center Visitor Station program, and for lodging, weather windows, and the rest of the destination, Mauna Kea Stargazing covers the trip end to end.
Featured · Destination
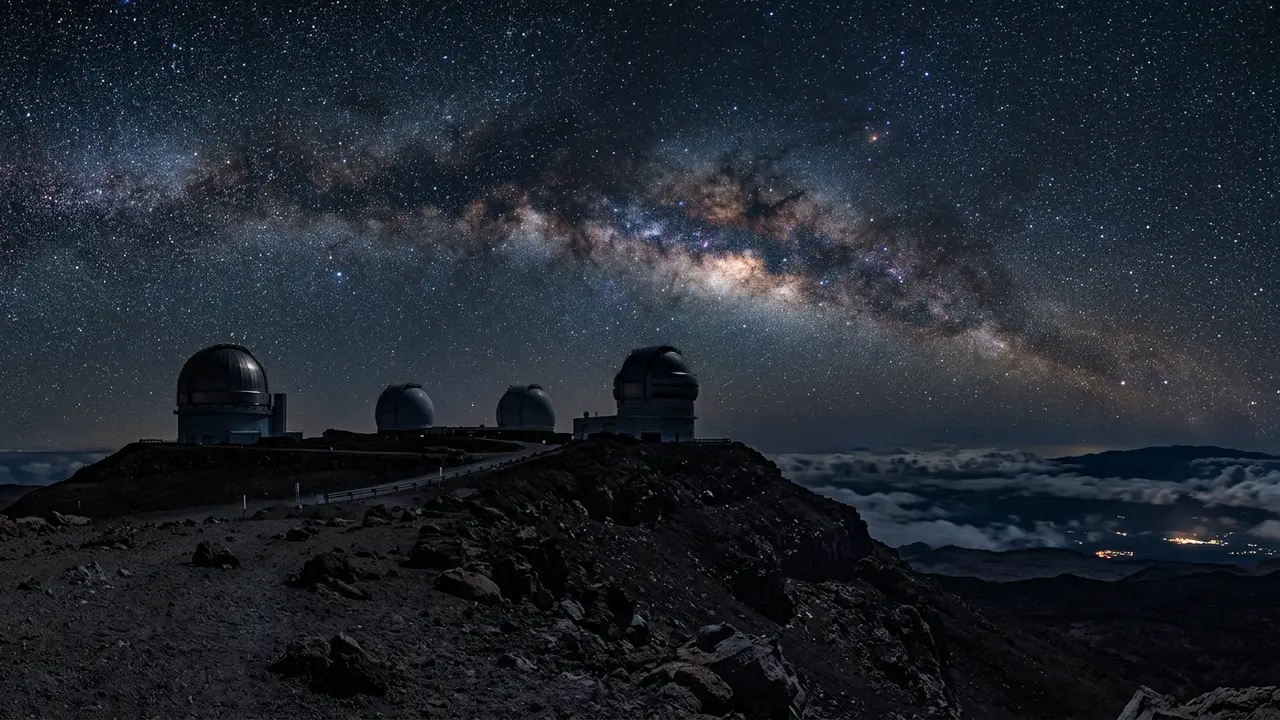
Mauna Kea
Mauna Kea is sacred to Native Hawaiians and home to world-class observatories. Here's how to plan respectful, safe Mauna Kea stargazing at the Onizuka VIS.
Bring the same cold-weather sense you'd pack for a winter hike. Temperatures at 9,200 feet[4] drop fast after sunset even in summer, and cold weather is hard on phone batteries: a battery that reads 40% at sea level can die outright in the cold within an hour. Keep the phone in an inside pocket between shots, and bring a small power bank if you're planning a long session.
Tripod, focus, and exposure: the three things that actually matter
A tripod, even a small flexible one that clips to a railing, is the single biggest jump in image quality available to a phone shooter. Using a tripod is the easiest way to ensure your phone is held securely in place[6], since handheld night shots almost always show blur or star trails at the shutter speeds night photography needs, no matter how steady your hands feel in the moment.
Turn off autofocus once you're set up. Smartphone autofocus is built for daylight and close subjects, and it will hunt and readjust mid-exposure in low light, ruining an otherwise good frame. Instead, tap and hold on the brightest star in the frame until the phone locks both focus and exposure, then leave it alone.
From there, exposure time does the real work: the longer the shutter stays open, the more light the sensor gathers, which is the whole game in a dark sky. Start conservative and adjust from what you see on screen rather than chasing a specific number, since every phone model and lighting condition responds differently. A basic sequence that works on most modern phones:
- Mount the phone on a tripod and frame the shot before it gets fully dark, so you can still see the horizon
- Switch to Night Mode or Pro/Manual mode, whichever your phone offers
- Lock focus manually on a bright star rather than trusting autofocus
- Start with a short exposure, check the result, and lengthen it if the image is too dark or too noisy
- Wait out the shutter without touching the phone — even tapping the screen can blur the frame
No tripod? Improvise anyway
A tripod is the ideal tool, not the only option. Bracing the phone against a railing, a rock, or the hood of a parked car works almost as well, as long as the surface is genuinely still. A car with the engine running vibrates enough to blur a long exposure, and its hood radiates heat that can shimmer across the bottom of the frame. A small bean bag, or a rolled-up jacket tucked under the phone, does the same job as a mini tripod for a fraction of the bulk.
Night Mode vs. dedicated astro modes: what each one actually does
Every modern phone's default Night Mode works the same broad way: it fires off a burst of short exposures and merges them computationally into one brighter, cleaner frame. It's built for handheld low-light shots of streets and rooms, and it does a reasonable job on a bright night sky when the phone is steady on a tripod. It struggles more as the sky gets darker, because there's only so much a burst of short frames can recover before noise takes over.
Several phone makers also ship a separate dedicated astrophotography or 'Pro' mode, built specifically for star fields rather than general low light. These modes typically hand you direct control over exposure time, ISO, and focus, and let the shutter stay open in a single long exposure instead of stacking several short ones. Exact capabilities and limits vary by phone model and change with software updates, so check your own phone's camera settings and manual rather than assuming a specific number applies to your device.
Neither mode is strictly better; each suits a different situation. Night Mode is the faster, more forgiving choice for a quick shot before the presentation starts. A dedicated astro or manual mode, where your phone has one, rewards patience and a genuinely dark, moonless sky with more visible stars and less noise.
| Night Mode | Astro / Pro mode | |
|---|---|---|
| Setup | Point and shoot, mostly automatic | Manual exposure, ISO, and focus |
| Best for | A quick shot, brighter skies | A dark, moonless sky and a steady tripod |
| Learning curve | Low | Higher, but more control |
Apps built for the night sky
Your phone's built-in camera app, especially if it has a genuine Night Mode or astro mode, is a perfectly reasonable place to start, and for a lot of visitors it's all they'll need. A small set of third-party apps exist specifically for this kind of shooting, though, and they're worth downloading before you drive up.
NightCap Camera on iPhone and Camera FV-5 on Android are two of the more established options. NightCap in particular ships with presets for stars, meteors, the International Space Station, and star trails[7], which removes a lot of the manual guesswork a general camera app leaves you to figure out alone in the dark. Both apps give you more direct control over exposure, ISO, and focus than most stock camera apps, closer to what a dedicated camera offers.
None of this requires buying gear. If a phone and one of these apps is genuinely all you're bringing, that's a complete kit for VIS-level stargazing photography. If you later want to go further, with an actual camera body, a star tracker, or interchangeable lenses, Mauna Kea astrophotography gear picks up exactly where this guide leaves off.
Featured · Article
Uluru Cultural Significance and Visitor Etiquette
Uluru is Anangu land under joint management. Here's why the 2019 climb closure is settled policy, what you can't photograph, and real visitor etiquette.
Realistic expectations, moon phase, and when to go
Timing matters more than any camera setting. Getting away from light pollution to a genuinely dark sky, ideally close to the new moon, matters more than any setting on the phone[8]. A bright moon will wash out the Milky Way's core in a photo just as thoroughly as it does to the naked eye, no matter how good your tripod or app is. Check a moon calendar before you book the trip, not after.
Keep the results in perspective. Visitor accounts of the VIS on a clear night describe a parking lot that goes quiet fast once the sky darkens, with small knots of people gathered around tripods and little noise beyond the occasional shutter click or app countdown chime. A smartphone photographed there on a clear, dark night can genuinely show the Milky Way's core, a scattering of bright stars, and maybe a meteor if you're lucky and patient. It will not match a full-frame camera on a star tracker, and it shouldn't try to. What it will do is get you a real photo of a real dark sky, taken from a place built for exactly that, without a single extra piece of gear in your bag.
If the VIS's own view leaves you wanting a wider search for dark sky beyond the parking lot, Best stargazing spots Mauna Kea covers where else on the mountain to look. Wherever you end up standing, treat the mountain the way its history asks: camera down for anything that isn't yours to photograph, and genuine respect for a place a lot of people consider sacred ground, not scenery.