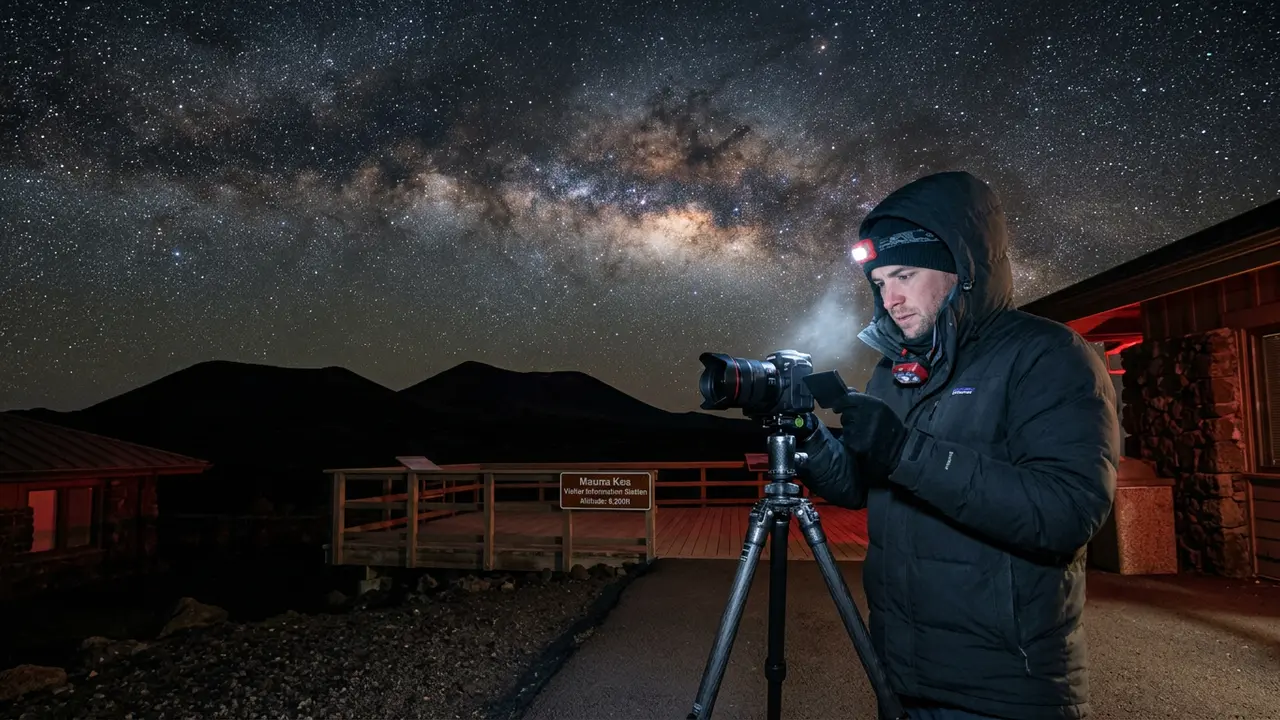

Mauna Kea is sacred ground first, a photography backdrop second
Before you think about ISO or dew heaters, sit with this: Mauna Kea is not a neutral backdrop for astrophotography. In Native Hawaiian tradition the mountain is regarded as a deeply sacred place, a shrine for worship, a home to the gods, and the piko, the navel or center, of Hawai'i Island. Summit development, including the long-proposed Thirty Meter Telescope (TMT), has been and remains contested among Native Hawaiians, the state, and the University of Hawai'i, a dispute with no tidy resolution. Even Hawai'i's own state leadership has acknowledged as much: in 2015, then-Governor David Ige admitted the state had fallen short in caring for the mountain[1].
None of that is incidental to a gear guide. It's the frame everything below sits inside: general visitors, whether carrying a phone or a full mirrorless kit, have no real reason to push toward the true summit. The public, accessible spot for night photography is the Visitor Information Station (VIS), part of the Onizuka Center for International Astronomy, sitting at 9,200 feet (2,804 m)[2] on the Maunakea Access Road. The true summit closes to visitors 30 minutes after sunset and reopens 30 minutes before sunrise, which is exactly why the photography this guide covers happens at the VIS, not up among the observatories.
“we have in many ways failed the mountain.”
For lodging, permits, and the full destination rundown, see Mauna Kea Stargazing. If you're shooting on a phone rather than a dedicated camera, the technique differs enough to earn its own article: Mauna Kea Smartphone Stargazing Photography covers night-mode settings and phone-specific apps this piece doesn't touch.
Why cold and altitude change how your gear behaves
Everything about shooting from 9,200 feet[2] is different from shooting in your backyard, and most of it comes down to two forces: cold and thin air. Winter storm conditions can develop on Mauna Kea at any time of year, bringing freezing temperatures, winds over 100 mph, and zero-visibility whiteouts[3], weather that damages exposed gear as readily as it ruins a night's shooting. Even on a calm, clear night, temperatures at the VIS regularly drop well below freezing after sunset, and wind chill does the rest.
Altitude affects you before it affects your camera. Prolonged exposure to elevations like this can trigger High Altitude Pulmonary Edema (HAPE) and High Altitude Cerebral Edema (HACE), part of why the mountain restricts overnight and extended stays above the VIS for the general public. A photographer who's short of breath or foggy-headed makes worse decisions about aperture, focus, and gear care than one who's acclimated and warm, so treat your own condition as the first piece of equipment to manage, not an afterthought.
Cold does something specific and predictable to your kit, too. Battery capacity drops fast in freezing temperatures, so keeping spares insulated in an inside jacket pocket rather than a camera bag is standard cold-weather practice, and the same cold stiffens cables and turns tripod plastics brittle[4], the kind of thing that snaps a cheap leg lock at 2 a.m. and ends your night early.
For the fuller picture on when Mauna Kea's sky is clearest and how conditions shift through the year, see Best Time for Mauna Kea Stargazing.
Stopping condensation: dew heaters and the descent fog
Fog on your lens isn't mysterious once you understand the physics. Camera lenses and telescope optics fog or frost when their surface temperature drops below the ambient dew point[5], the same principle that fogs a cold windshield on a humid morning. Out at the VIS on a clear, cold night, radiative cooling can chill your lens surface below the surrounding air temperature even without any rise in humidity, and dew creeps across the front element exactly when you need it clean.
The standard fix is a dew heater band: a flexible, low-power heating strap wrapped around the lens barrel, or a telescope's optical tube, that keeps the glass just above the dew point without introducing the heat-shimmer air currents a stronger heat source would cause. A battery-powered dew heater controller, paired with a strap sized to your lens diameter, is worth packing before a Mauna Kea night far more than it's worth improvising on the mountain.
There's a second condensation problem that catches people on the way down rather than during the shoot. Dropping from the VIS's cold, dry air into Hilo's warmer, humid lower elevation is a classic trigger for exterior condensation on lenses and camera bodies, a pattern well known among astrophotographers even without a single tidy source to point to, and it's why many of them seal gear in a camera bag or a zip-top bag before the drive down, letting it warm up gradually inside the bag rather than fogging the moment it hits humid air.
- Pack silica gel packets in your camera bag year-round
- Let gear warm up inside a sealed bag, not out in the open air
- Wipe optics with a microfiber cloth, never a sleeve or glove
- Bring a spare lens cloth; a wet one is useless
Tripods, wind, and stability at the Visitor Information Station
A tripod that's rock solid in your backyard can feel flimsy the moment Mauna Kea's wind picks up, and a tripod that vibrates in wind ruins a long exposure before you even notice the shake through the viewfinder. Hang your camera bag, a sandbag, or a full water bottle from the tripod's center column hook to add mass and damp vibration, and keep the legs spread wide rather than fully extended if wind is a factor.
Material matters more here than it does at sea level. Carbon-fiber tripods are widely reported among astrophotographers to handle cold-induced expansion and contraction better than aluminum, and their locking mechanisms tend to hold up better in freezing conditions, general field experience rather than a single lab-tested claim, so treat it as a reasonable preference rather than a hard rule. Whatever material you bring, protect the leg-lock threads and ball-head mechanism from grit and cold; a locking collar that's seized shut on a windy overlook is a genuinely bad night.
Getting a full camera kit up to the VIS is straightforward in any vehicle that can reach the turnoff, but if your plans involve driving any further, the rules are strict for good reason: only dependable, fully operable 4WD or AWD vehicles are permitted for summit travel[6] above the VIS, and most rental sedans don't qualify regardless of what the badge on the hood says. For general astrophotography, none of that matters. Set up at the VIS and you don't need to go any higher.
Featured · Destination
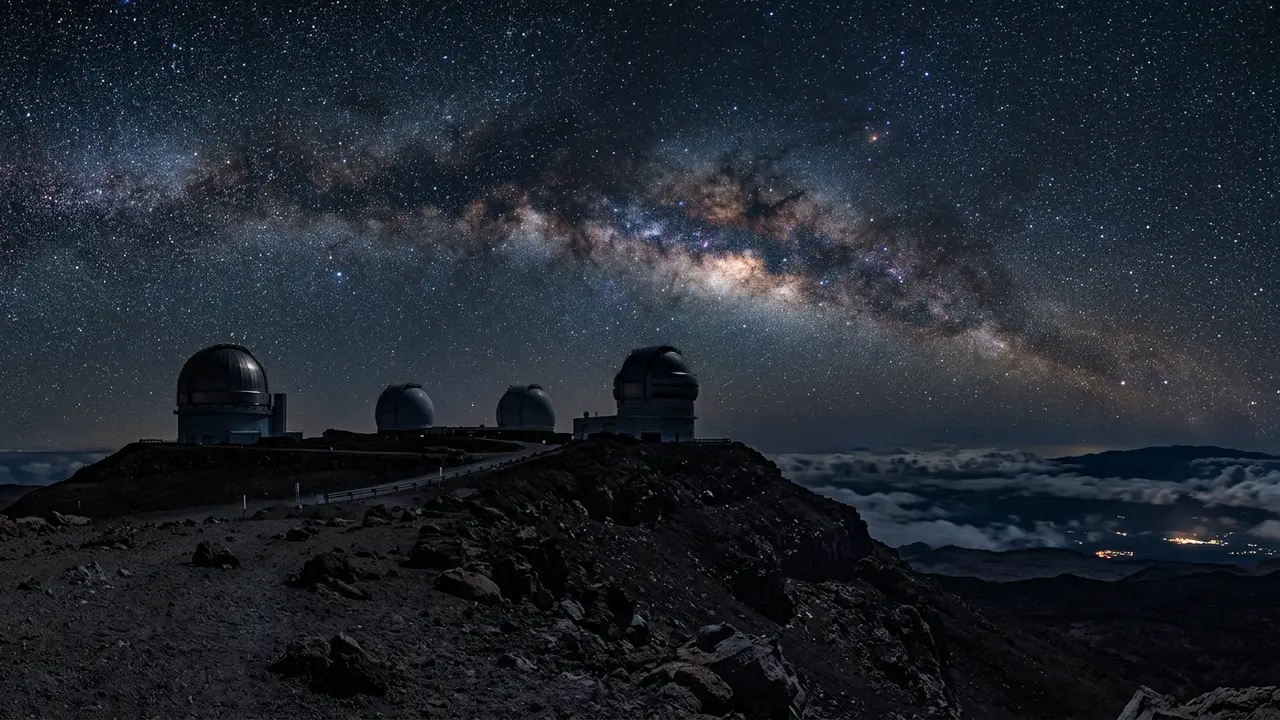
Mauna Kea
Mauna Kea is sacred to Native Hawaiians and home to world-class observatories. Here's how to plan respectful, safe Mauna Kea stargazing at the Onizuka VIS.
For a full rundown of what a typical evening at the VIS looks like, ranger talks and all, see the Onizuka Center Visitor Station program.
Lenses and star trackers for the Milky Way core
Once your gear survives the cold, the photography itself rewards a fairly specific kit. A wide-aperture Milky Way lens in the 14 to 24mm range at f/2.8 or faster is the standard choice: wide enough to frame the galactic core and the summit's silhouette in one shot, fast enough to gather real signal in a reasonable exposure before star trails start to show.
A star tracker, a small equatorial mount that rotates your camera to counter Earth's rotation, buys you longer exposures, lower ISO, and cleaner images than a fixed tripod alone can manage. It's genuinely optional for a single trip: a fixed wide lens on a solid tripod, shot at 15 to 20 seconds before star trails appear, produces a perfectly good Milky Way image without one. Bring a tracker if astrophotography is the point of your trip; skip it if Mauna Kea is one stop on a bigger Hawai'i itinerary.
- An intervalometer, or your camera's built-in interval timer, for consistent multi-shot sequences without touching the camera
- A wide, fast prime or zoom in the 14 to 24mm range at f/2.8 or faster
- Spare, insulated batteries, more than you think you'll need
- A remote shutter release, or your phone's companion app, to avoid touch-induced shake
Featured · Article
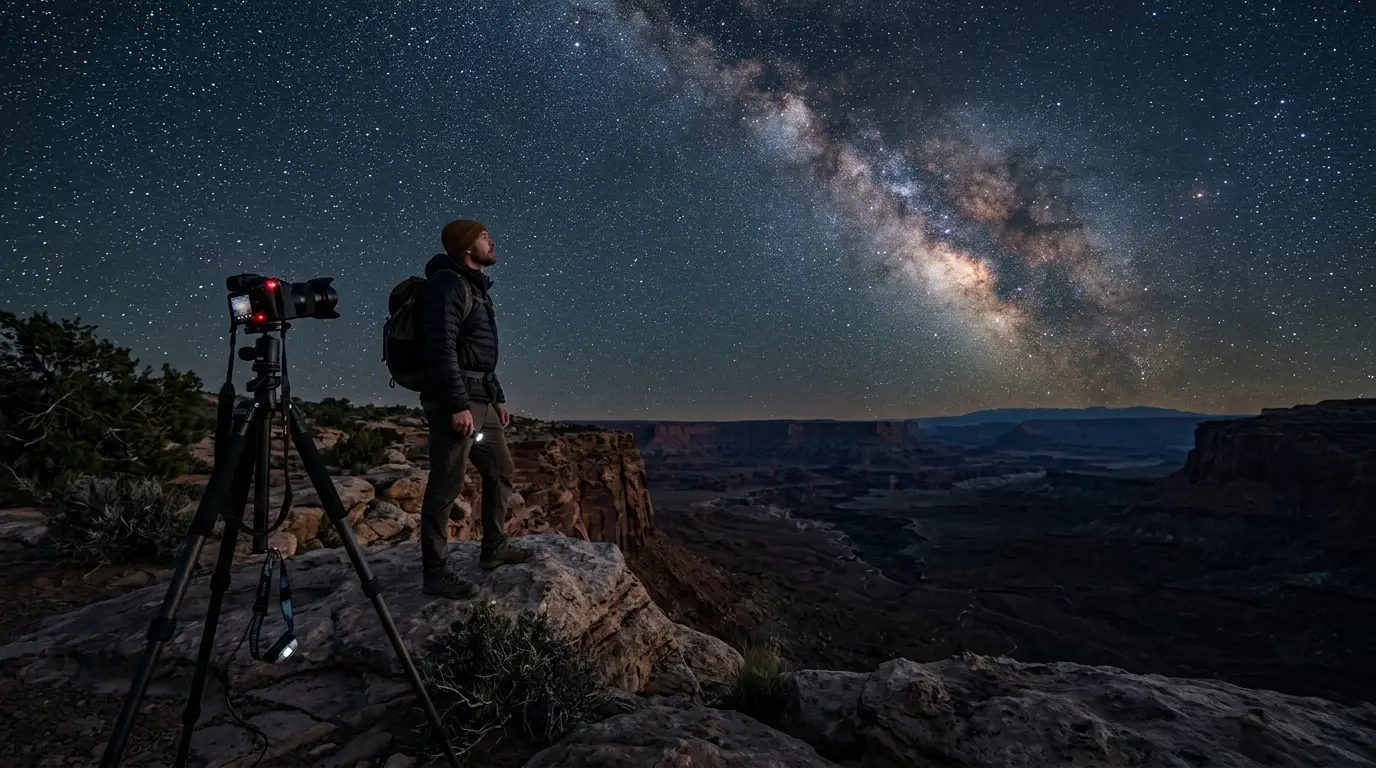
What Is Astrotourism? The Complete Beginner's Guide
Astrotourism means travel built around dark skies: meteor showers, auroras, the Milky Way. What it means, where to go, and how to plan your first trip.
Turn on long-exposure noise reduction for anything past 30 seconds if your camera has it, and shoot in RAW rather than JPEG. Mauna Kea's dry, stable air above the trade-wind inversion is exactly the kind of sky that rewards the extra processing latitude RAW gives you back home.
Respectful photography etiquette on sacred ground
Everything above assumes you're shooting from the VIS, and everything here assumes you'll encounter a place many people consider actively sacred, not a scenic backdrop. Treat both as non-negotiable, not as suggestions.
- Never photograph ceremonies, offerings (ho'okupu), or practitioners you encounter on the mountain, even from a respectful distance
- Don't enter or photograph areas that are closed, roped off, or marked as cultural or burial sites, regardless of how good the composition looks
- Ask before assuming any area is open to tripods or photography; a request that a staff member or another visitor turns down is not a suggestion to find a workaround
- Pack out everything, including cable ties, silica packets, and gaffer tape scraps, and stay on marked roads and pullouts rather than wandering for a better angle
One practical consequence of the mountain's rules affects your workflow directly. Above the Visitor Information Station, visitors are asked not to use radios, cellphones, Bluetooth, or Wi-Fi except in emergencies[7]. If you rely on a phone app for star charts, a wireless shutter release, or Bluetooth-tethered shooting, plan around this rather than counting on connectivity once you're past the VIS.
Under 13: discouraged past the VIS
None of this is a deterrent from visiting. It's the same deal that applies to any working sacred site anywhere in the world: you're a guest, the mountain isn't a studio, and the best photographs from Mauna Kea are the ones taken with that understanding intact. For the fuller cultural context and etiquette behind these rules, see Mauna Kea Cultural Significance and Visitor Etiquette.