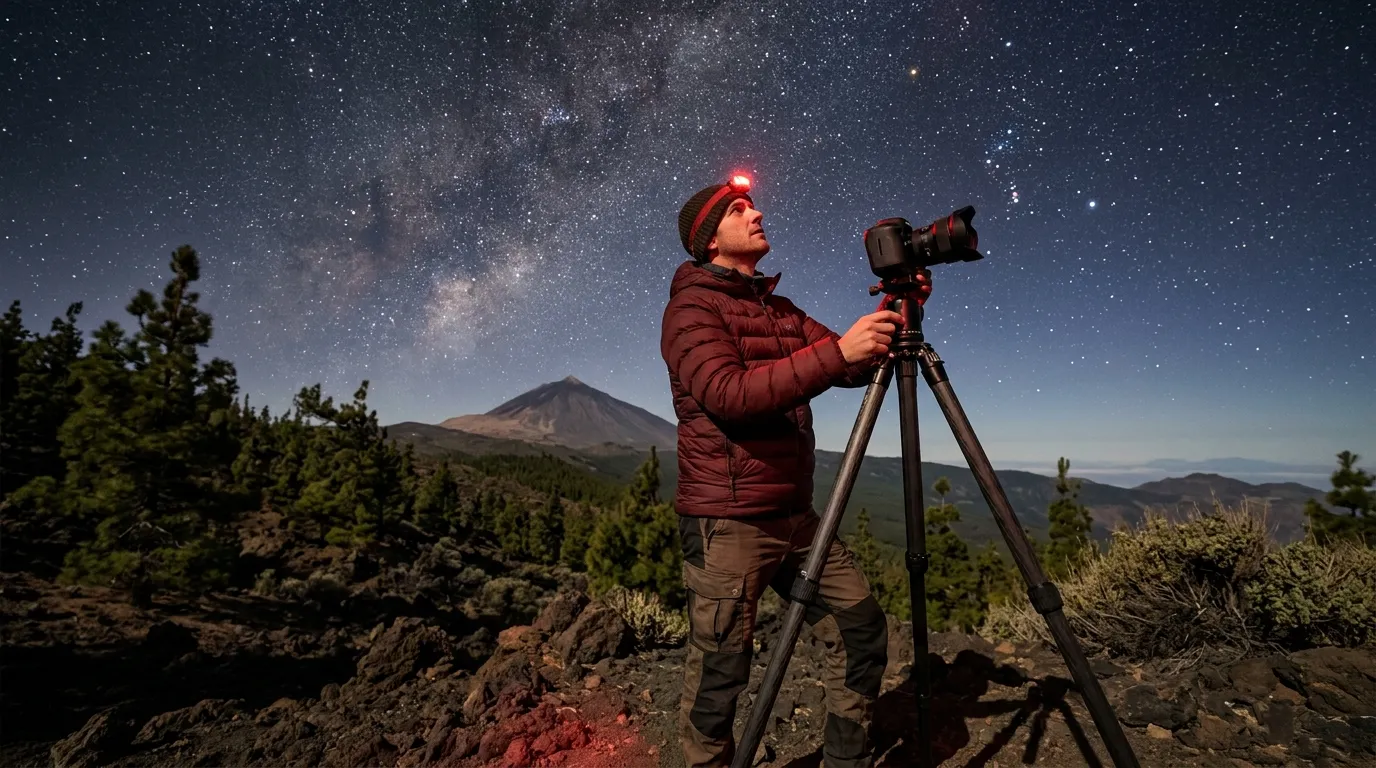

Why Teide's climate changes your packing list
The Teide caldera sits in a Mediterranean Csb climate — warm-summer Mediterranean, the same classification as parts of coastal Oregon and southern England. That label describes the daytime pattern at the mountain's base. At night on the caldera floor, roughly 2,000 to 2,300 metres above sea level, the numbers shift to something closer to a cool spring evening in a temperate climate.
Summer nights at the caldera, June through September, run 10 to 14°C after midnight, once astronomical twilight gives way to full darkness, with the coldest hours between 2 and 5 am[1]. Winter nights, December through March, drop to 0 to 5°C at the caldera floor. The record low at the Izaña Observatory, at 2,371 metres, is -9.8°C, recorded on 26 February 1971[2]. That is the outlier, not the norm; it shows up roughly once a decade and no sensible packing list is built around it.
The trade-wind inversion that makes Tenerife's skies so clear also makes the summit dramatically colder than the coast. The same day you spend at the beach in 28°C sunshine, the caldera after dark gives you 12°C with a steady wind that makes it feel closer to 5°C on exposed skin. The wind is the real bite at altitude, funneled through the caldera rim with nothing to break it. A windproof shell does more for your comfort than a heavier mid-layer.
28°C → 12°C
This pattern matters because Tenerife stargazing gear is a different category from the Arctic winter kits that dominate packing advice for Tromso and Fairbanks. Those guides start from -20 to -30°C, battery-heated gloves, and insulated snow pants. Teide in summer asks for a fleece and a windbreaker. The weight difference, in luggage terms, is roughly the difference between a carry-on and a checked bag full of gear you will not touch.
For a look at the full altitude-driven climate picture, Tenerife stargazing as a destination covers the caldera, the trade-wind mechanism, and why the mountain sits above the cloud line almost year-round.
The Tenerife layering system: three pieces, not five
Tenerife nights ask for a three-layer clothing system, not the four or five layers that polar-aurora packing lists prescribe. Here is what works, split by season.
The base layer: a lightweight merino or synthetic thermal top. Cotton has no place here because it holds sweat against your skin and chills you the moment you stop moving. In summer a thin merino t-shirt weight is enough; in winter go up to a mid-weight 200 gsm thermal.
The mid layer: a 200-weight fleece or a lightweight down jacket. In summer the fleece alone covers most nights. The down jacket earns its weight in winter or if you know you run cold. A full-zip fleece is more useful than a pullover, because you can vent heat without fully removing it when the wind drops.
The outer shell: a windproof, breathable jacket. This layer does the real work on Teide, because the wind at 2,000 metres is what makes 10°C feel like 2°C. A simple softshell or a lightweight rain jacket pulled over the fleece blocks wind chill without weighing more than 400 grams. You do not need a waterproof Gore-Tex expedition shell for a summer Teide night: the caldera is dry, and if it rains, you are not stargazing anyway.
Hat and gloves graduated by season. In summer: a lightweight beanie and thin liner gloves, the kind that let you operate a camera dial without removing them. In winter: swap to a fleece beanie and mid-weight insulated gloves. At 10°C after an hour of standing still, a beanie does more for your overall comfort than a second fleece.
Feet. Wool socks, not cotton, and a spare pair in the car. Volcanic rock sucks heat through the soles of trainers within twenty minutes once the ground has been radiating into a clear sky for hours. Sturdy hiking shoes with a decent sole are enough for summer; in winter, waterproof boots add a margin. You do not need insulated snow boots rated for Arctic conditions.
The whole system, base layer, fleece, shell, beanie, gloves, spare socks, fits in a compression cube the size of a weekend bag. Compare that to the Arctic kits where a single down parka fills half a carry-on, and the Tenerife advantage becomes a packing advantage.
Essential gear: what earns its place in the bag
Beyond clothing, four items make the difference between a comfortable four-hour session on the caldera and a cold, frustrating one where you pack up early. All four fit in a daypack.
Red headlamp. This is not negotiable and not a place to save money. A white-light headlamp in your bag means a white-light accident at 1 am that resets everyone's dark adaptation — the 20 to 30 minutes your rod cells spent rebuilding rhodopsin, the light-sensitive pigment that lets you see faint stars[3]. A dedicated red mode, on a separate switch that cannot accidentally toggle to white, is worth the extra ten euros. The Petzl Tikka with its red-LED lockout and the Black Diamond Spot are the two most common choices on the caldera. Bring spare batteries: cold drains them faster, and a dead headlamp at 2 am on volcanic rock means walking back to the car by phone light, undoing the night vision of anyone nearby.
For the biology behind why red light works when a dimmed white LED does not, the stargazing for beginners guide covers the full dark-adaptation field test.
Tripod. If you are bringing any camera at all, a tripod is not optional. A lightweight travel tripod in carbon fibre, if budget allows, or aluminium if not, that collapses to carry-on size. The caldera floor is uneven volcanic rock with a steady wind; a tripod with spiked feet or a hook under the centre column where you can hang your daypack for ballast is the difference between sharp frames and blurry ones. The Manfrotto Befree and Sirui Traveler series show up more often than anything else among the photographers working the caldera miradores.
Binoculars. A pair of 10x50 binoculars is the most useful optical upgrade for a Tenerife night. At 10x magnification through a 50mm objective lens, you resolve Jupiter's four Galilean moons as distinct points, the Pleiades as individual blue-white stars instead of a smudge, and the craters along the Moon's terminator in sharp relief. The 5mm exit pupil, aperture divided by magnification, roughly matches what a dark-adapted adult eye can receive, which is exactly why that spec became the standard recommendation. Binoculars are optional if you are booked on a guided tour that provides optics; if you are going solo, they are the single best weight-to-experience ratio in your bag.
Thermos. At 5°C after midnight, a hot drink adds an hour to your session. This is the item every first-timer skips and every repeat visitor brings. Fill it with tea or coffee before the drive up, because there is nowhere to buy a hot drink inside the national park after the Parador restaurant closes at roughly 10 pm. A 500 ml stainless steel vacuum flask holds enough for two people through the coldest stretch between 1 and 4 am.
Camera kit for a first Milky Way session
You do not need a modified astro body, a star tracker, or a telescope for your first Milky Way photo on Teide. What works is simpler and cheaper than most beginners assume.
Featured · Destination
Tenerife Stargazing
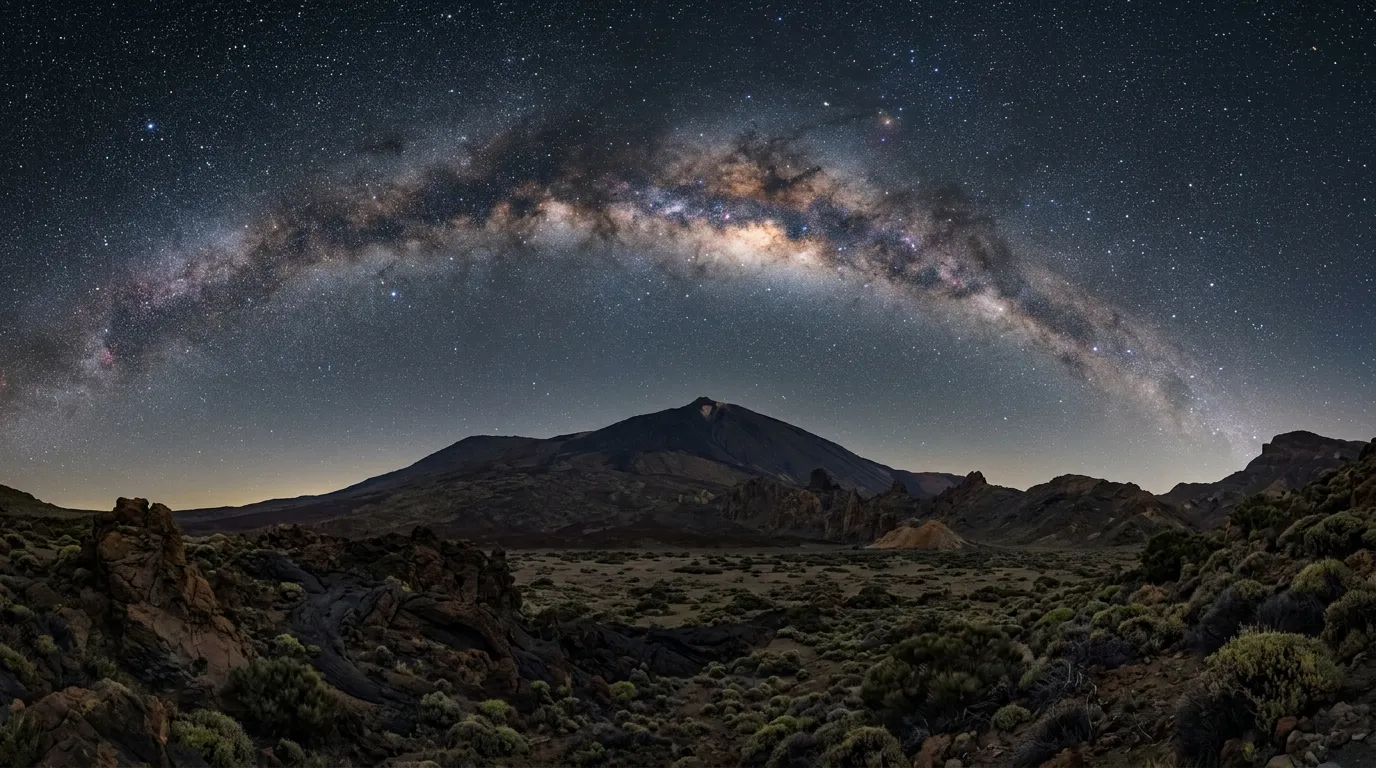
Tenerife stargazing guide: Teide National Park's UNESCO Bortle-2 skies, 83 constellations visible. Observatory visits from €21, Parador hotel, and best tours.
Any interchangeable-lens camera with manual mode. A used Sony A6000, a Canon Rebel T7, or any mirrorless body from the last decade that lets you set aperture, shutter speed, and ISO independently. Full-frame sensors gather more light than APS-C at the same settings, but an APS-C body with a fast lens still produces a real Milky Way frame on Teide, because the sky at Bortle 2 on the Bortle scale gives you more signal to work with than the same camera under a Bortle 5 suburban sky could ever extract. The sky quality at altitude does half the work for you.
A wide, fast lens. 14mm to 24mm at f/2.8 or faster. An f/1.8 or f/1.4 prime lens is the ideal: it gathers twice to four times as much light as an f/2.8 zoom in the same exposure. The Rokinon 14mm f/2.8 is the budget workhorse on the caldera for a reason: it is sharp enough wide open, costs under three hundred euros used, and the ultrawide field of view frames the full galactic core with room for foreground rock formations. A kit zoom at f/3.5 or f/5.6 will produce a frame, but you will push ISO to 6400 or higher and accept more noise.
Recommended tours
Tours are selected for quality, not commission. I earn a small fee if you book — at no extra cost to you.




Tripod, again. This appeared in section 3 and it appears again because it is the single piece of gear without which none of the camera advice works. A 15-second exposure handheld is not a Milky Way photo; it is a blur with pretensions.
Spare batteries and a remote shutter. Cold at altitude drains camera batteries in roughly two-thirds of their normal shooting time. A remote shutter release, or the camera's built-in 2-second self-timer, eliminates the shake from pressing the shutter button with your finger.
Starting settings. Switch to manual mode, set ISO 3200, aperture to the widest your lens allows, and shutter speed to 15 seconds. Focus manually using live view: zoom in 10x on the brightest star in the frame, turn the focus ring until that star is a tight point, and lock focus. Do not trust autofocus in near-total darkness; it will hunt and fail. For the full settings breakdown across sensor formats, the Milky Way photography guide covers exposure triangles, the NPF rule for star trailing, and RAW processing workflows in depth.
What NOT to bring: the luggage you will regret
Some items show up on generic packing lists and Arctic gear guides that have no business in a Tenerife stargazing bag. Leaving them at home saves weight, airport security hassle, and the particular frustration of hauling gear up a volcano that you never take out of the bag.
Heavy Arctic gear. A down parka rated to -30°C, insulated snow pants, battery-heated gloves, a balaclava: these are the right call for a February night outside Tromso and dead weight on Teide. In July you stand in 10 to 15°C air with a fleece and a windbreaker. In January, when the caldera drops to 0 to 5°C, the same three-layer system with a heavier mid-layer, swap the fleece for a light down jacket, is enough. The Arctic kit costs three to five times as much, fills a checked bag, and earns you nothing on a mountain where the temperature rarely drops below freezing on a typical winter night.
Your own telescope. Every organised Teide Stargazing & Astronomy Tour provides 10-inch or larger Dobsonian reflectors and operators who know how to align, track, and find targets in seconds. Hauling a telescope through airport security for a destination where the tours already supply better optics than most people own wastes luggage weight and setup time on the mountain. Bring 10x50 binoculars (section 3) if you want your own optics. They give you more observing time than a telescope you are still collimating at 1 am while the Milky Way core is setting.
Read next · Tour
Teide Stargazing & Astronomy Tour
Teide stargazing from €42 with the official concessionaire. Sunset & Stars includes cable car, telescopes, Starlight guides, hotel pickup from Tenerife south.
White light sources. Not just torches: phone screens at full brightness, camera LCD review screens, the white-LED mode on a headlamp you thought was set to red. One white-light flash resets 20 to 30 minutes of dark adaptation for everyone within fifty metres. Tape over any LED on your camera body that stays lit during a long exposure. Switch your phone to a red-screen or night-mode overlay before you leave the hotel, not halfway through the session when you are fumbling in the dark.
Heavy winter boots. Insulated boots rated for snow and sub-zero temperatures are unnecessary for summer and overkill for winter. Sturdy trainers or lightweight hiking shoes with a decent sole are enough on the caldera floor from May through October. In winter (December to February), waterproof hiking boots with wool socks cover the conditions; Sorel-rated Arctic footwear solves a problem Teide does not have.
The bottom line: carry-on stargazing
A complete Teide stargazing kit, three layers of clothing, a red headlamp, a travel tripod, a camera with one fast lens, binoculars, and a thermos, fits in a carry-on bag and a small daypack. The whole thing costs a fraction of what Arctic packing requires, both in money spent and in luggage weight carried.
The stargazing gear guide covers categories that apply anywhere: binoculars, telescope tiers, dark adaptation, how to layer for radiative cooling on any clear night. This Tenerife-specific article exists because the climate on Teide sits in a narrow band the generic guide does not address. It is cold enough to need real preparation, and mild enough that Arctic-weight gear is a costly mistake.
A 15-second exposure handheld is not a Milky Way photo; it is a blur with pretensions.
Tenerife is one of the most accessible world-class stargazing destinations on the planet, and its climate is a large part of why. You drive through a cloud layer and emerge into a sky that competes with the Atacama. You do it in a fleece and a windbreaker, with a kit that fits under the seat in front of you. Pack less, and spend the luggage space you save on a second fast lens.
For the other half of the planning equation, the best time for stargazing in Tenerife guide covers galactic-core season, moon-phase windows, and the month-by-month clear-sky calendar.